
October the 1st marks the start of Halloween season, even if the supermarkets make it look like it’s Christmas already. As much as I love Christmas, I do like to have an autumnal transition period between summer and Christmas. I can’t imagine any Halloween celebrations actually taking place this year, but it doesn’t mean I can’t decorate the house as if everything was normal.
Today’s craft is definitely Halloween inspired, but it will make a nice piece of interior decor year-round. Halloweeny thanks to the black cat, yet subtle enough to not scream “Halloween” when you look at it in April.
I like this craft idea because it doesn’t require any artistic skills whatsoever. You can draw the silhouette yourself (it doesn’t have to be a cat, this technique will work with a variety of shapes), but you can also find one online, print it and cut it out.
Products used:
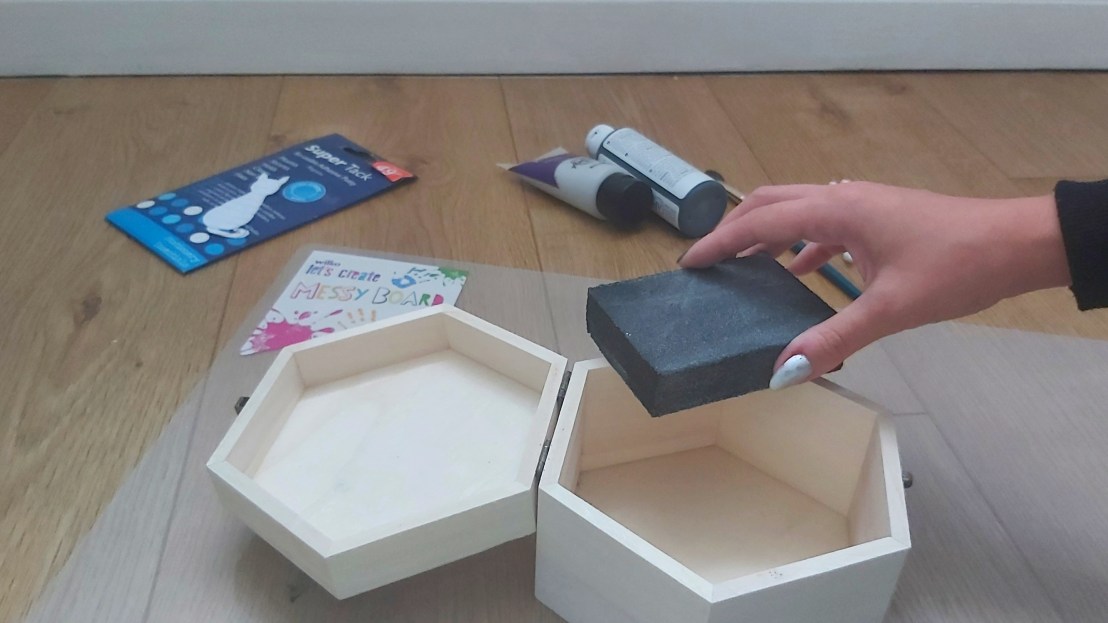
- wooden box
- sanding blocks or sand paper
- black acrylic paint
- silver acrylic paint
- paper cut out cat silhouette
- Blue Tack or other adhesive putty
- cotton buds
- rubber band
Whenever I work with wooden objects, I start with sanding them down to make sure the surface is even and smooth. Typically, boxes bought in an arts and crafts shops don’t necessarily need that and it’s entirely optional. However, I definitely recommend sanding down at least the sides between the lid and the bottom piece of the box, if you plan to paint them – otherwise, the layers of paint might be too thick for the box to fully close.

When the surface of the box was prepared, I painted all outer sides and the edges by the opening black.

Next, I attached the cut out cat on the top lid with a few pieces of adhesive putty. I made sure to place the putty near the edges of the cat to make them stay flat and close to the surface of the box.


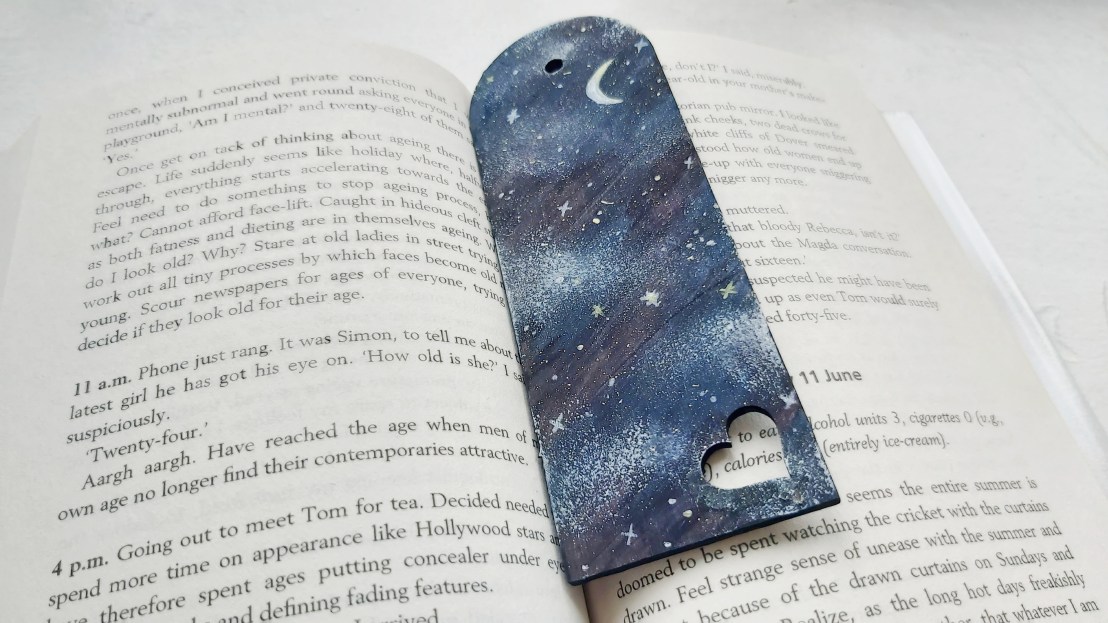
I tied three cotton buds together with a rubber band, making sure their tips are evenly aligned. Then, I squeezed some silver paint onto a plastic lid, dipped the DIY cotton bud brush in the paint and then stamped it around the cat on the box.
I made sure to outline the cat well, with less and less pattern towards the edges of the box.


Finally, I peeled off the paper cat and the putty, revealing the pattern on the box.

Check out my other craft ideas too!


Your so crafty and creative, Alphe!! 🥰
LikeLike
What a cute idea!!
LikeLike