
My list of interests and hobbies grows every day and it would cost a fair amount of paper to write them all down. However, there are two things that consume more of my mind than others – DIY projects and reptiles. So I thought, why not combine both in one endeavour?
I don’t actually own any reptiles and I never have. There’s a few species I’d love to own in the future, when my life is more settled, but for now I appreciate the scaled beauties on the screen, watching nature documentaries and educational videos on YouTube. All products used in this project are reptile safe, and the texture of a finished cave is quite rough, which will add enrichment to a reptile enclosure and help the animals shed. When I finally own a reptile myself I will make multiple pieces of DIY decor for its enclosure. For now, I’m just listing the caves on eBay.
You’ll need:
- expanding foam
- greaseproof paper
- sandpaper or sanding block
- universal filler
- tile grout
- PVA glue
- plastic foliage
- acrylic paints
Line your working surface with greaseproof paper and make sure there aren’t any holes. Expanding foam will stick to your floor/table and it will be difficult to clean. However, it doesn’t stick to greaseproof paper.
Make a blob of expanding foam on the paper. Keep in mind that expanding foam will increase its volume, so make it a bit smaller than the size of the hide you’d like to have. The foam will dry on the outside fairly quickly, but it may take up to 24 hours for it to fully set inside. Follow the instructions on the can and only proceed to the next step once the foam has set.
When the blob of expanded foam is ready to be carved, cut it to shape with a sharp knife. It may be a bit tricky to scoop out the foam from the inside in a nice, round shape, but it doesn’t need to be perfect as the inside of the cave won’t be visible. I like to carve the outside of the cave so that it has sharp edges and isn’t perfectly round, as it makes it look a bit more like a real rock.
As a final touch, use sandpaper or a sanding block on the bottom edge of the cave to make it flat and even. Place the cave on an even surface and make sure it stands without wobbling and there aren’t any big gaps.

Next, use a universal filler to fill any big holes in the structure of the cave. Expanding foam sometimes grows with trapped air pockets which turn into bubbles. It doesn’t need to be perfect, small holes will get filled at a later stage. Cover big holes both on the inside and the outside of the cave.
Let the filler fully dry and harden before proceeding to the next step. The time needed for that will depend on the amount of filler used and air humidity. It sometimes takes up to 2 days in my case (I rotate the cave in the process so that both the outside and the inside have a chance to dry).

Next, I cut off small bunches of plastic foliage (I bought a big ball-shaped bunch of these in Poundland) and stuck them into the cave. I then added PVA into the holes to seal them and left the cave to dry overnight.
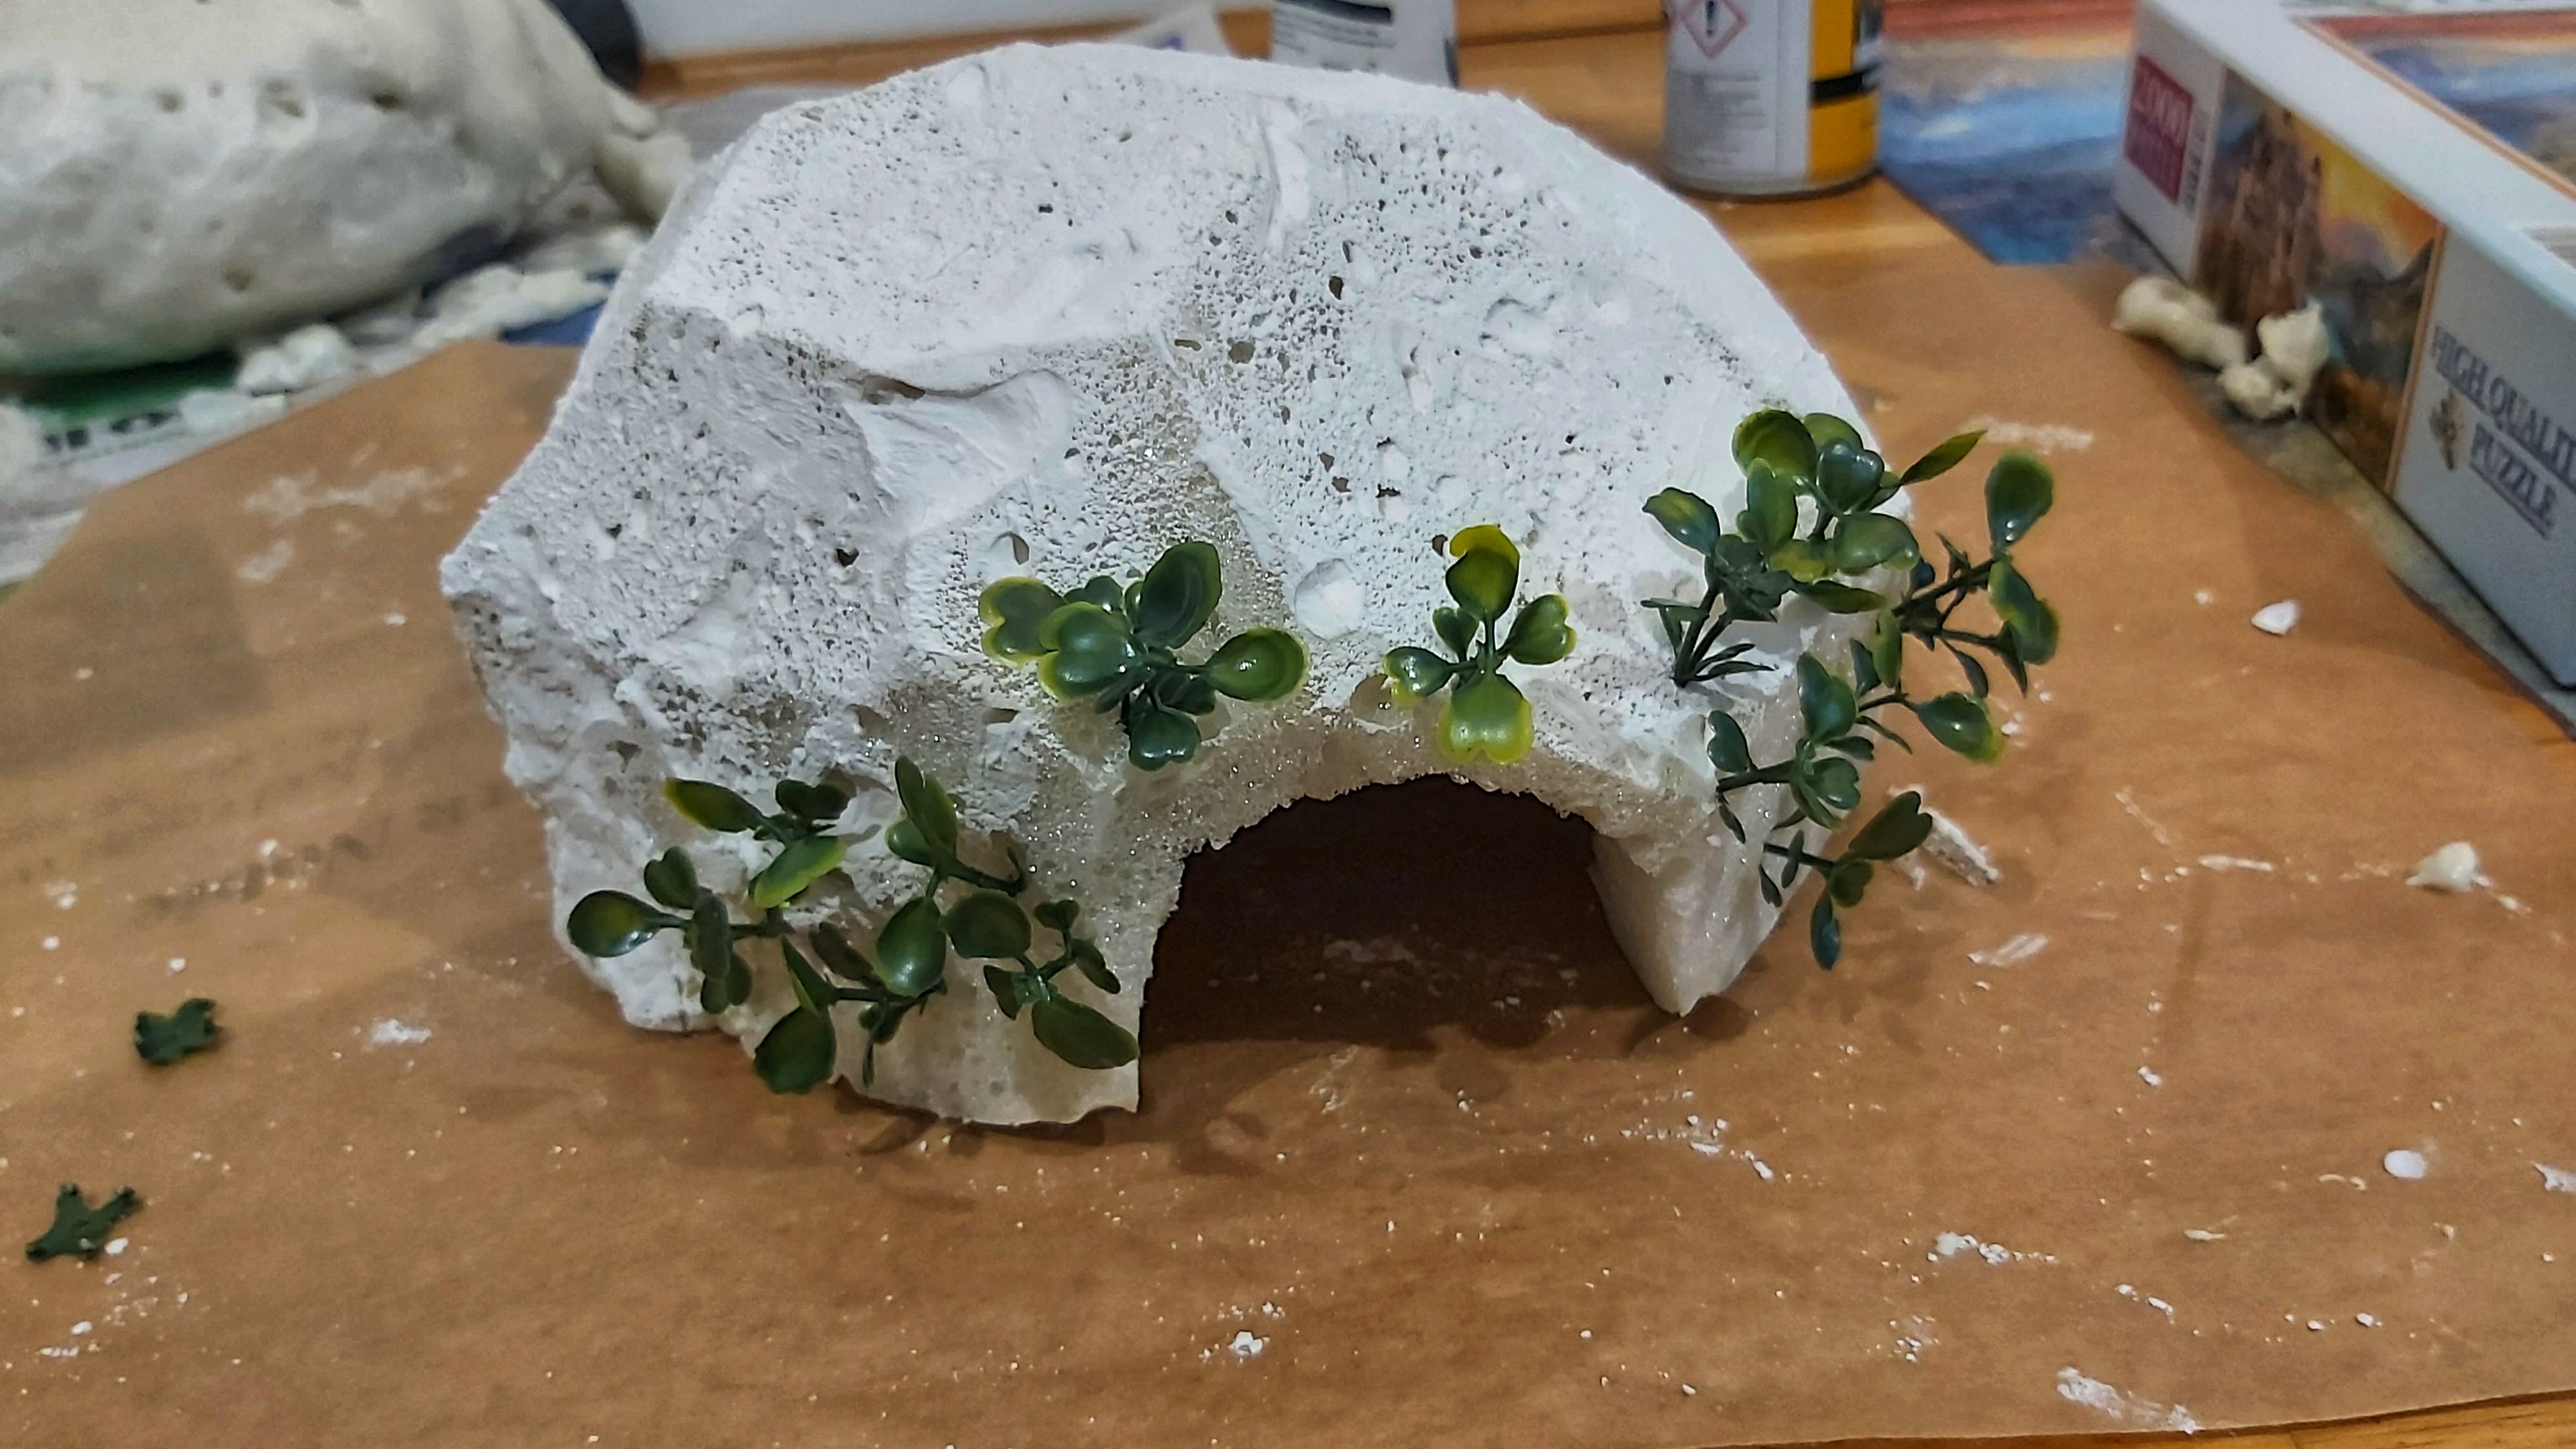
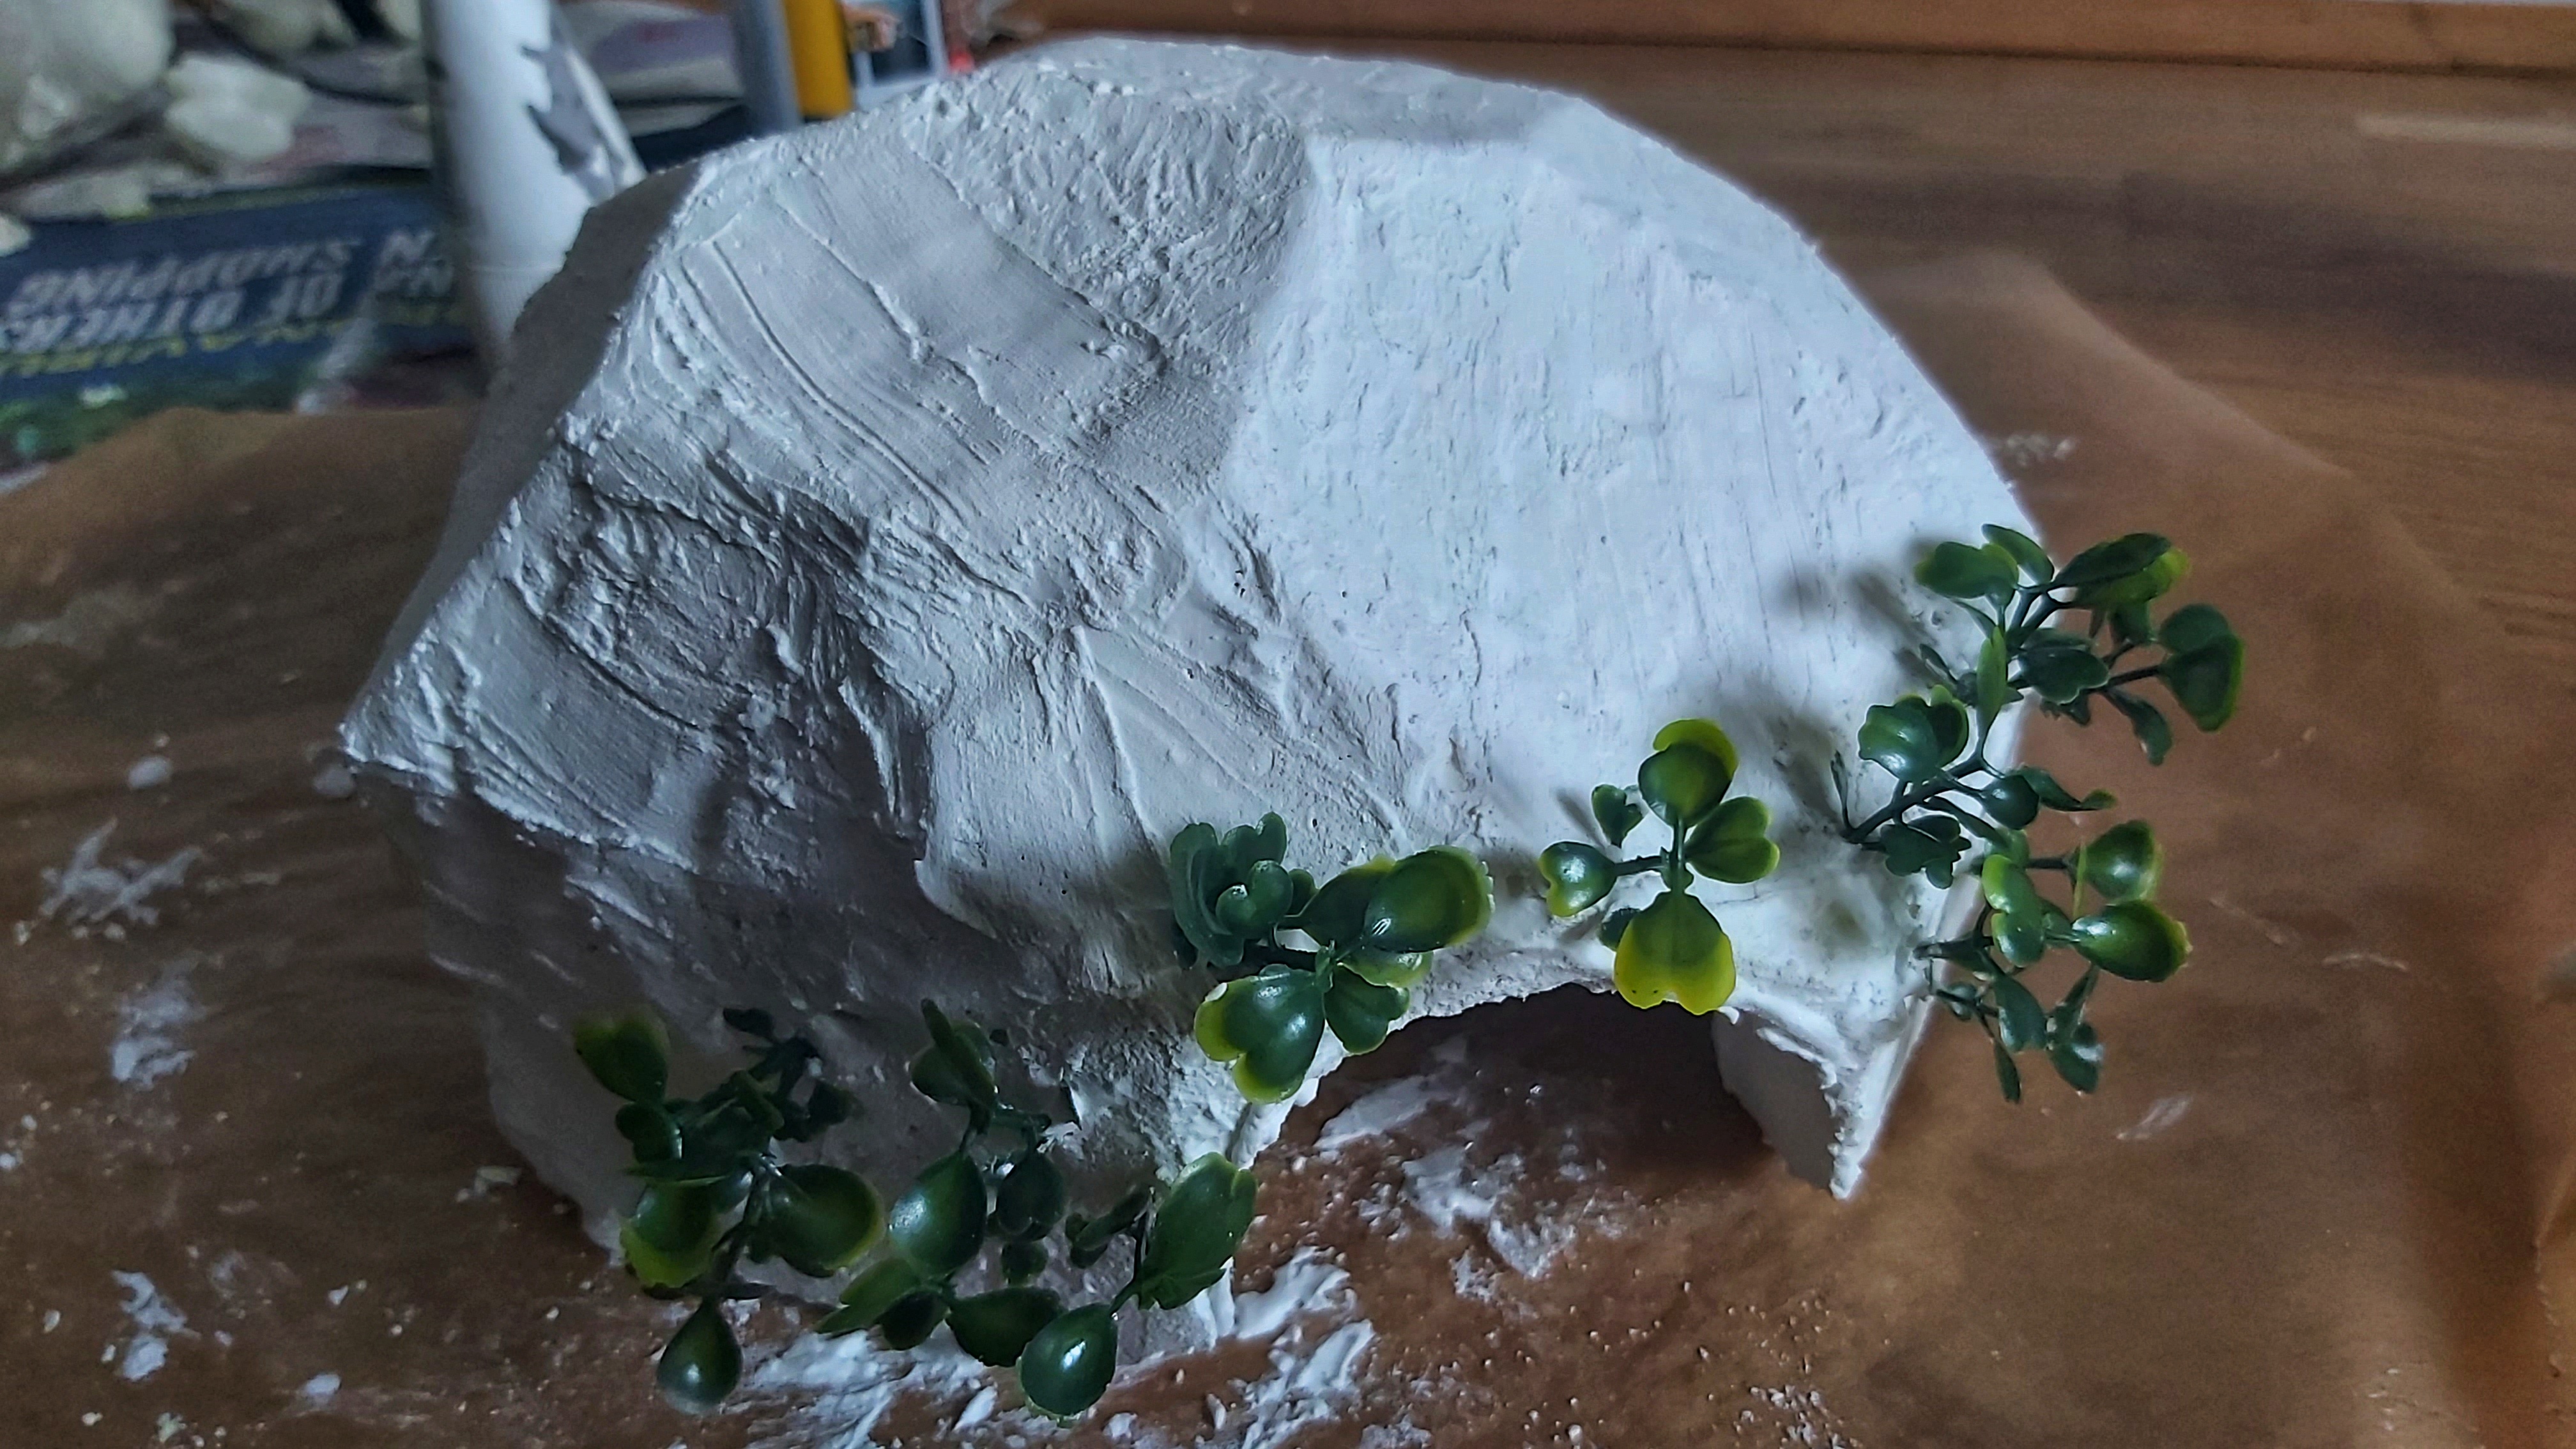
As the next step, I covered the whole cave – inside and outside – with tile grout. It filled the remaining holes and left a nice texture. I didn’t want the surface of the cave to be smooth, and the imperfect smudges of tile grout look more natural. I left the cave to dry for one or two days, turning it over every now and again to let all sides dry.
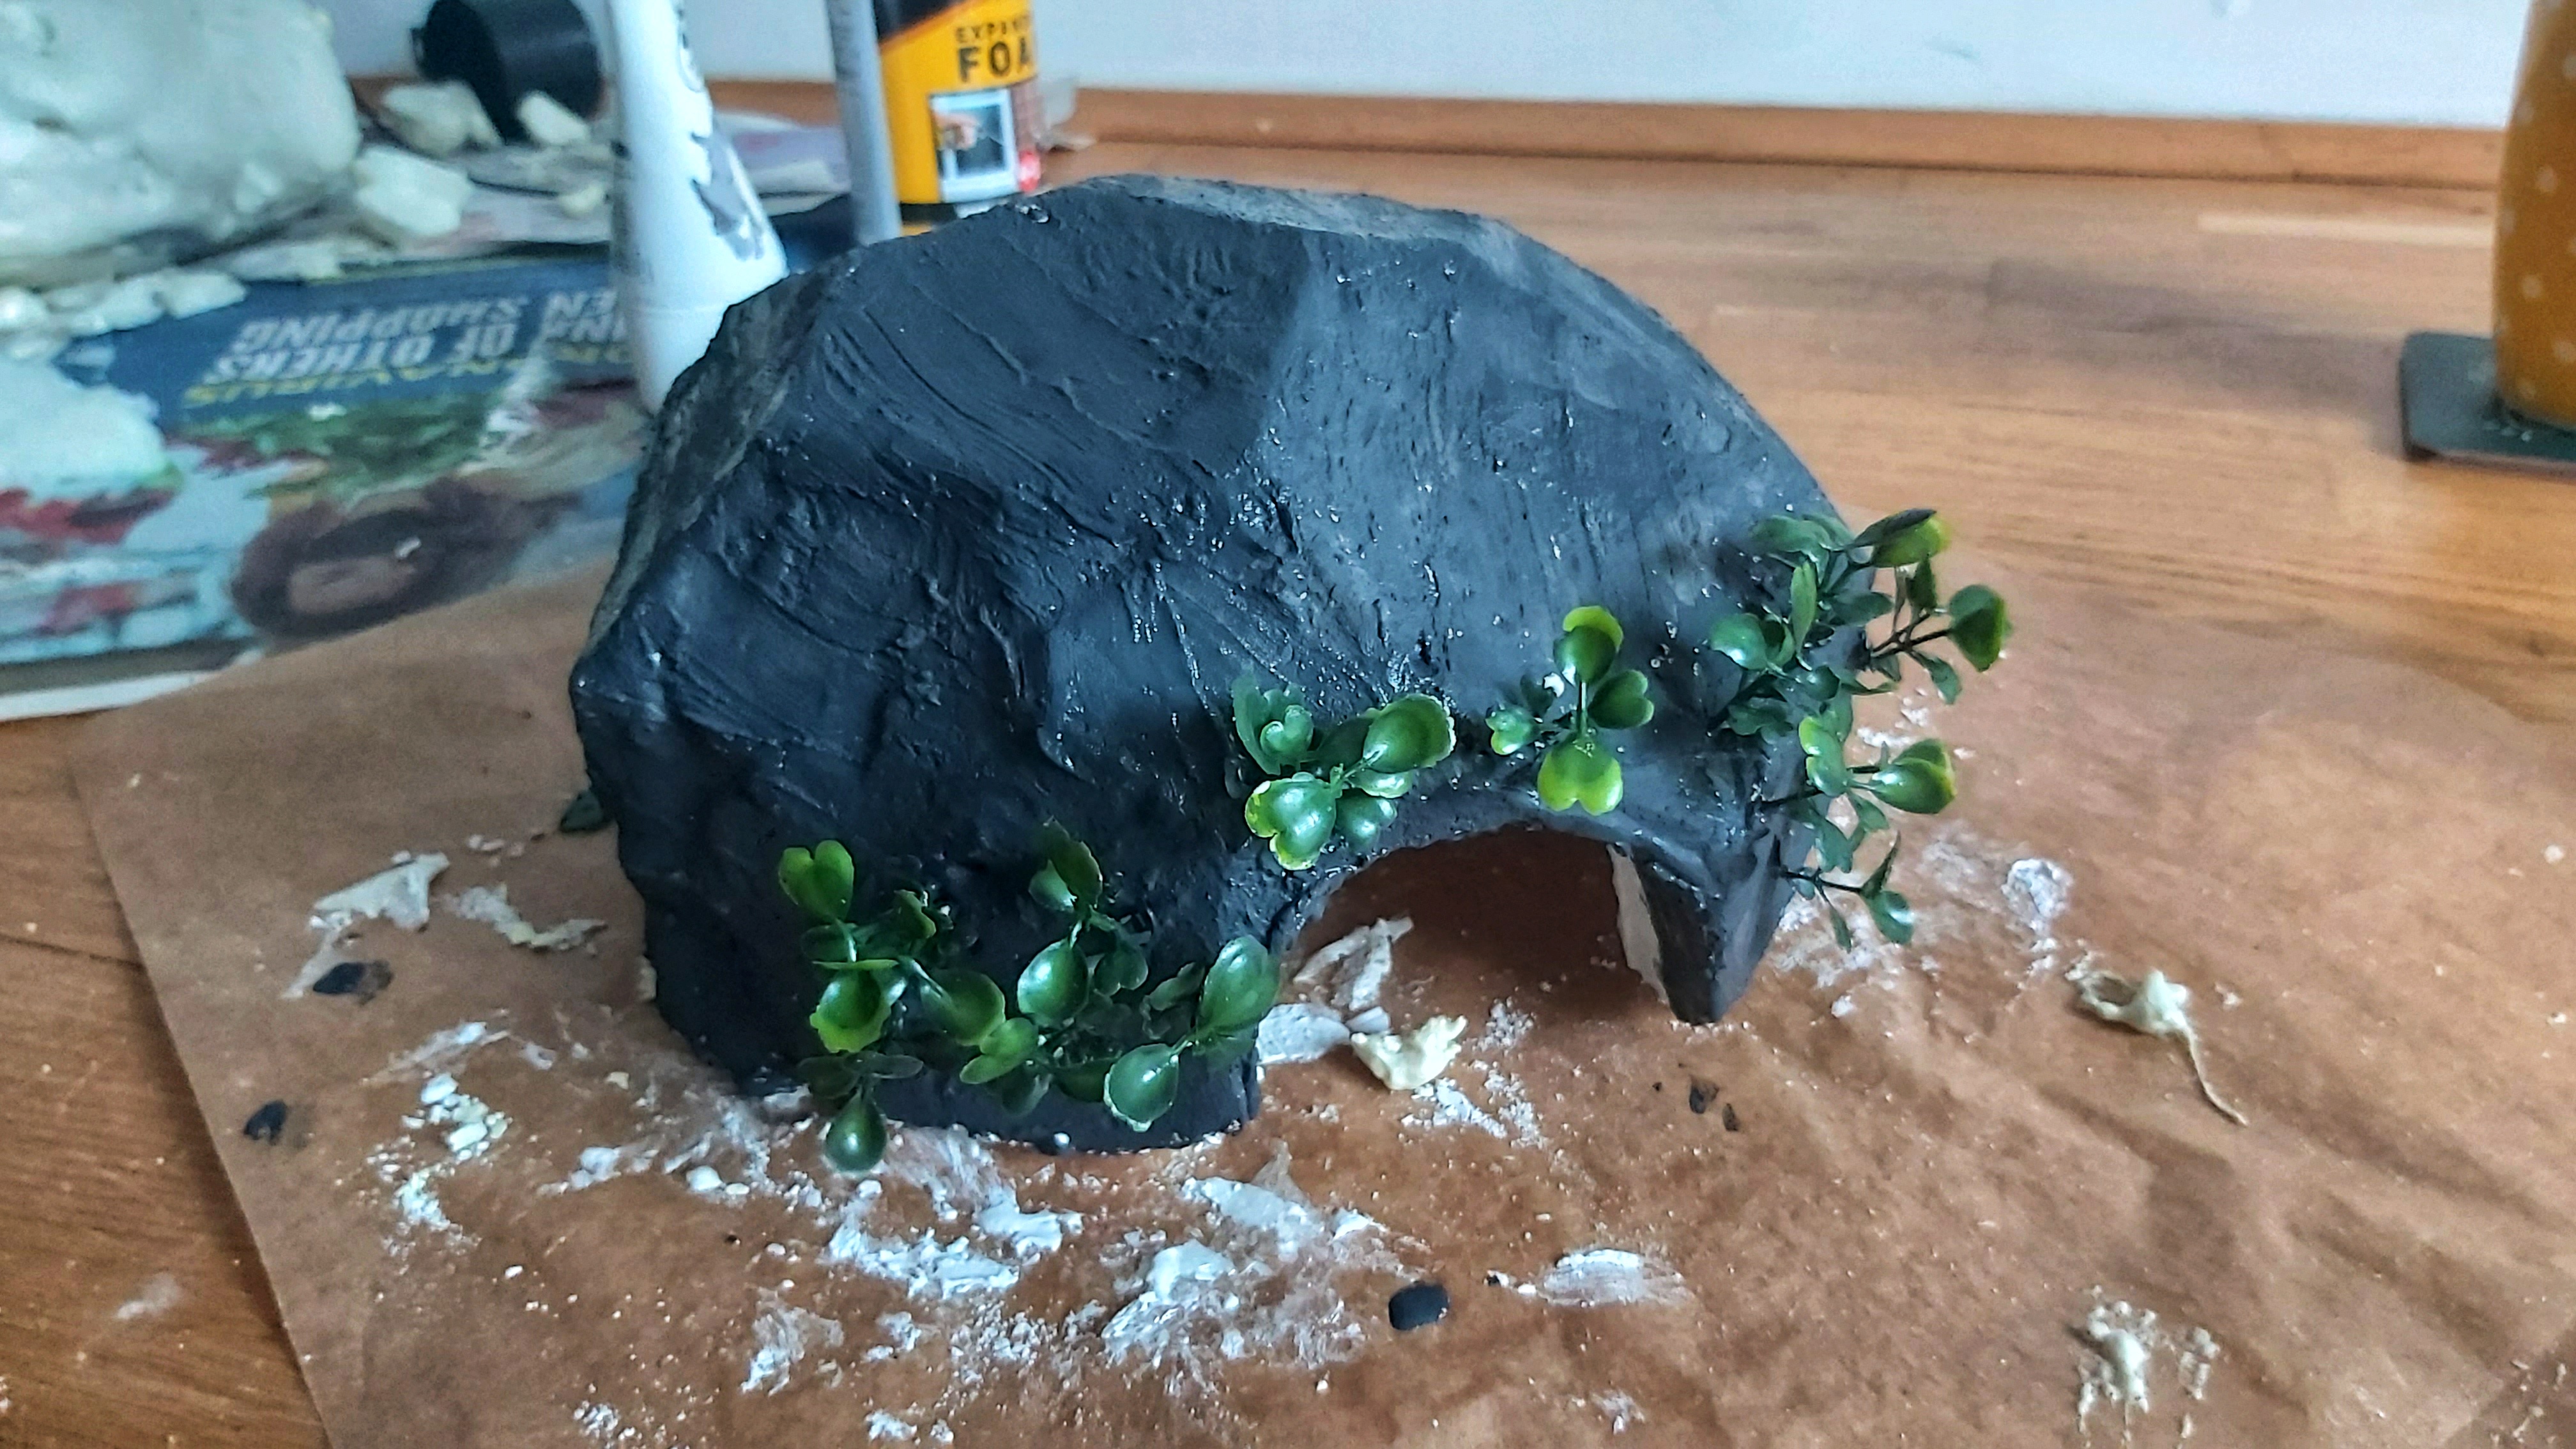
When the tile grout has dried, I started to paint the cave with acrylics. I began with a coat of dark grey, then added two more coats of lighter and lighter grey, brushing the surface of the cave gently to leave the darker colours peeking through. I painted the inside of the cave black.


And that’s it! I have the cave from this post listed on eBay, so if you live in the UK and need a reptile cave, check it out here.
Check out my other projects too!


8 thoughts on “DIY Naturalistic Reptile Hides”