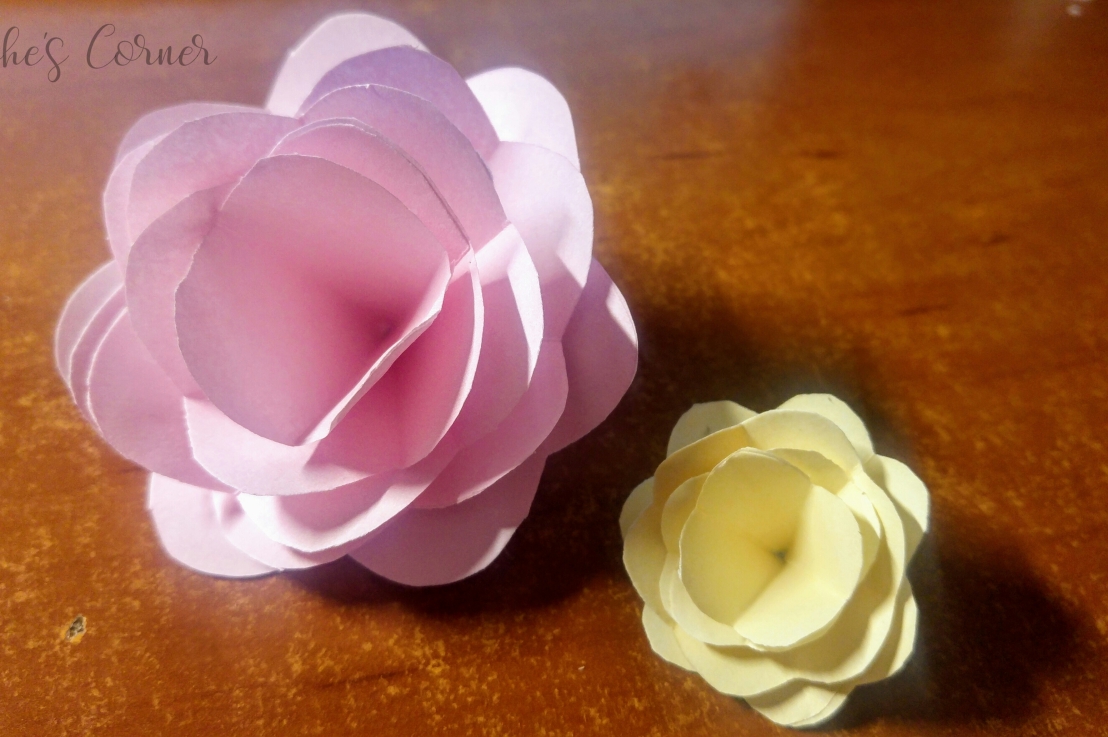
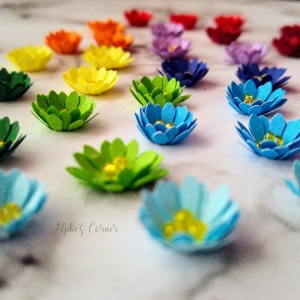
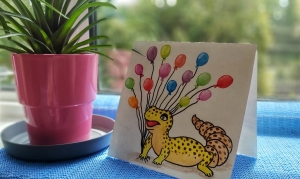
After a few food-related posts, I think it’s time for some more papercrafts. And no quilling this time! Today, I’m coming with a super simple craft idea – paper roses. They only use supplies I’m sure you have at home, take close to no time and require no skills. Sounds great, doesn’t it? 🙂 You can make them in any size or colour, with or without stems! Big roses will look nice in a vase, while smaller ones can be used for handmade cards and such. We love such versatility in crafts, don’t we?

For 1 rose you’ll need:
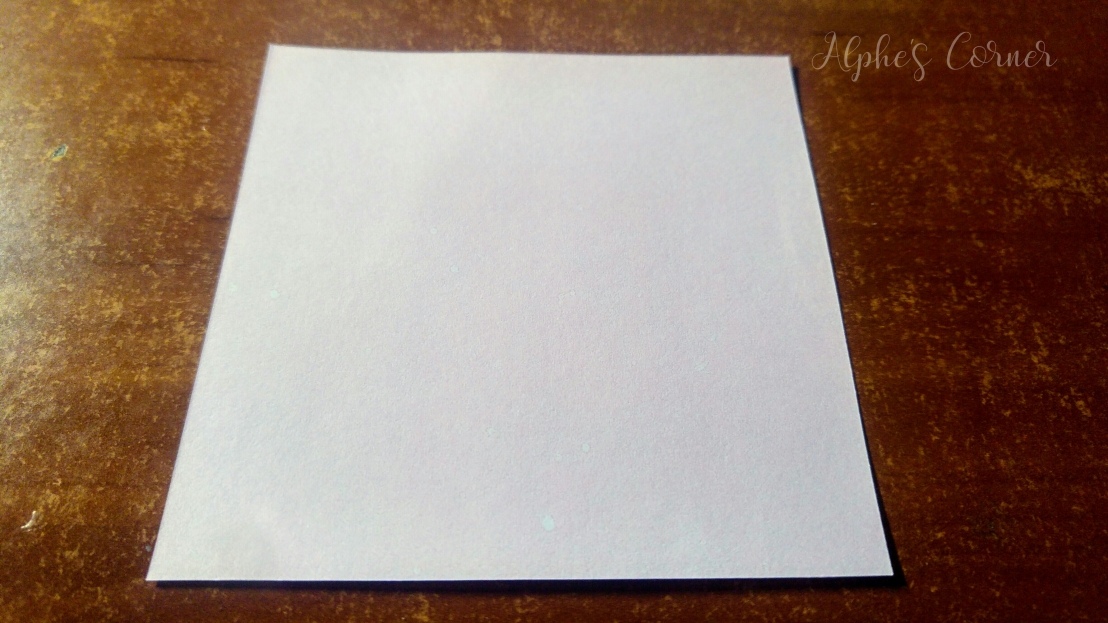
- 5 square pieces of paper (all in the same size, as big or small as you like)
- scissors
- glue
- a skewer (or not, if you want to make small flowers to use for handmade cards and such)
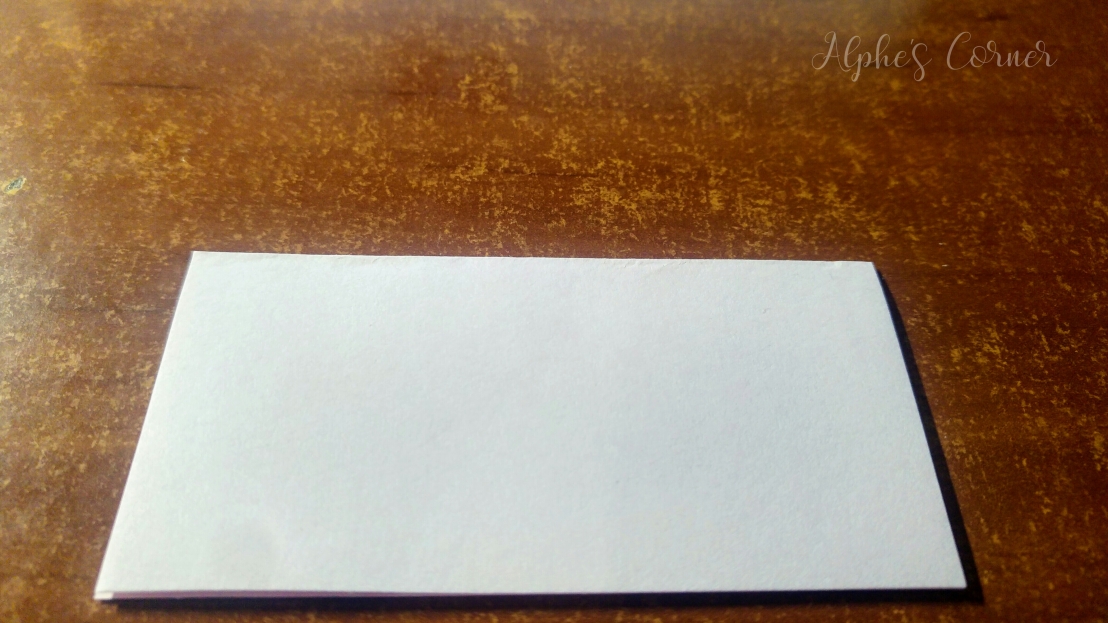
Fold the square in half.
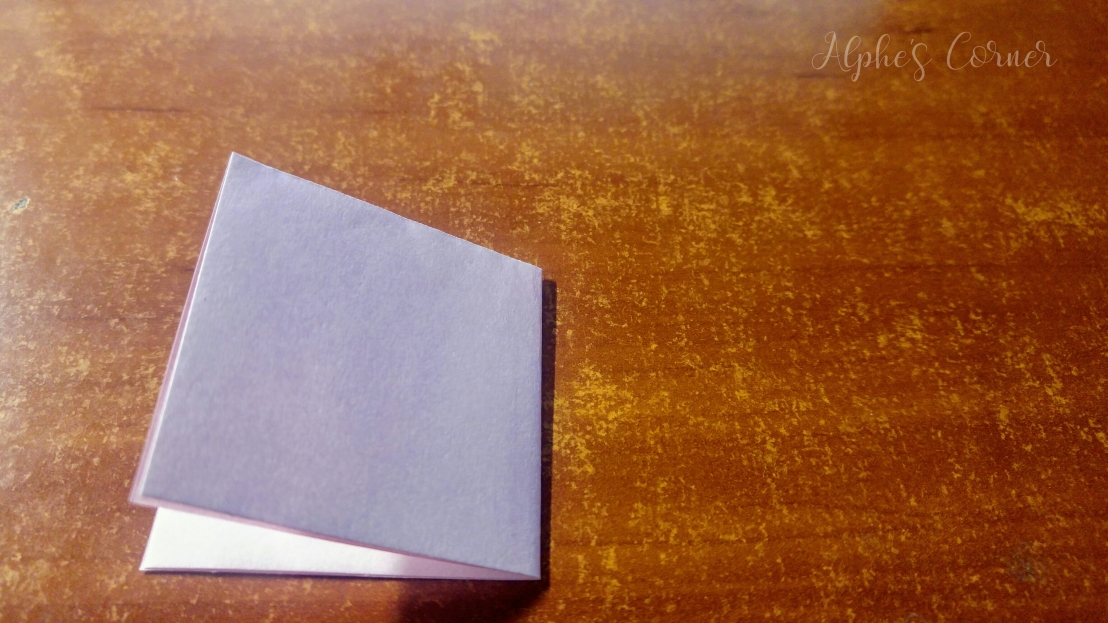
Fold it again.
And again.
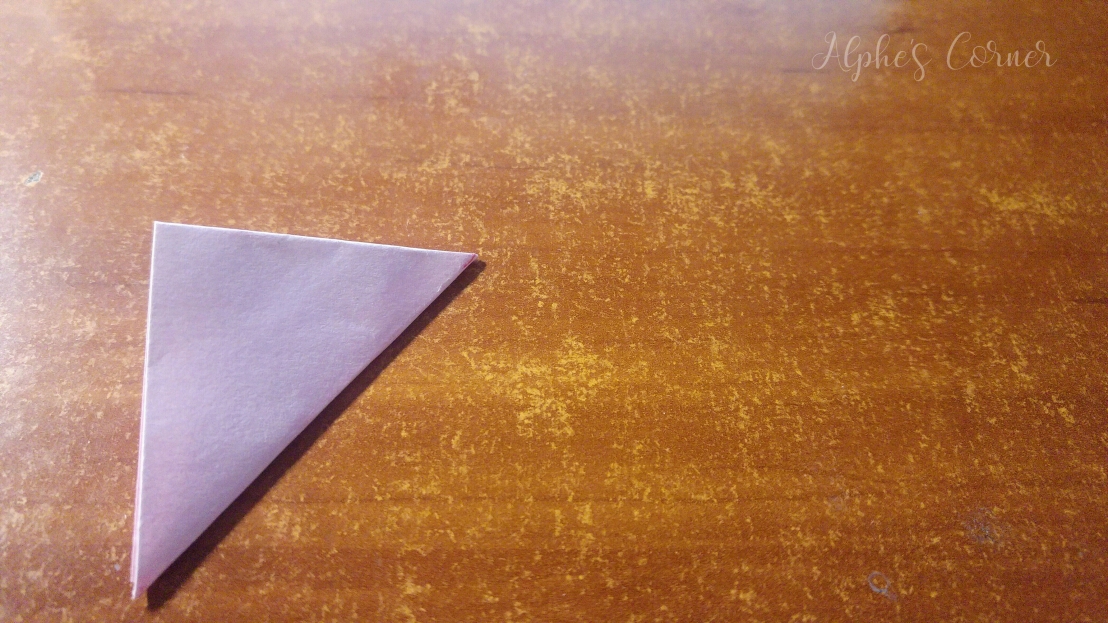
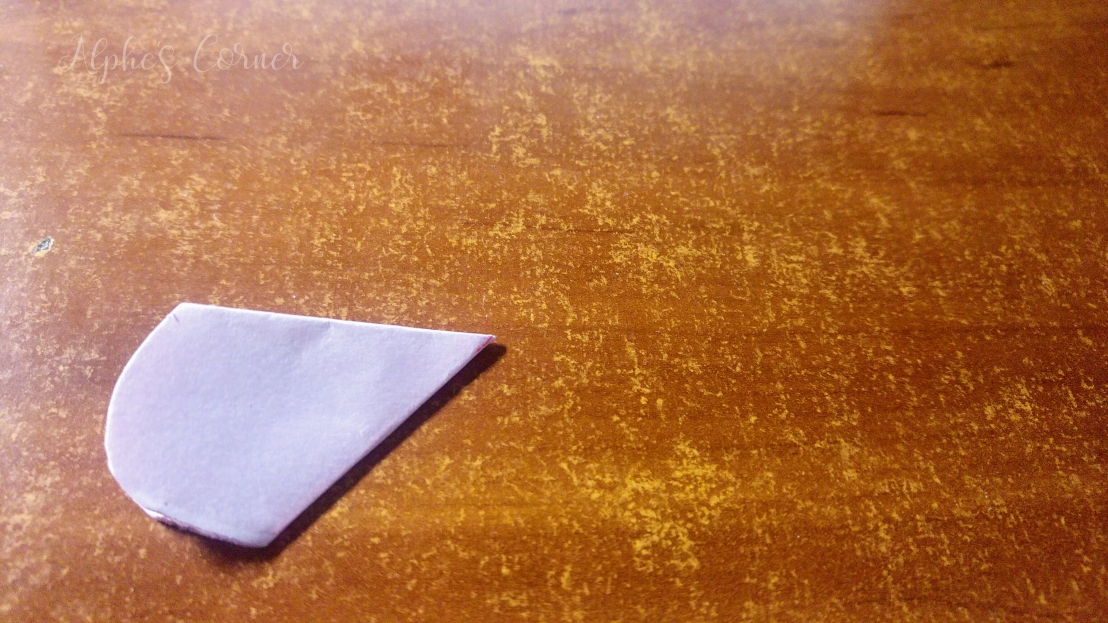
Now cut it into tear shape (the tip of the tear is the middle of the square you began with).
Unfold it. You now have a flower with 8 marked petals.
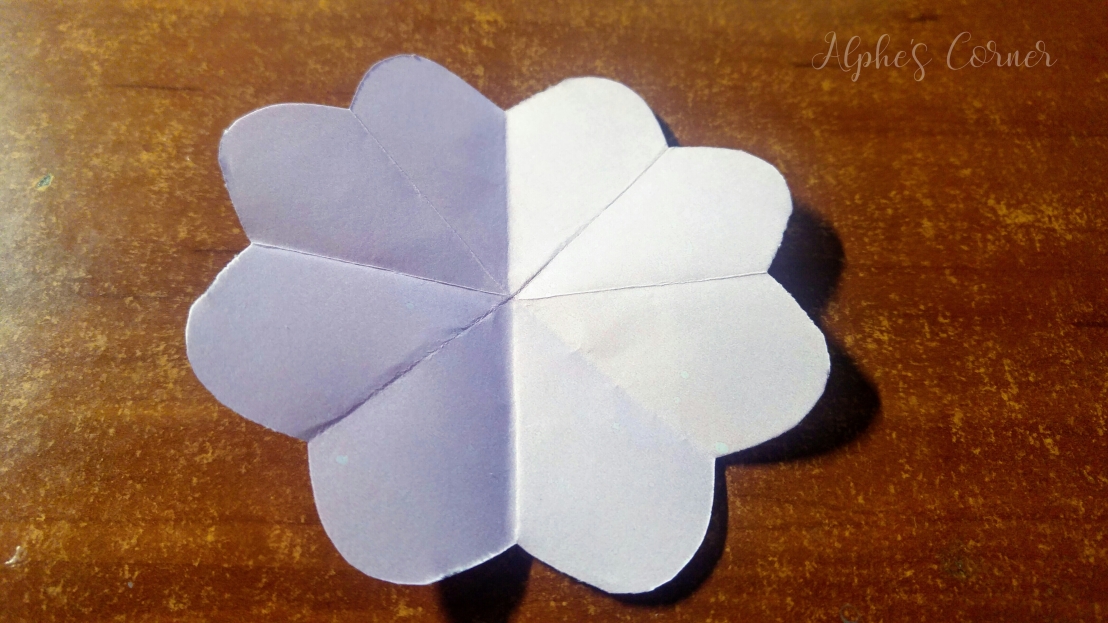
Repeat the same steps for each of the remaining 4 pieces of paper.
Cut into one flower, alongside one petal all the way to the middle.
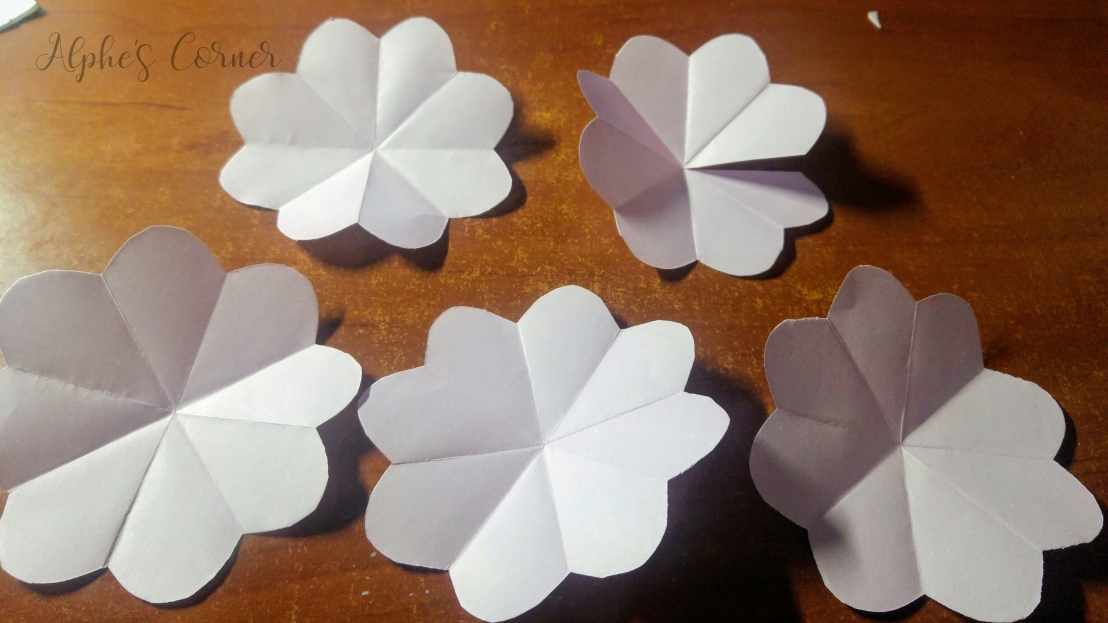
For the other 4 flowers: cut off one petal from the first flower, two from the second, three from the third, and four from the fourth.
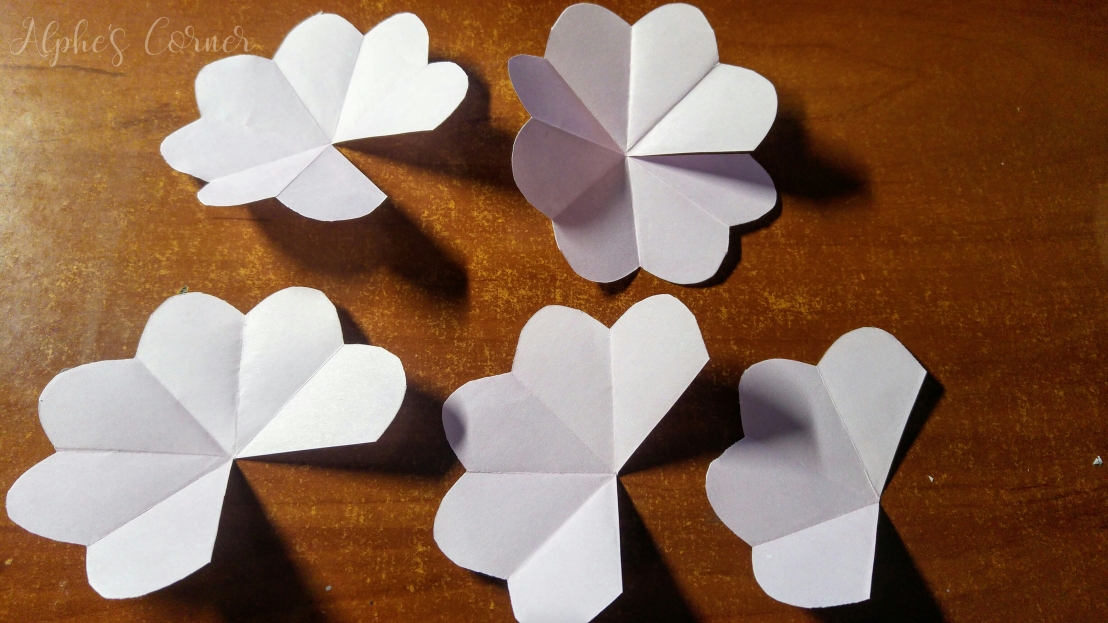
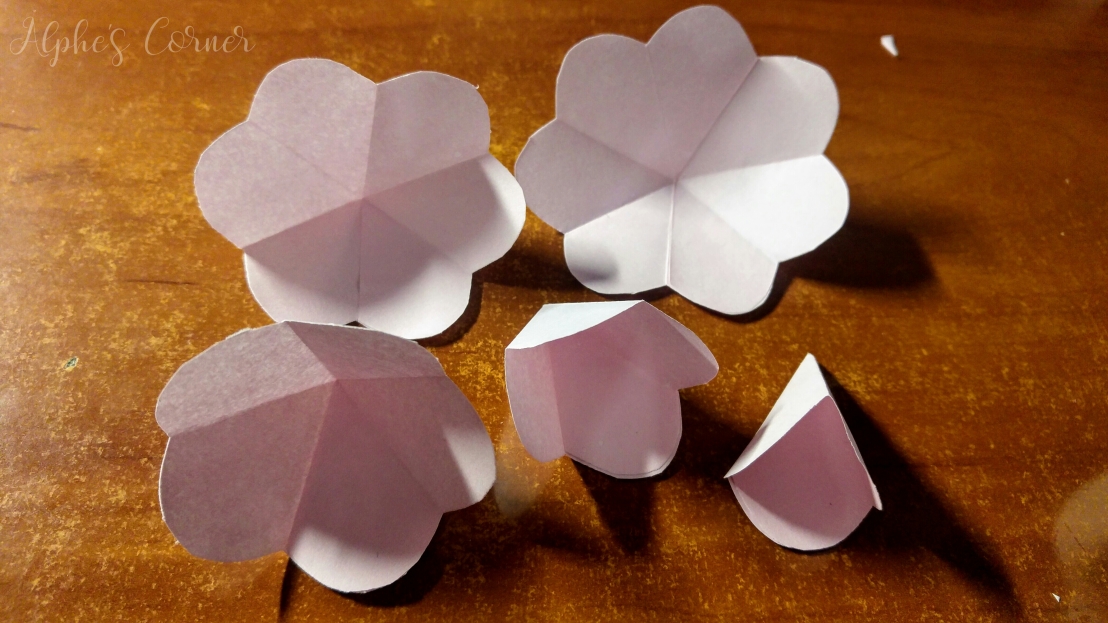
You should be left with part-flowers with 8, 7, 6, 5 and 4 petals.
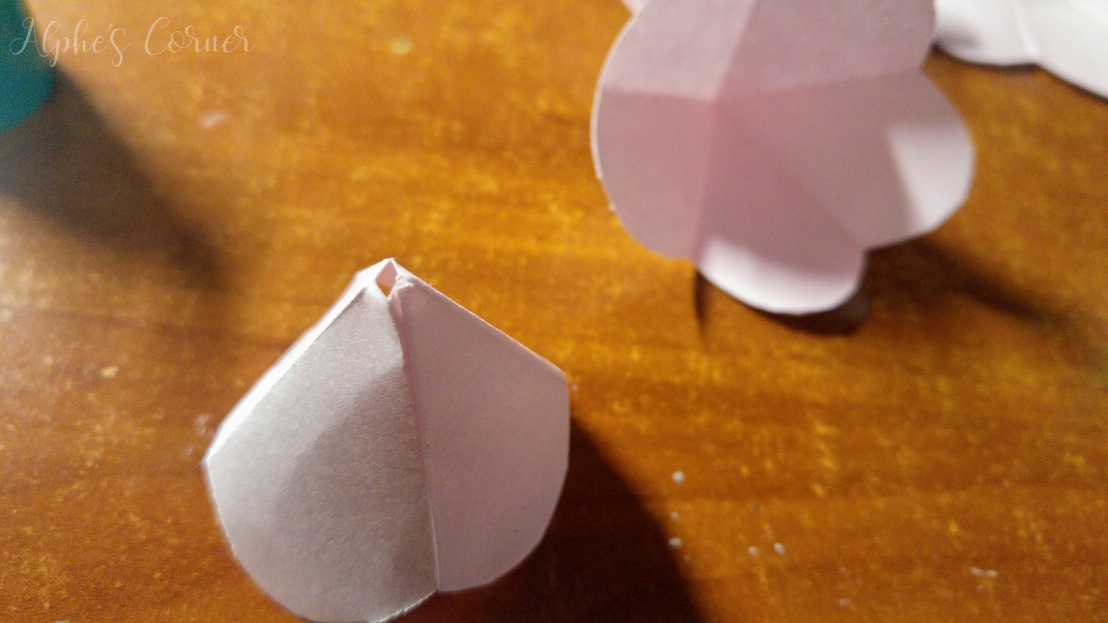
For each flower, glue the two edge petals together, so they overlap.
Cut off the tip (the middle) of each flower, making a small opening. Don’t cut off much, only a few millimetres. The goal is to have the middle of a smaller flower go through the middle of the one size bigger one. This whole point is optional, you can just glue the flowers together at this stage, but pushing them one through another results in a slightly flatter, nicer final shape.
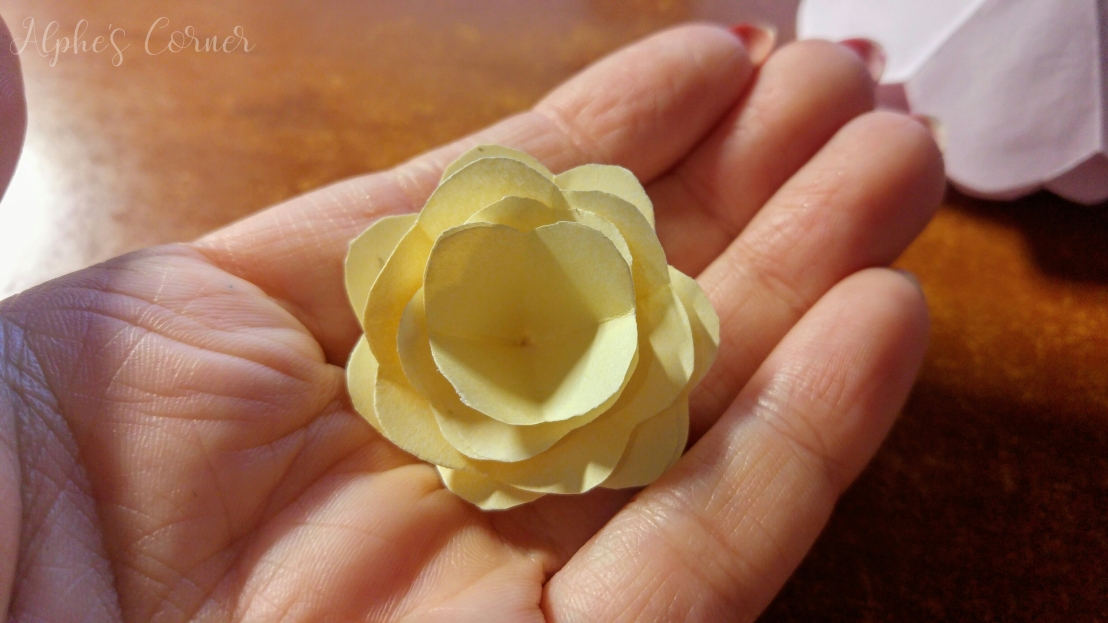
Now’s the time to assemble the final rose! Put the flowers one onto another, with the one with the most petals on the outside and the one with the fewest – on the inside. Glue the layers together using a bit of glue in the middle between each pair of layers.

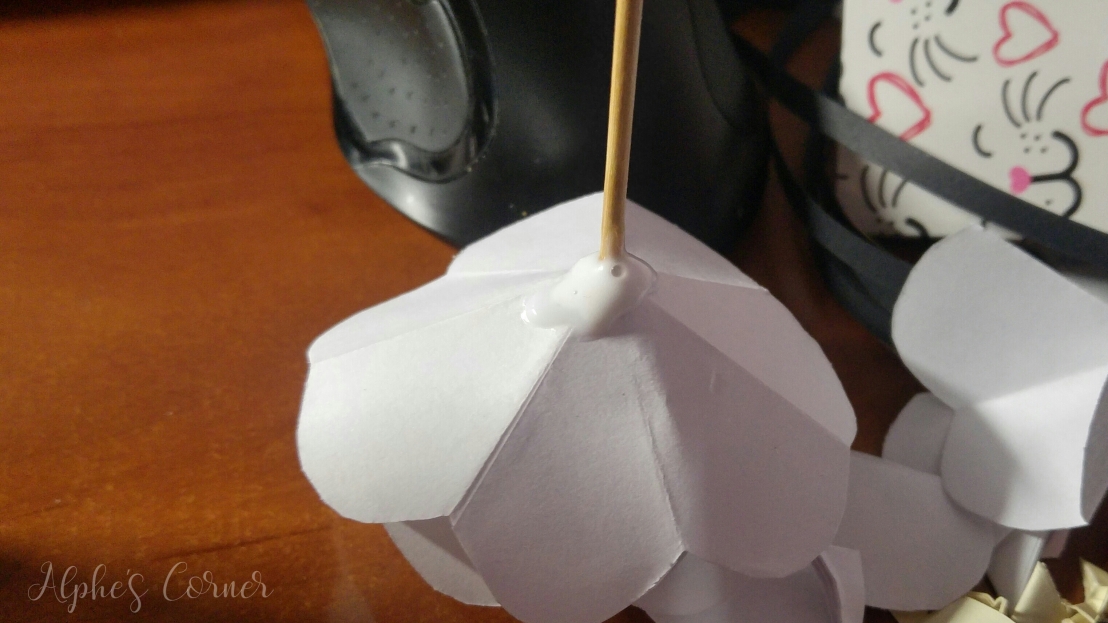
If you want the roses to have stems, so you can arrange them in a vase – run a skewer through the opening in the middle of your flowers and glue them together while on the skewer. It may be a bit tricky to hold everything in place – I managed to place my rose upside down with the skewer inside and left it overnight.
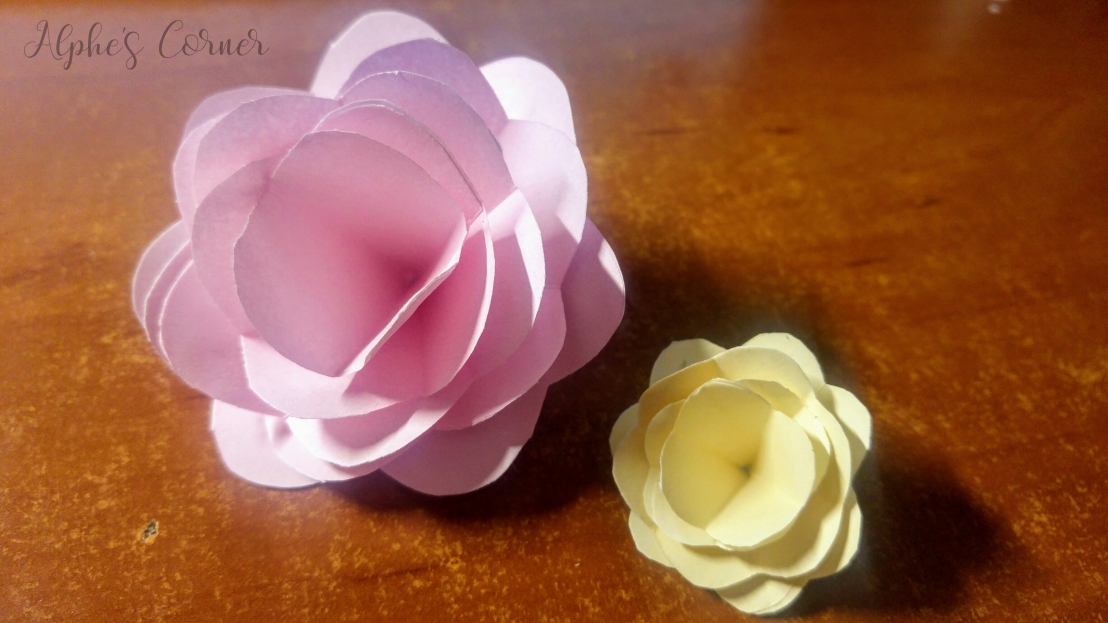
You can make these roses in different sizes depending on what you need them for!


you are one crafty lady. 🙂
LikeLiked by 1 person
Of course! 🙂
LikeLiked by 1 person
Such beautiful flowers!!…:)
LikeLiked by 1 person
These are so beautiful😍😍
LikeLiked by 1 person
Thank you! 🙂 Beauty lies in simplicity!
LikeLiked by 1 person
How Beautifully shown👍 you are very talented…keep rocking👍 beautiful flowers by the way🌸🌸
LikeLiked by 1 person
Thank you!! 🙂
LikeLike
These are so beautiful – thanks for excellent directions!
LikeLiked by 1 person
Lovely clear instructions! Thanks.
LikeLiked by 1 person
Thank you! 🙂
LikeLike
They look so nice but I am such a klutz I can’t fold paper to make it match ends lol
LikeLiked by 1 person
Nooo, I’m sure it would turn out great! 🙂
LikeLiked by 1 person
I wish I read this blog during schooling.
LikeLiked by 1 person
Better late than never, right? 😀
LikeLiked by 1 person
True that.
LikeLiked by 1 person
That’s so beautiful! 💕 I know some of my familiy who does that also with papers.
LikeLiked by 1 person
Awesome! 🙂
LikeLiked by 1 person
So pretty!!
LikeLiked by 1 person
Thank you 🙂
LikeLike
These are absolutely adorable! Thank you for teaching up how to make them. 🙂
LikeLiked by 1 person
So pretty! Thanks for sharing!
LikeLike