
In recent years, mandalas significantly grew in popularity. Loads of arts and crafts ideas use mandala patterns, they can make spectacular, abstract designs in drawings and paintings. There are mandalas printed on T-shirts, mandala wallpapers and even mandala tattoos are more and more common. I’ve written about the trivia of the patterns of Asian origin before. Today, I’ll share a step by step tutorial to drawing a perfect mandala from scratch.
You’ll need:
- square piece of paper
- compass
- ruler
- soft pencil
- eraser
- liner pen
Start by drawing the symmetry lines using a ruler and a pencil. I like to divide the square into 8 pieces (vertical, horizontal and two diagonal lines of symmetry), but you can work with 4, 16, 32 or more – as long as there’s central symmetry, you’re good to go.

Next, using a compass, draw circles with the centre in the middle of the square, where all lines of symmetry cross. You can draw multiple circles at the start and then create your mandala design using the circles, or you can first think of your design and gradually add the circles where you need them. A general rule of thumb is to start drawing from the centre of the mandala and then progress towards the outer edges.

I started with a few initial circles without a design in mind. Then, using the innermost circles, I started adding the design. The key to a perfect mandala is symmetry – using the lines and circles helps you draw an even design in all sections. I drew a hollow petal in each. Make sure to use a soft pencil and only gently press it against the paper, so that you can later erase it without leaving any marks. Or, if you’re confident in your skills and design, skip the sketching stage altogether and draw with a liner pen.

Inspired by the circles I had put down, I continues to add a symmetric design.


I added a few extra circles where I needed them, to help keep the mandala even.

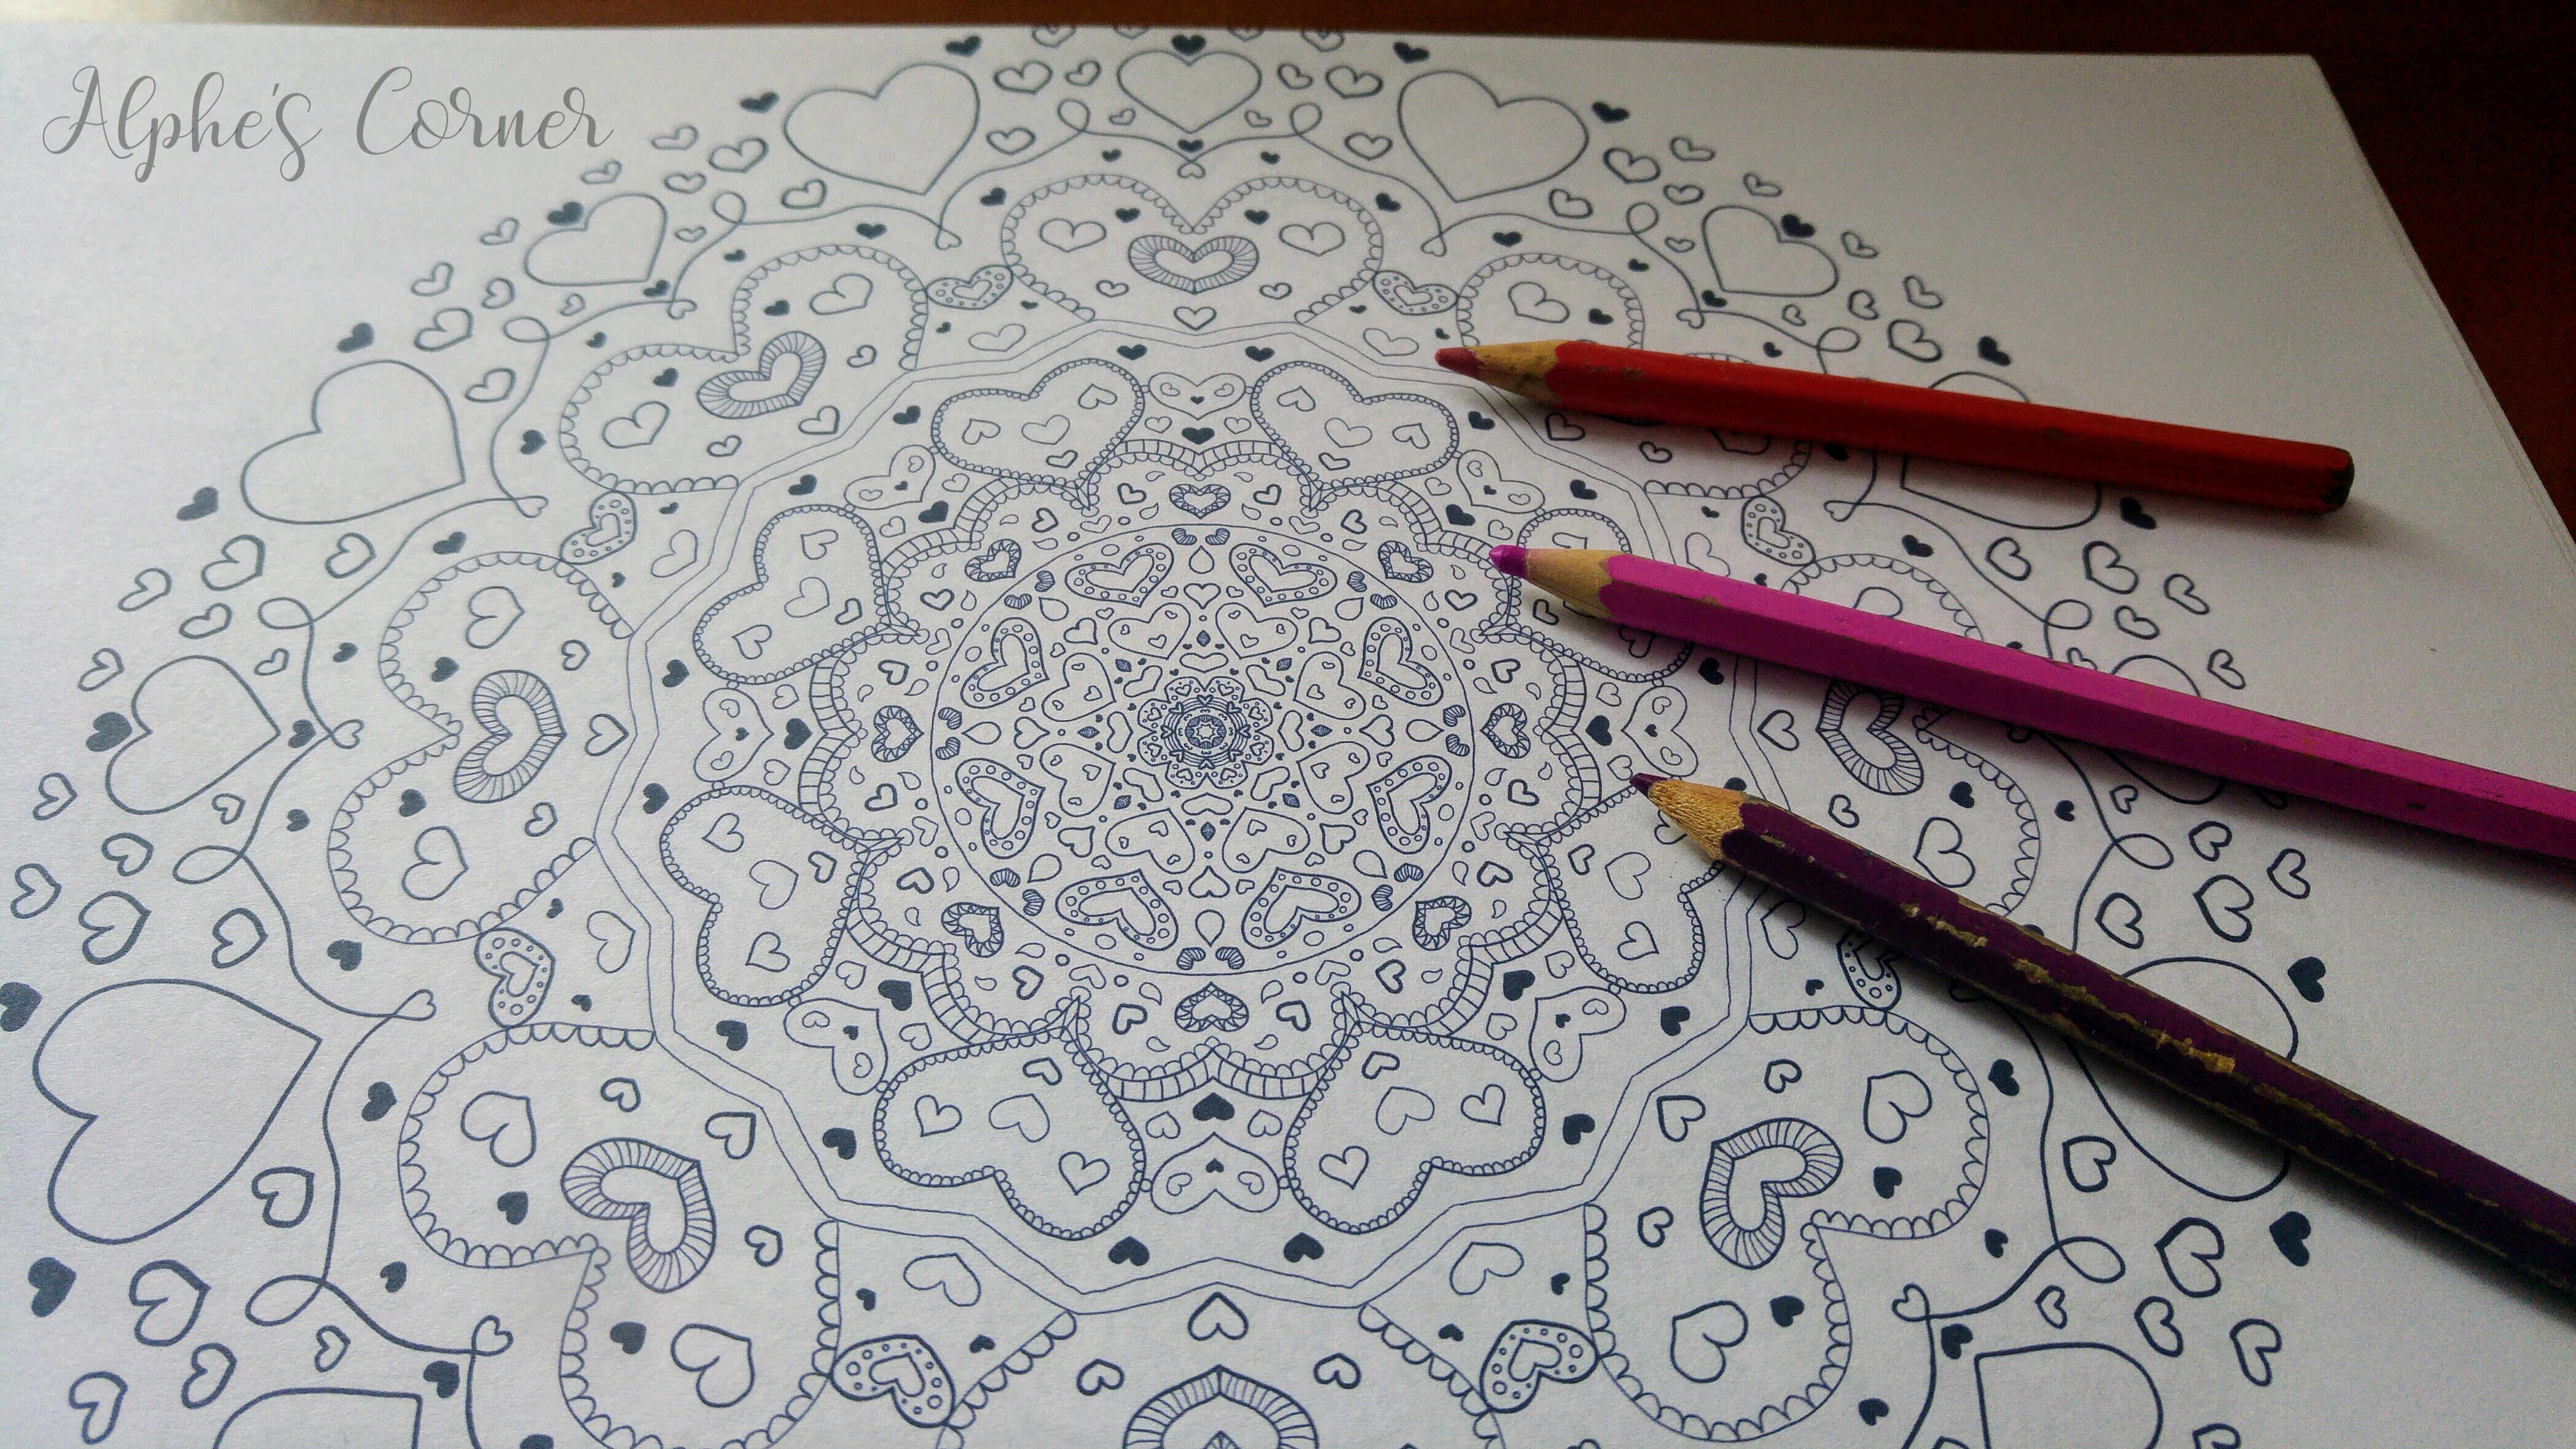
The finished sketch looked like this. It’s not perfect, but it wasn’t meant to be – it will work as guidelines for drawing the mandala with a liner pen.

When you’re happy with the sketch, it’s time to draw over it with a permanent medium. I prefer mandalas drawn with black, thin liner pens, but you can use paint, coloured pencils or anything you like. However, keep in mind that if you choose something that’s not fully opaque (like coloured liner pens), you’ll need to erase parts the sketch before putting down the permanent lines, instead of drawing directly on top of them. That’s why I’d recommend sticking to black ink. When you’re done, erase the leftover pencil.


Here’s the finished mandala in black ink. You can stop here or continue with some colouring – I decided to add some life to my mandala and coloured it with liner pens and coloured pencils.


Your very talented, Alphe! Beautiful design and colors. ❤️
LikeLiked by 1 person
Aw thanks! There’s no talent involved here, it’s all in simple patterns!
LikeLike
That’s beautiful!!!
LikeLiked by 1 person
Thank you! 🙂
LikeLiked by 1 person
that’s fabulous 🙂
LikeLike
You inspired me
LikeLike