
The beginning of February is the time when Valentine’s Day occupies every public space. Those who celebrate it – get prepared, those who don’t – complain about the commercial aspect of the holiday. If you belong to the first group and also happen to enjoy little craft projects, you might be planning to make a Valentine’s card. And for all handmade cards in general, it’s nice to have some little decorations to add as details. Whatever cards you’re planning to make – Valentine, birthday or any other type – these mini paper flowers will certainly fit!
To make these flowers, you’re going to need a flower punch or flower cutter. You can get them in local craft stores or – as I’d recommend – on Aliexpress.
Making these flowers is perfect to keep my hands busy while my eyes are focusing on watching YouTube or Netflix. Plus, it’s always great to stock up on small items that you can later pop here and there in cards and other papercrafts, as extra background for the main design.
You can go through each step in bulks, or even split the whole process between a few days, making a bit of progress each time you have nothing to do with your hands.
You’ll to need:
- coloured paper (semi-thick)
- craft glue
- beads or pearls
- a flower cutter
I made a video tutorial in case you’d rather watch. Otherwise – keep reading through the step by step tutorial of this very simple process.
For these flowers, you generally want to use paper that’s thick enough to hold its shape when folded. That way the petals of your flowers will nicely point upwards. I’d recommend using ultra thick paper, but unfortunately, those mini artistic hole cutters tend to have problems with thick paper. You’ll need to test yours and go for the thickest paper it can handle.
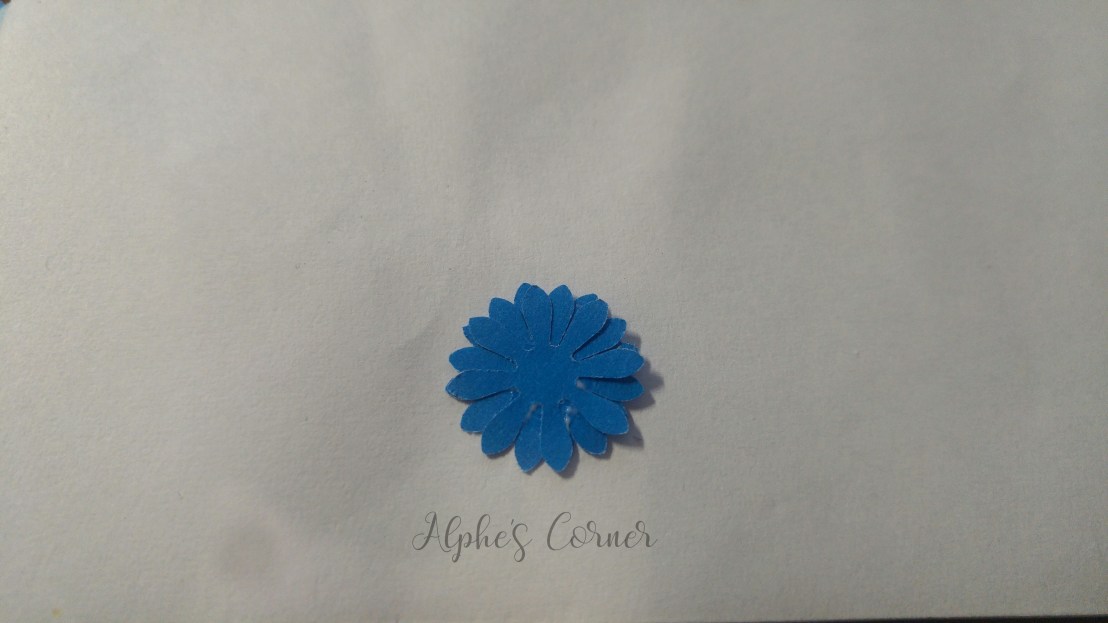
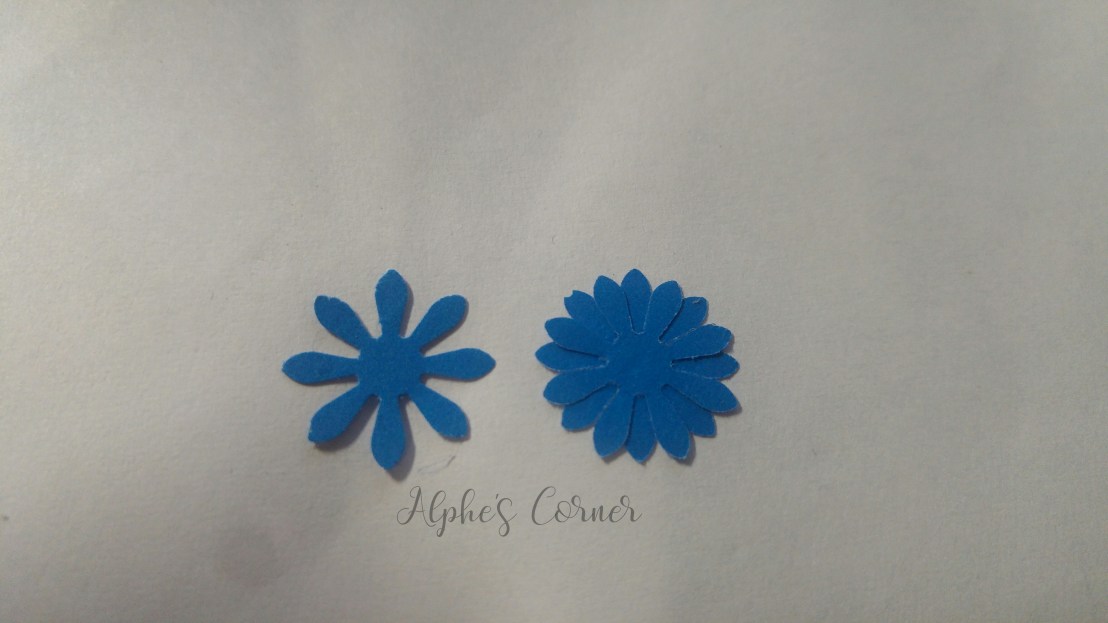
Start by cutting out three flowers. You can make them in the same or different colours – it’s up to you. Glue two flowers together, rotating them so that the petals of one are between the petals of the other. Then, glue the third flower on top, rotating it around the one in the middle (the top flower’s petals should fall between the middle one’s).

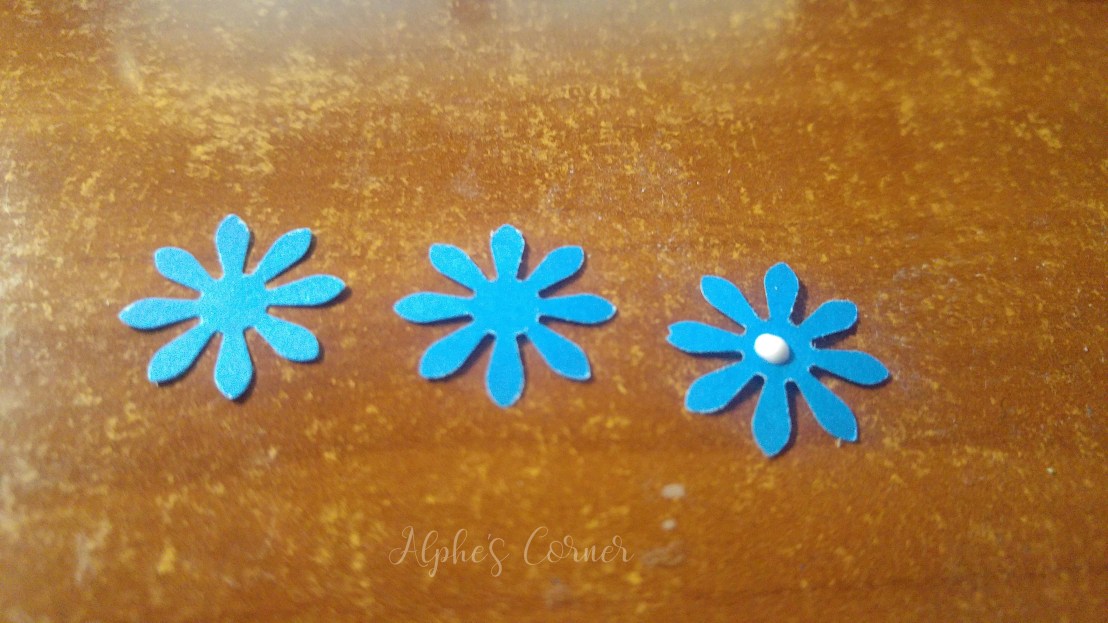
Add a drop of glue in the middle of the flower and attach a few beads or a pearl.
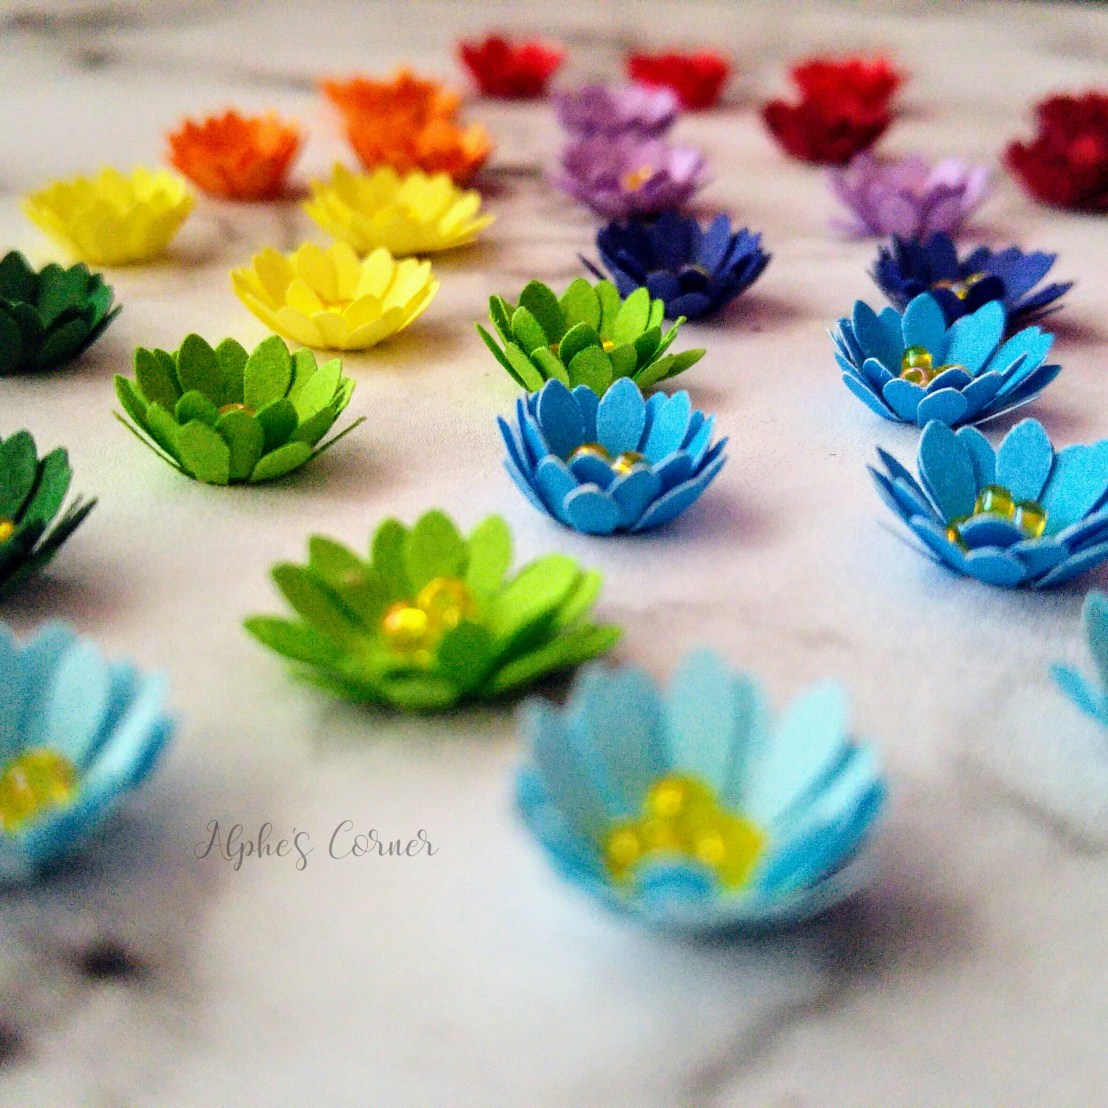
With your fingers, gently fold the petals upwards. Push the middle flower the most to the top and the bottom one – the least. That way you’ll create some volume.
That’s it! Make these flowers in bulk and use them for cards or other papercrafts.


🙂 That mini paper flower cutter is perfect for arts and craft-lovers.
Do enjoy the rest of your day!
LikeLiked by 2 people
It is great to have indeed, so versatile!
Thank you, all the best to you too! 🙂
LikeLiked by 1 person
Lovely flowers. I got that paper cutter here and have made flowers like that. I never put beads in , it makes a nice change. I think I will make more!
LikeLiked by 1 person
You are so creative 🙂
LikeLiked by 1 person
Thank you! 🙂 That’s one of the best compliments my crafty soul can possibly hear ^^
LikeLiked by 1 person
These are great. I love that it’s something someone with little paper craft experience can feel confident trying so thank you for that. They are just so cute. I can see them attached to strings of fairy lights.
LikeLiked by 1 person
Oh yes, actually, that would be nice!
LikeLiked by 1 person
Wow these are really so beautiful 😍
LikeLiked by 1 person