It’s been nearly two years since I decided to learn to crochet. I’m not an expert yet, and I certainly don’t feel ready to try to design my own, original patterns. But when it comes to following simple patterns, I have no trouble completing them. It’s Halloween month, so naturally, I wanted to crochet something in a Halloween theme. I’m trying not to buy new assorted DIY sets, as per my New Year’s resolutions, but when I saw this set for crocheted pumpkin coasters, I couldn’t resist.
Contents of a DIY crocheted pumpkin coasters
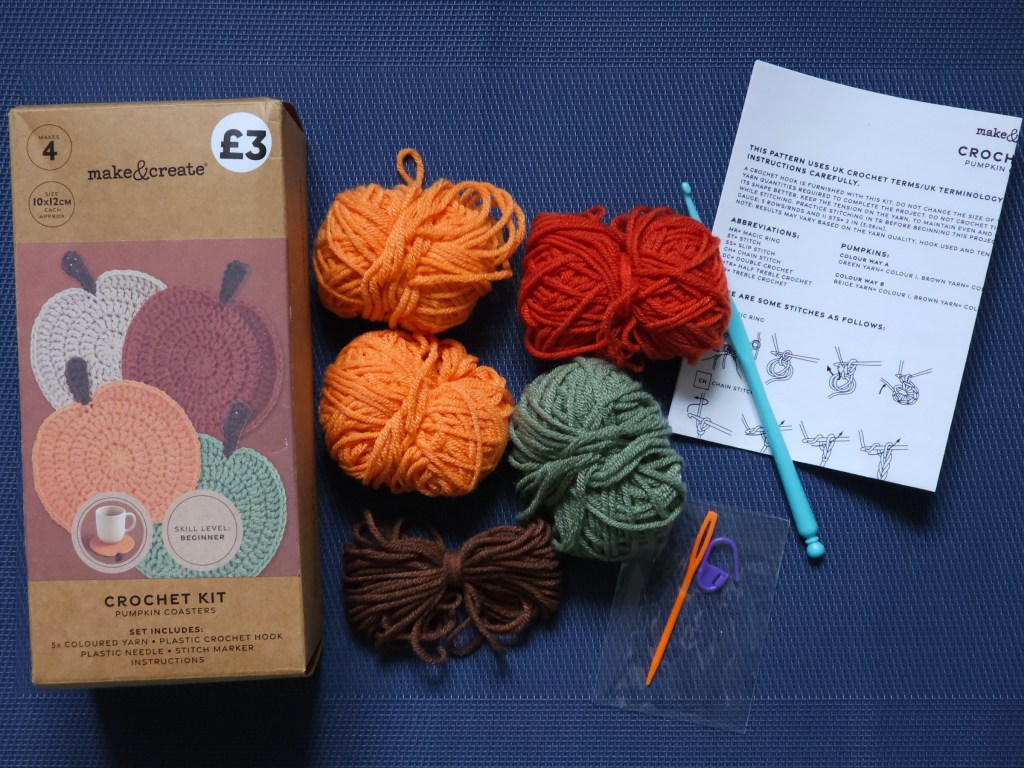
I got this set in the Works for just £3. It was supposed to include a plastic crochet hook, a plastic needle, a stitch marker, and yarn in five colours: green, red, orange, brown and beige.
I opened the box… and, well, I was immediately disappointed. There was no beige yarn. Instead, there were two balls of orange yarn. Not great! Everything else matched up, luckily. There was also an instruction with the pattern.
Starting off with a magic ring
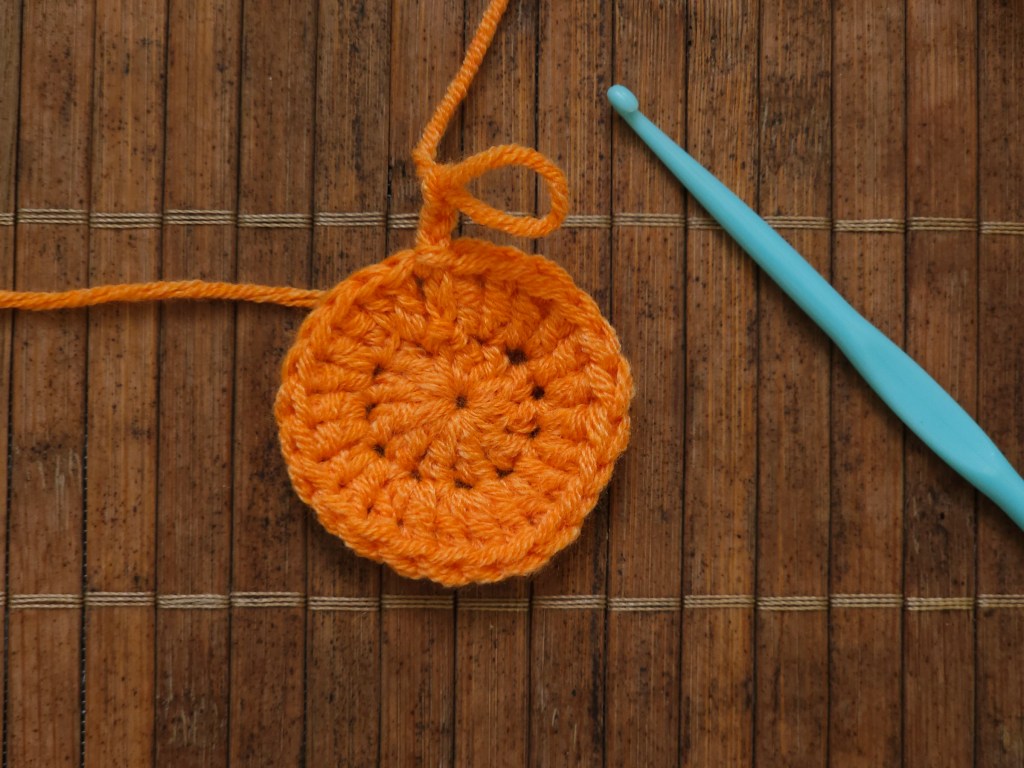
As I expected, the pattern started with a magic ring. I remember how confused I was by magic rings when I first started crocheting. I had to watch numerous tutorials on YouTube to wrap my head around it. Now, you could wake me up in the middle of the night, and I would make you a perfect magic ring in a second.
This crochet pumpkin coaster set primarily called for treble crochets. After adding a bunch of them into the magic ring, the first round of stitches was done.
Adding another round
This pattern called for ending rounds with slip stitches followed by a few chain stitches to start the next round.
When I first learned to crochet, I mainly worked on projects which worked in circular, continuous rounds. I quickly learned that the two methods are both useful, for completely different types of projects. To make a perfect, flat circle, working with separate rounds (ended with a slip stitch) gives a much better result.
I added another round of treble crochets, and the circle grew. After that, another round of just treble crochets (with some increases) followed.
Shaping the circles into pumpkins
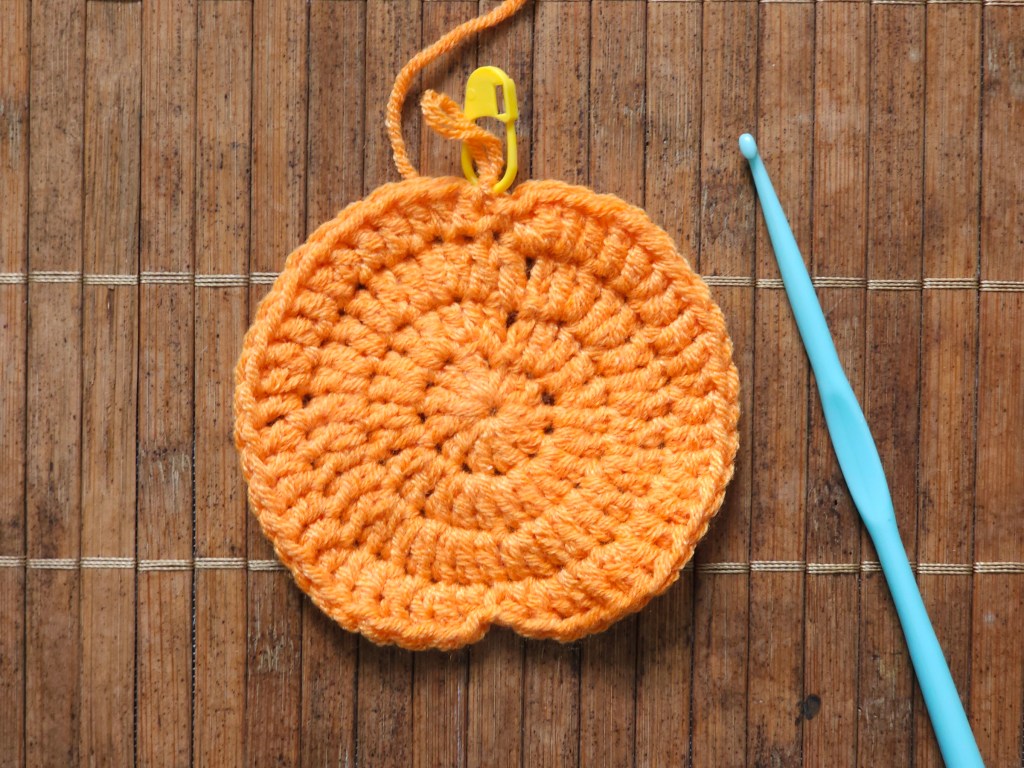
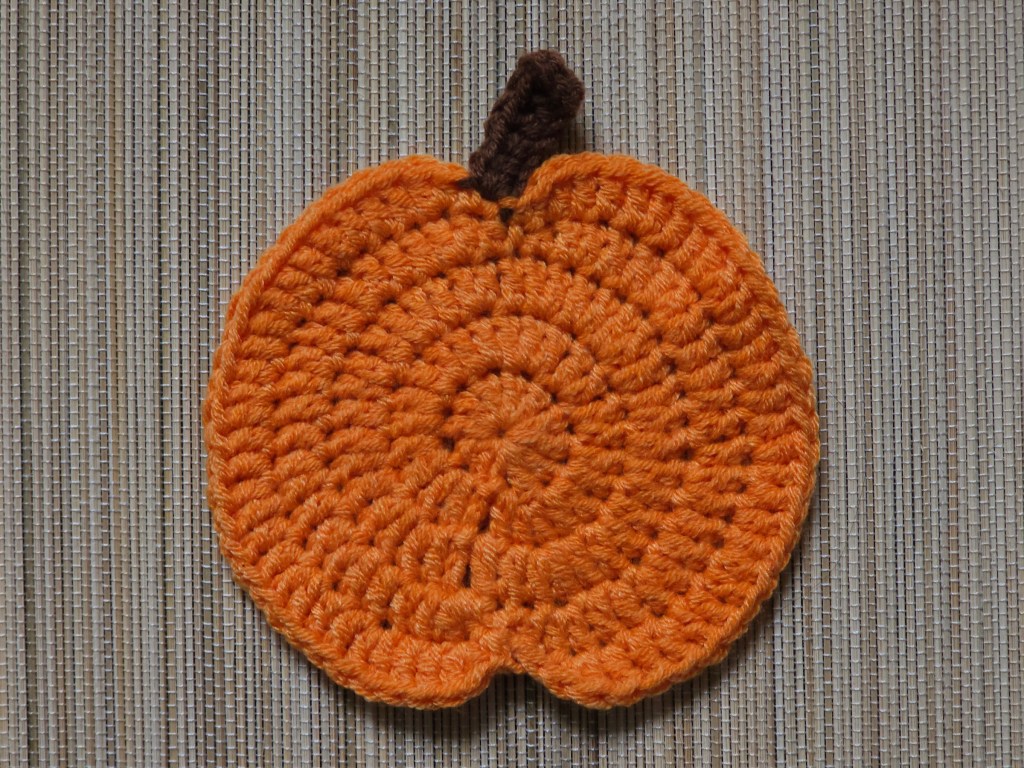
The fourth round is where it got a little more interesting. The pattern used some half treble crochets, double crochets and slip stitches to add shape to the coaster by creating dents at the top and at the bottom. The pumpkin was coming to life!
Finishing the pumpkin coaster
The fifth and final round also used a mixture of treble crochets, half treble crochets, double crochets, and slip stitches. The pumpkin shape was further emphasized.
In the middle of that round, the pattern told me to switch colours and make the brown stem.
The stem was made with a handful of chains with treble and half treble crochets attached. I’m not great at colour switches, I haven’t practiced it enough with my previous projects. I Googled how to do it, and managed to create the stem. I’m pretty sure I did something wrong when I joined the stem back to the base stitch and switched back to the orange yarn. The connection between the stem and the pumpkin doesn’t look exactly like in the photos… oh well! It still didn’t look too bad, so I continued crocheting.
I finished the round, handled the loose ends at the back, and my cute pumpkin coaster was finished!
Crocheting more pumpkin coasters
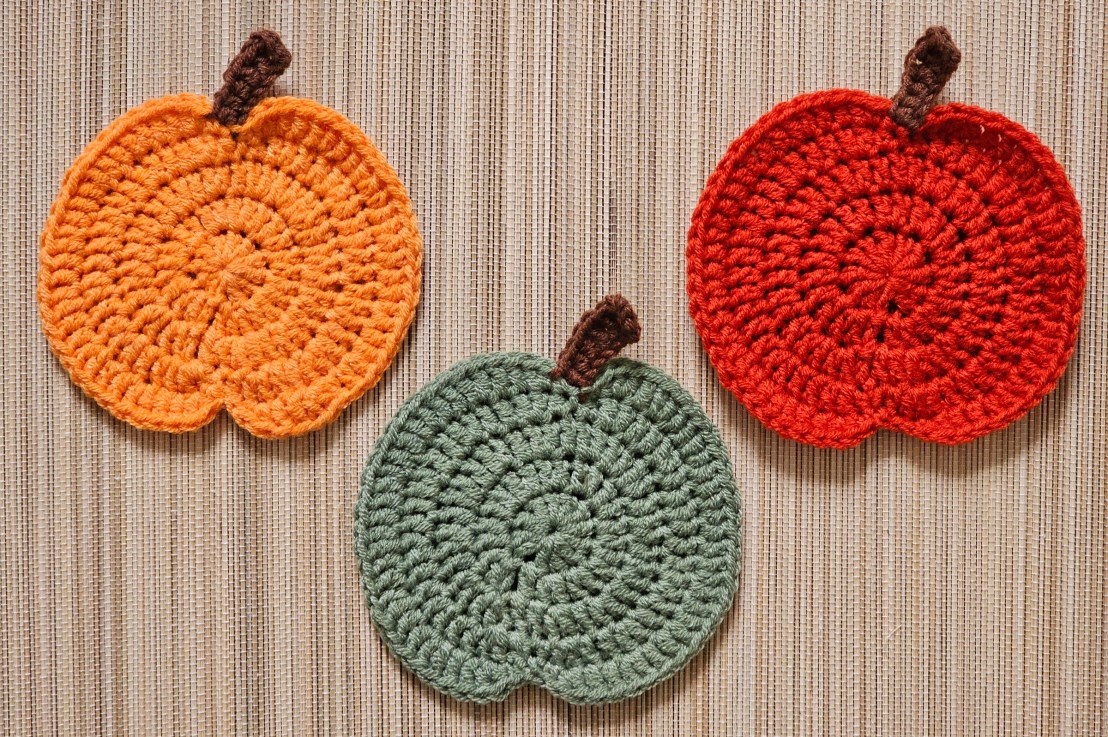
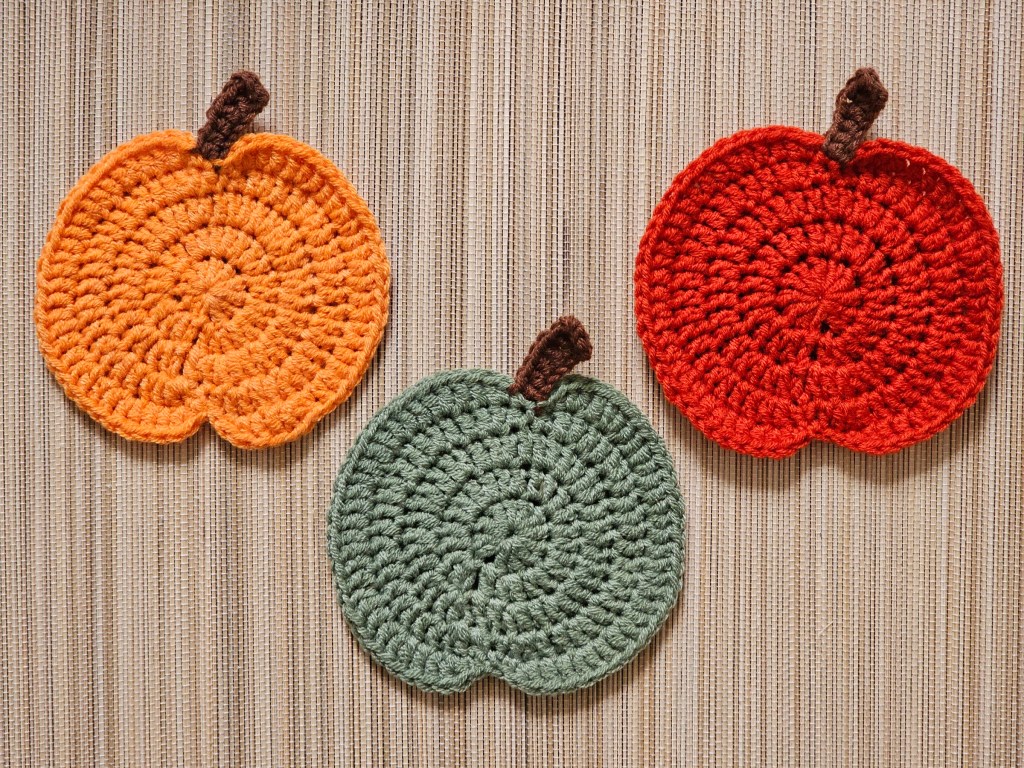
I then moved to crocheting more pumpkin coasters, using the remaining yarn. I made one in each colour. I’m still disappointed with the missing beige yarn, but I didn’t make two of the orange coasters. One’s enough for me!
I’m quite happy with the fact that all three coasters are roughly the same size. My tension is finally getting a bit more consistent! The avocado coasters that I crocheted as one of my very first projects ended up being completely different sizes.
Final thoughts
I’m really with happy how these crocheted pumpkin coasters turned out! I’m not sure how obvious it is that these are meant to be pumpkins – I have a feeling they could double as apples too? Still, both fit in the autumnal theme, so it’s all good!
Making one of these took me maybe an hour and a half – not bad for my (still) beginner skills. I shouldn’t have bought yet another DIY set when my storage is already full of them… but I enjoyed crocheting these coasters, and it was a good way to refresh my crocheting skills. For just £3, it was a nice little project to work on.
Also see: