
One of my New Year’s Resolutions for 2025 was to learn to crochet. I originally bought some assorted DIY kits in hope that they’ll teach me everything I need, and I almost instantly gave up, after seeing the instructions. I had no idea what they meant or how to read them! Eventually, I forced myself to watch some video tutorials and have another go. And although it was a rough start, I think I managed to make really good progress over the last 12 months! I’m nowhere near being able to create my own patterns, but I can usually follow easy or intermediate marked patterns. Here are my completed projects in the first 12 months of crocheting, and things I have learnt from them. I’d say it’s a realistic progress line for an adult with a full time job and lots of other commitments – I had limited time for crocheting, but I still learnt a lot.
How I learnt to crochet
But before I take you through my finished projects, let me tell you how I managed to get started. First of all: I bought assorted crochet kits, mainly in TK Maxx. Those sets include patterns, along with all necessary supplies. They’re a great way to pick up a new hobby!
All of the projects I’ve finished in the past year come from assorted kits. I managed to successfully alter some of them, where I didn’t like how the original pattern turned out, or where I was sure that the pattern was wrong. But, none of the projects was my own, original design. I’m not there yet! I feel like I could now attempt to design simple patterns myself… but I still have lots of assorted kits that I bought, and I need to get through those first.
I watched YouTube tutorials to learn magic circles and basic stitches. I watched a lot of them. I made sure to watch tutorials by various creators, to see different perspectives. Sometimes, I didn’t understand the video at all, and that’s completely fine! I just continued watching other tutorials, until I found one that clicked for me.
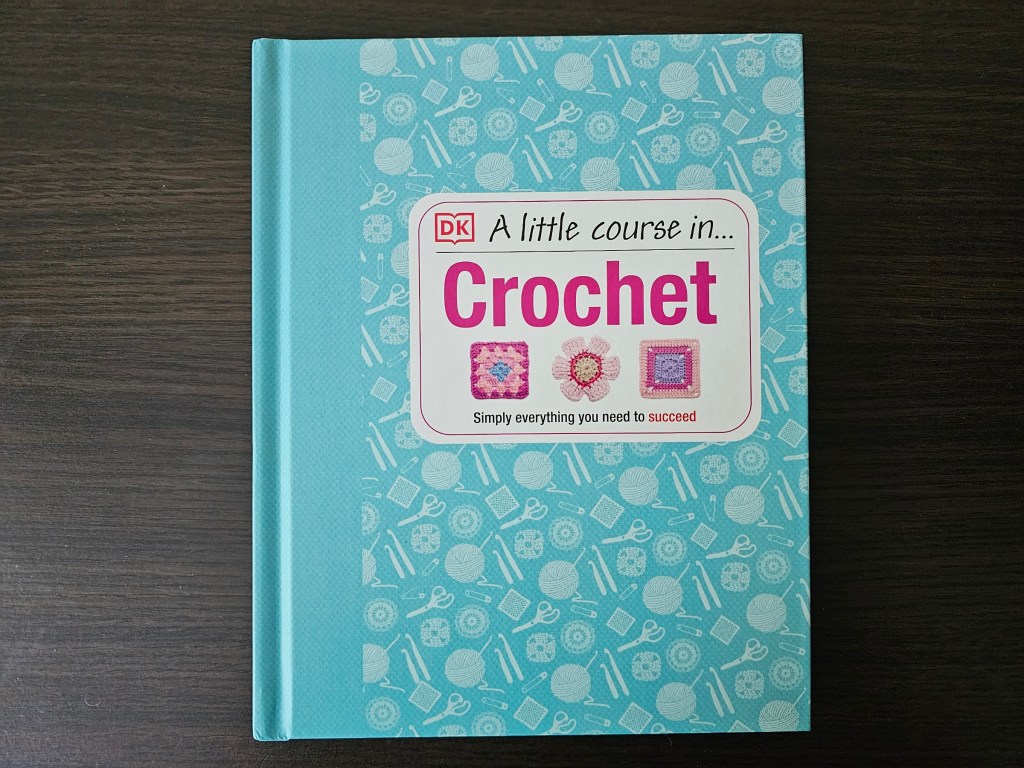
I also bought a crochet guide book, and honestly, it really helped me a lot. I highly recommend it!
Easter eggs
My learning journey started with plain Easter eggs. And what a journey it was! The pattern for these eggs only required double stitches and basic increases and decreases. Well, it took me ages to learn how to make a magic circle and double stitches. But when I did, I decided I was ready to make the egg. At that point, I thought I could count the rows and stitches in my head. What can possibly go wrong, right?
The final result was, therefore, a loose interpretation of the pattern. It looked… well, I guess it resembled an oddly shaped egg with holes?

But, practice makes perfect, right? I continued making the eggs, and learnt the importance of counting rows and stitches. I used stitch markers, and it definitely helped. You can see my progress in the picture below. The final egg looked much, much better than the first! It was only a while after I finished that yellow egg that I discovered another mistake – I was stitching back loops only, without realising. Oops!
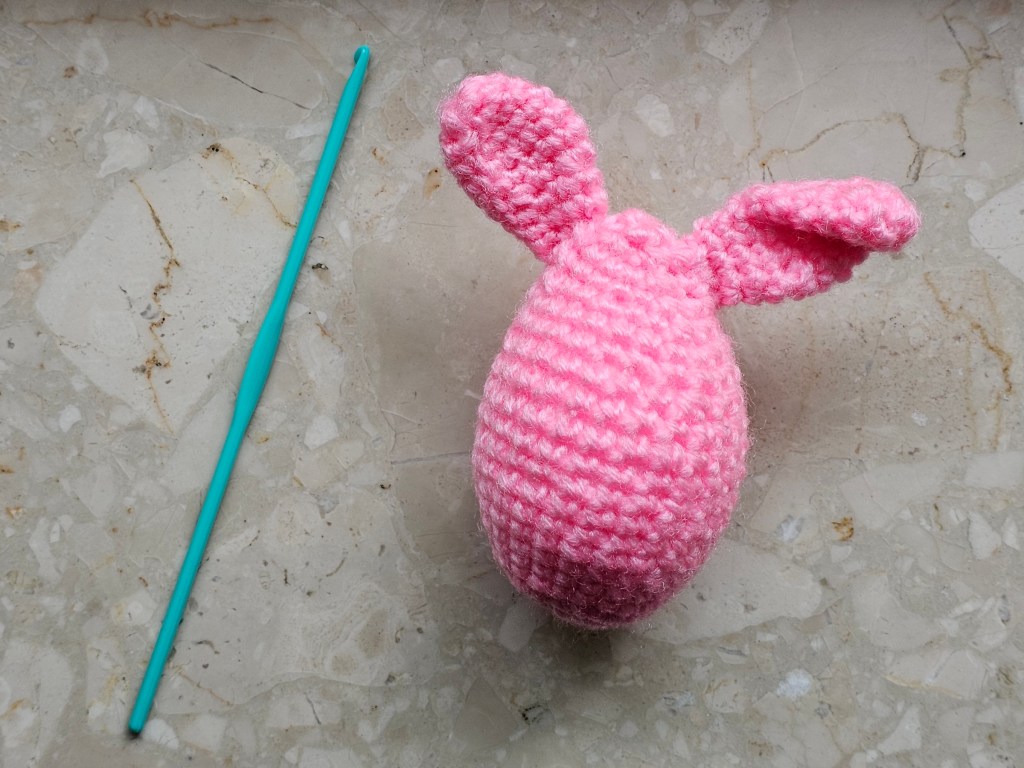
I then used another assorted set to crochet a neon pink egg, with bunny ears. And that went so much better!

Witch’s Hat
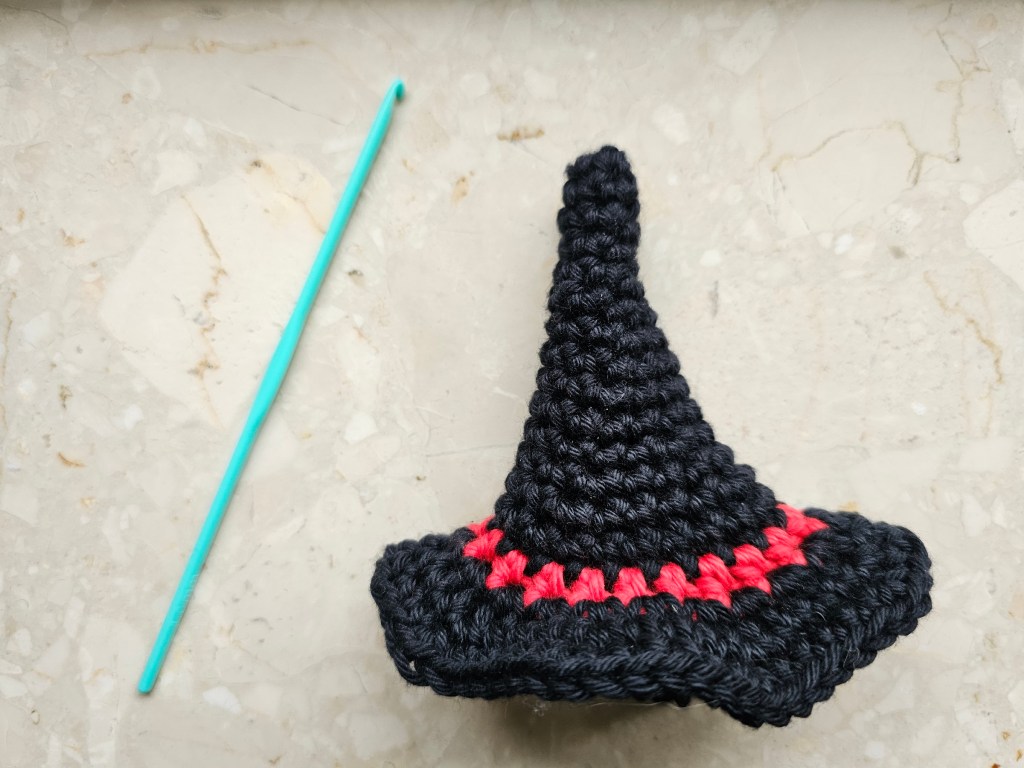
Next, I used a discounted Halloween set to crochet a witch’s hat. And honestly, I think it’s one of my favourite projects to this day! I learnt how to make treble stitches, and how to switch colours. The pattern was easy to follow, and I was really impressed with the final result. It really does look like a hat!
Avocado coasters
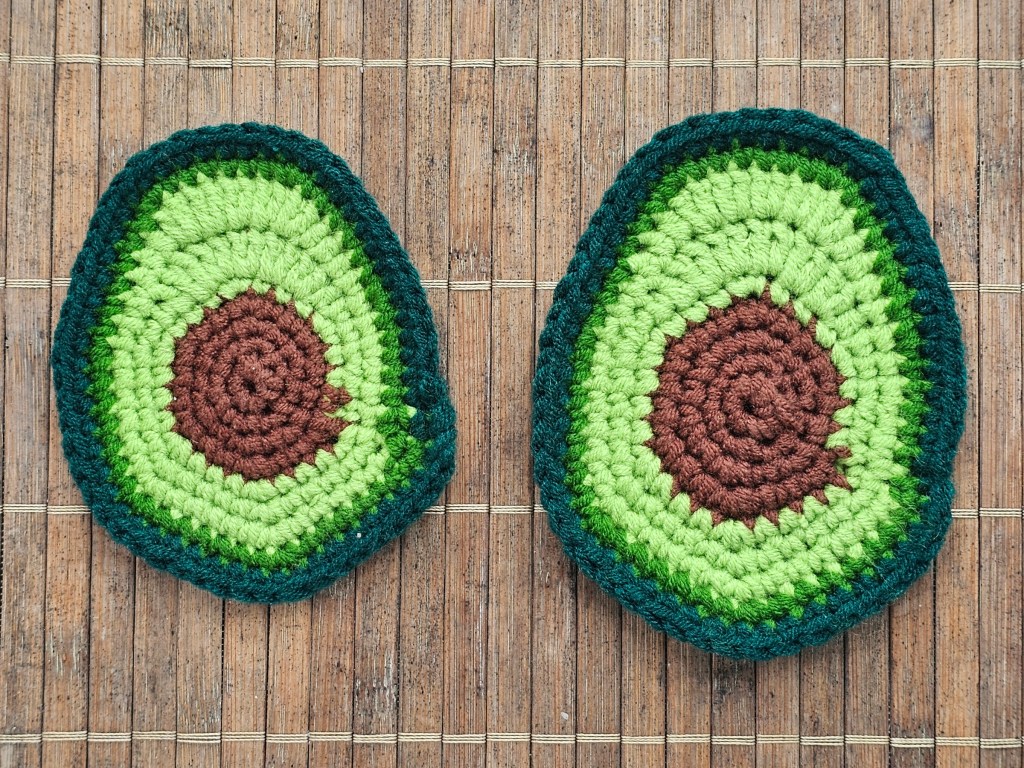
Next, I crocheted these adorable avocado coasters. During this project, I realised the difference between joined and continuous rounds. I stitched in continuous rounds (based on what I had learnt from previous patterns) but in this case, joined rounds would have looked much better!
Despite the imperfections (you can clearly see where I switched colours in the continuous, spiral rounds), I really loved the final result. In this project, I used treble- and half treble crochets. I also saw the difference tension can make. As you can see, the two coasters ended up in completely different sizes! After finishing this project, I tried to loosen my tension in all subsequent crochet projects.
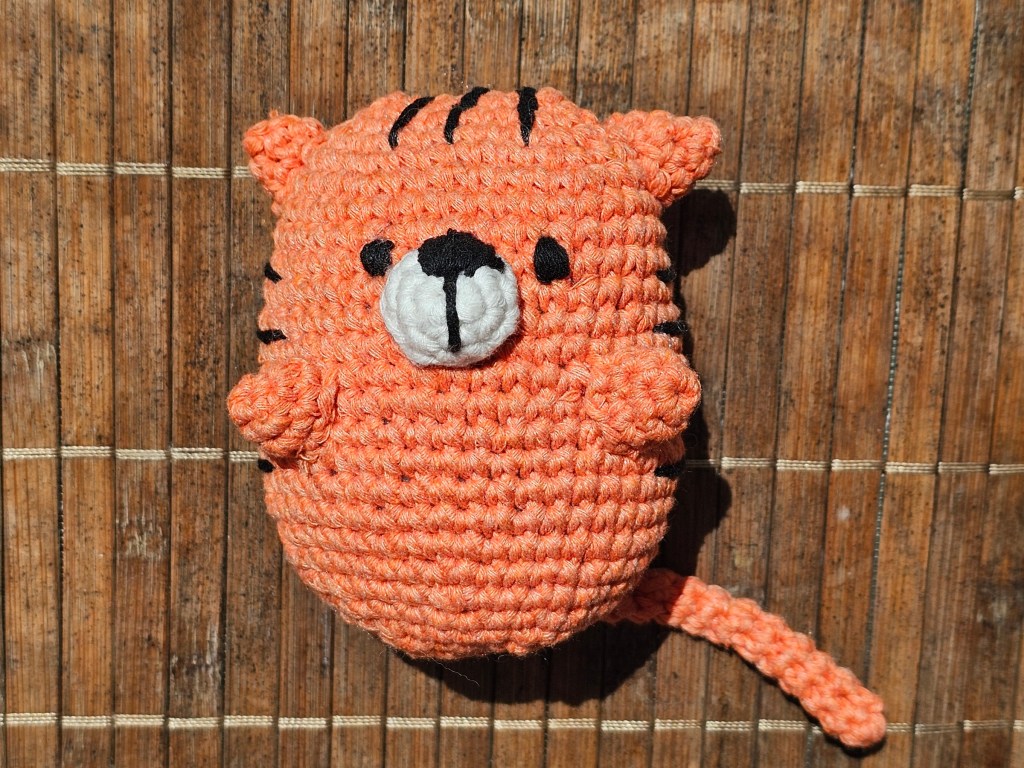
Tiger
This adorable tiger was my first crocheted 3D plushie. It helped me learn how to sew crocheted elements together, and how to add embroidered details to crocheted pieces – I’m still not great at those skills, but I certainly gave it my best!
Star keychain
Whilst crocheting this cute star, I learnt how basic stitches can make different shapes – to be specific, I learnt that slip stitches help create a ‘dent’ in a pattern, whilst adding increases and taller stitches can add ‘bumps’. I’m not ready yet to try to design my own crochet patterns, but that knowledge will definitely be valuable one day!

Cherry bookmark
Crocheting these cherries for a bookmark wasn’t the easiest for me. The pattern seemed wrong – I could tell despite being a complete beginner myself. I had to make adjustments, and I’m really proud of myself! I managed to save this project, and the final result does look like cherries indeed.
The leaves were the trickiest for me – they didn’t call for crocheting in rounds, but focused on crocheting around a chain. It was a new technique for me, but I think I managed to follow the pattern – or at least I managed to create shapes resembling leaves.

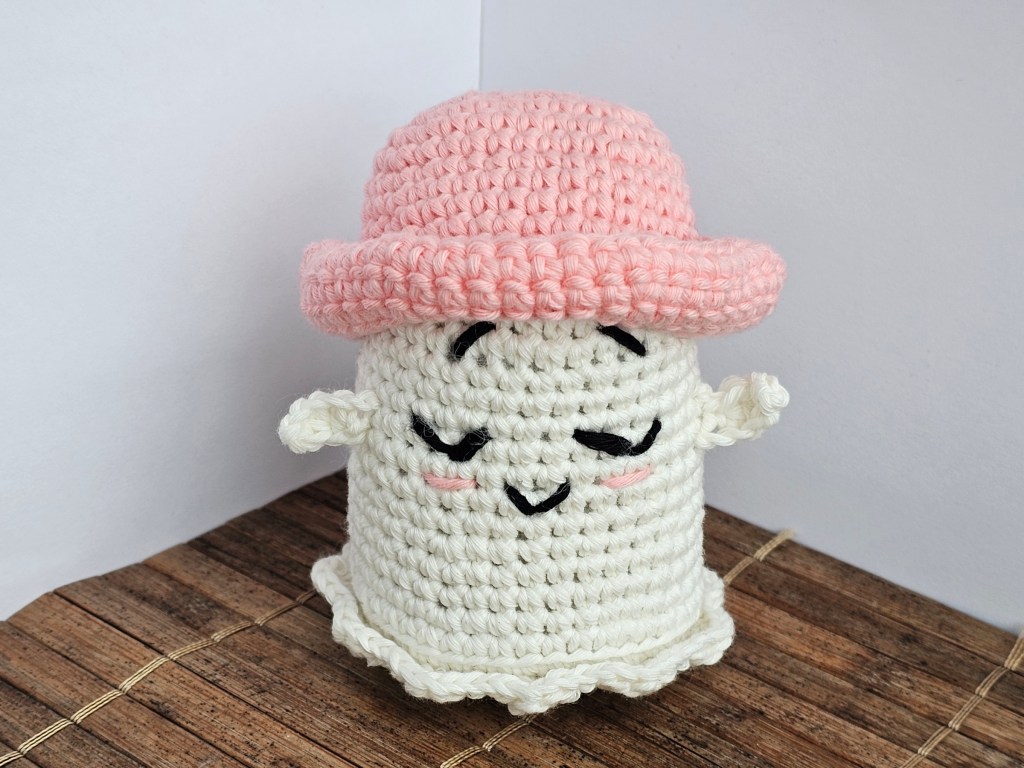
Ghost with a pink hat
This cute crocheted ghost was probably my most elaborate project to date, even though it only used simple stitches. The removable hat turned out great, and I learnt how to add frill rounds onto a finished crocheted piece (the body of the ghost was done first, and the frill at the bottom was added afterwards). I also had a chance to practice my embroidery skills. Still not an expert, but it didn’t turn out too bad!
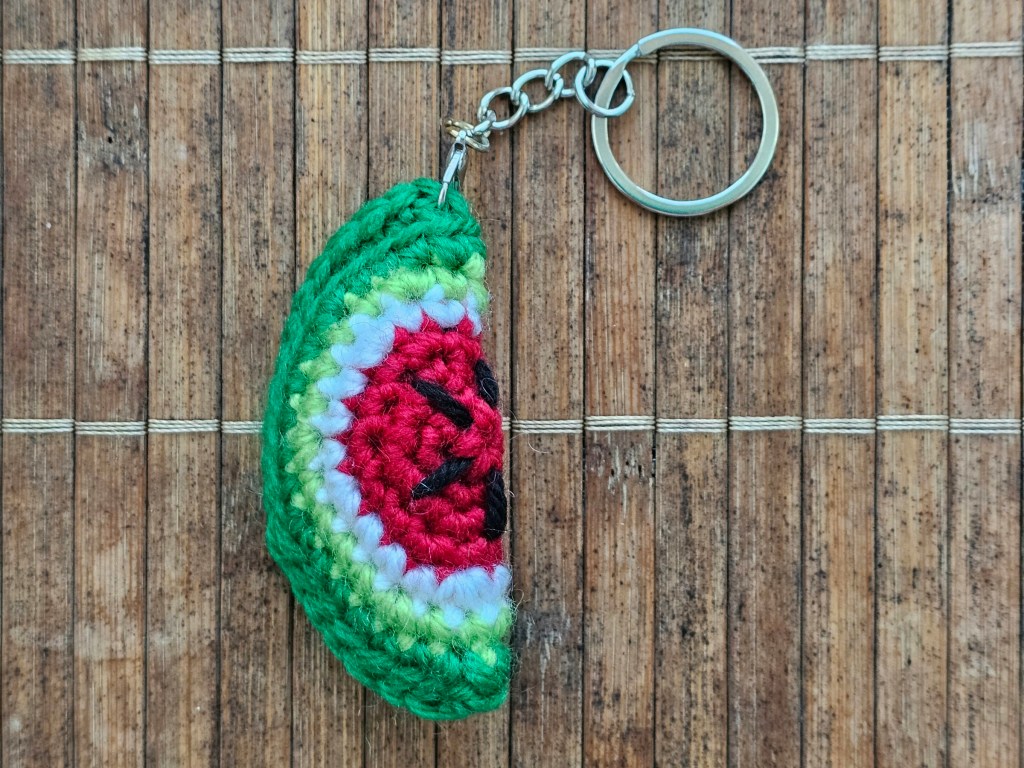
Watermelon keychain
I’m not sure about this crocheted watermelon keychain, but this project certainly inspired me to make watermelon coasters one day. I think they would look better than a keychain! Not much to say on this project. Compared to the ghost and the tiger, it was really, really simple. I had bought that set a long time before, so I wanted to do it anyway.
Hedgehog
This crocheted hedgehog was supposed to be a keychain as well, but I left it as a mini plushie – I don’t really use keychains. The project was really simple, but it taught me an interesting technique for making the frill-like layers! I was curious to see how they’re made, after seeing the photo of a finished hedgehog on the packaging of this set. It turned out to be really easy!

Gingerbread man
This crocheted gingerbread man was the most elaborate crochet project I’ve ever made. It’s not perfect, but it taught me a lot of valuable lessons, through unfortunate mistakes.
First of all: I need to drop the habit of working in spiral, continuous rounds. As you can see on the ‘icing’ on the gingerbread man’s arms and legs, the continuous rounds don’t make a perfect circle if you do one row in a different colour. Ouch!
The biggest mistake, however, was crocheting the legs ‘inside out’. I didn’t realise my mistake until it was too late to fix it, but I somehow ended up with the ‘right side’ inside. Oops.
Still, the final result was pretty cute! I learnt how two legs, crocheted separately at the start, can be merged into one body. My mind was blown, to be honest! In theory, this learning alone could allow me to try to design my own plushie one day… if I have the courage to try it.

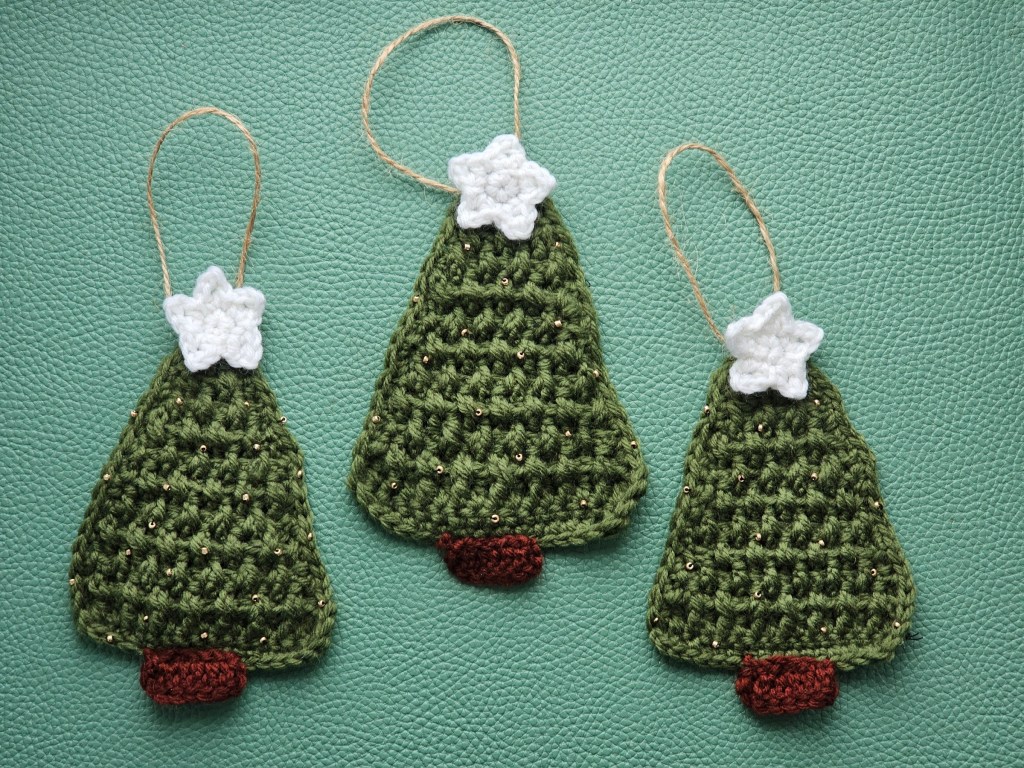
Christmas tree ornaments
Another Christmas crocheting project I finished were the Christmas tree ornaments. What a ride that was! From confusing ‘back loops only’ with ‘back post only’, to tweaking the original pattern, and ending with genuinely pretty ornaments. Wow!
I particularly liked the stars on top of the trees – the pattern for them was really confusing for my beginner skills, but I managed to crack it. The ornaments turned out really neat, in my opinion. Dare I say, they’d be… sellable?
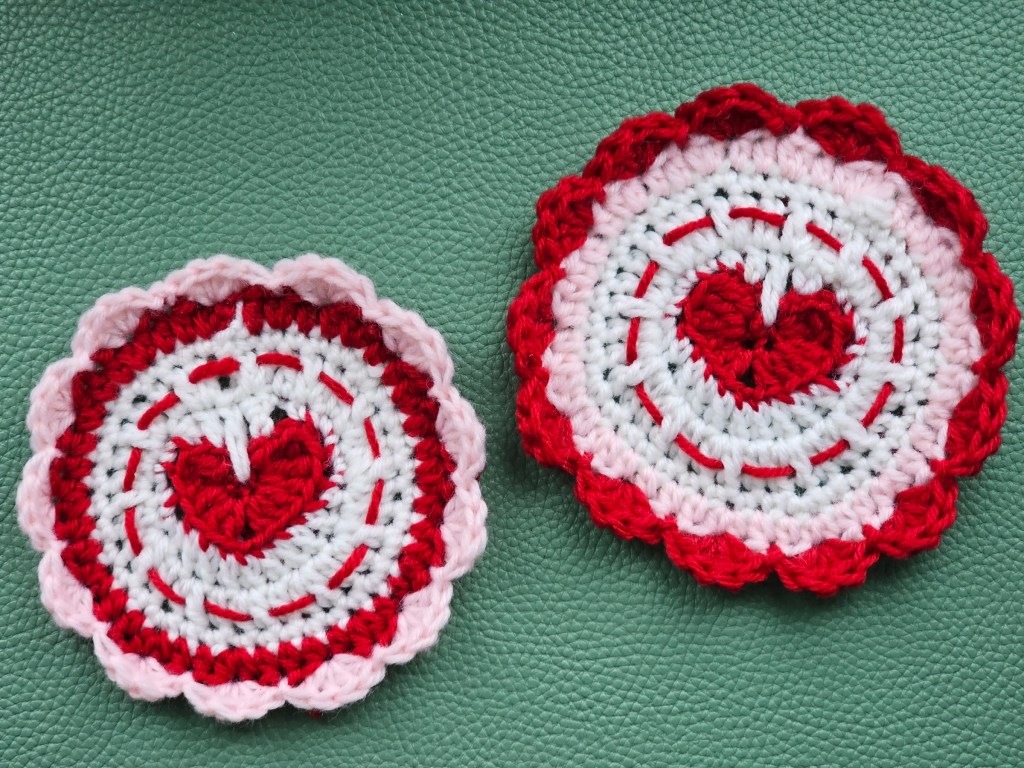
Heart coasters
For Valentine’s Day, I made these heart coasters. I learnt so much from this seemingly basic project!
First of all – the design started with a heart, and the next round negated its shape to return to a circular round. This will be so useful for making other coasters with a fun shape in the middle!
I also learnt how to make the scalloped edges. If I ever attempt to design a crocheted cardigan, I will definitely include this shape. It’s so cute!
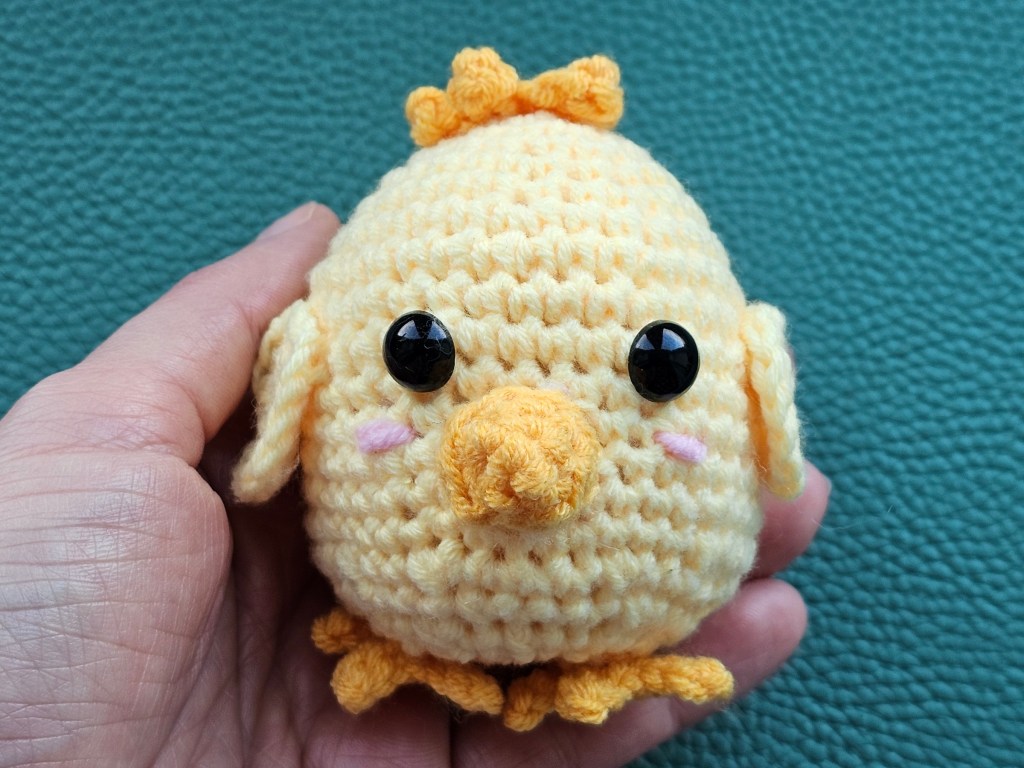
Cute chick
Finally, before Easter this year, I crocheted this cute chick. I managed to complete various funky shapes, like the chicken feet and the fringe. The chick turned out great, but most importantly, it’s such a contrast to those failed Easter eggs I attempted to crochet last year!
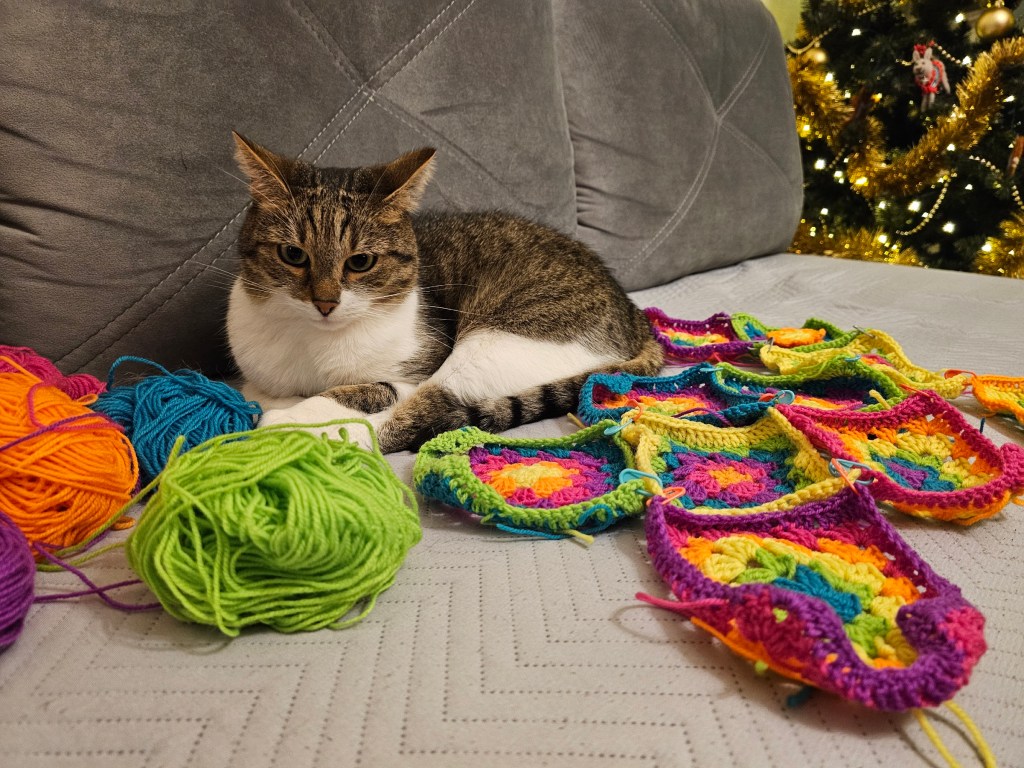
Granny squares
I also need to mention granny squares. Over Christmas, I picked up a DIY set for making a granny square tote bag. I technically haven’t finished it yet (it’s missing a handle), but I finished all of the granny squares, and I really enjoyed making them!
Final thoughts
Naturally, I’m not an expert at crocheting. I never claimed to be! I don’t dedicate my entire spare time to crocheting, I only pick up a new project occasionally, when I feel like it. Yet, I managed to make huge progress! From failing to crochet a simple egg 12 months ago, to being able to follow detailed, intermediate patterns for 3D plushies with various details… it’s been a rollercoaster, but I’m super proud of myself! If you’re reading this post, discouraged, not knowing where to start… 12 months ago, I spent 2 hours watching tutorials on making magic circles, and I still couldn’t understand it. Yet now, I can crochet a whole plushie! Don’t give up, and progress will come. And, who knows… maybe within the next 12 months, I’ll be able to design my own patterns? We’ll see.
Also see:


Beautiful designs 😍
LikeLike
Well done! I love the gingebread man, but all your projects are so cute! After knitting for many years, crochet always frustrated me. You’ve inspired me to give crochet a try, again. In the US we have TJ Maxx and I don’t believe they carry craft items. I’ll have to check before I go elsewhere.
LikeLike