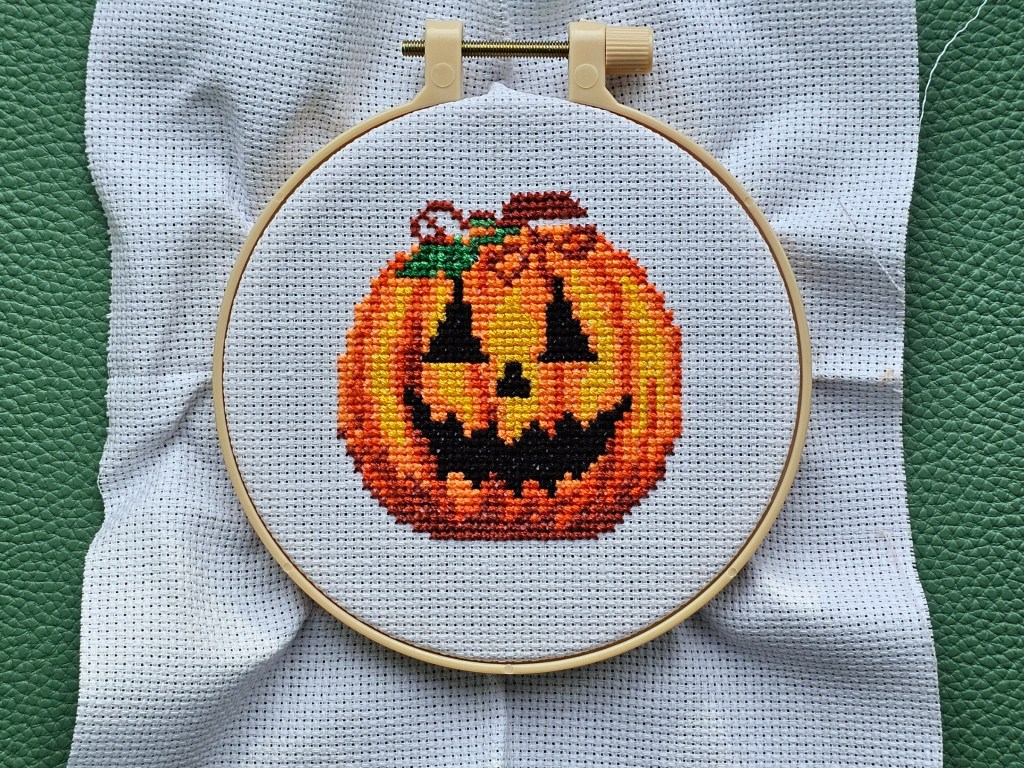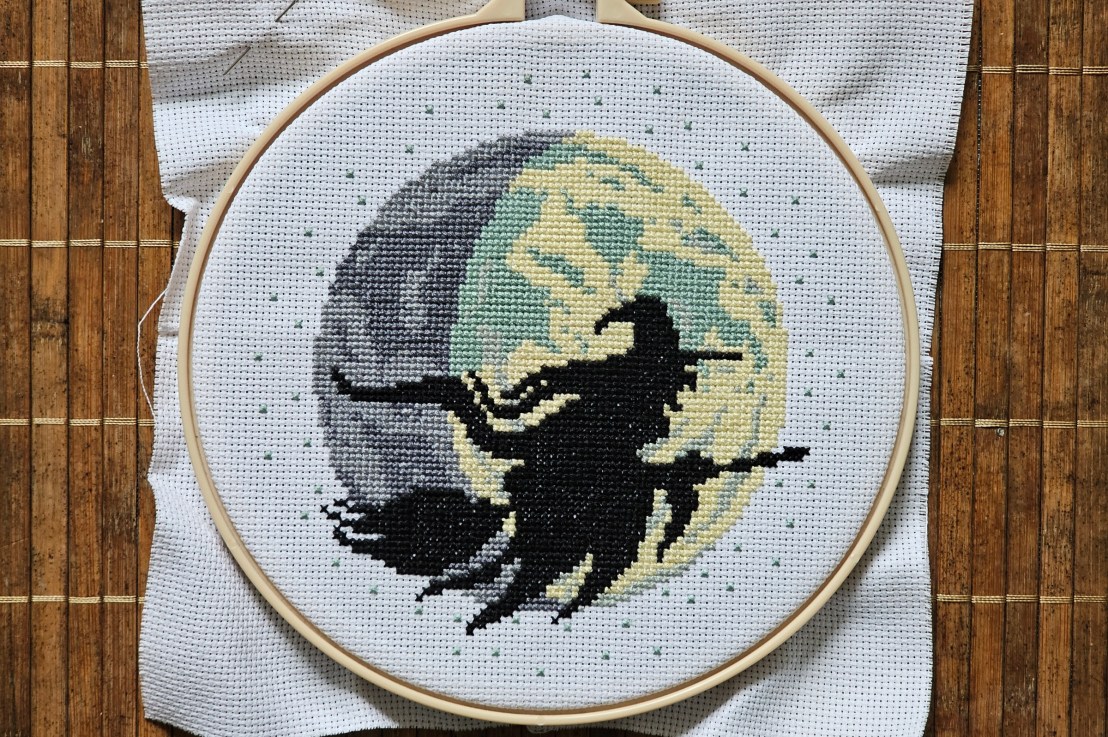
Halloween is just around the corner, and that means one thing: it’s time for Halloween crafts. Frankly, I’m already in a Christmas mood, but I couldn’t completely ignore Halloween. Plus, one of my New Year’s resolutions this year was to use up some of my arts and crafts supplies, and I happen to have quite a few Halloween sets. So today, I’m bringing you my recently completed cross stitch project: a Halloween witch.
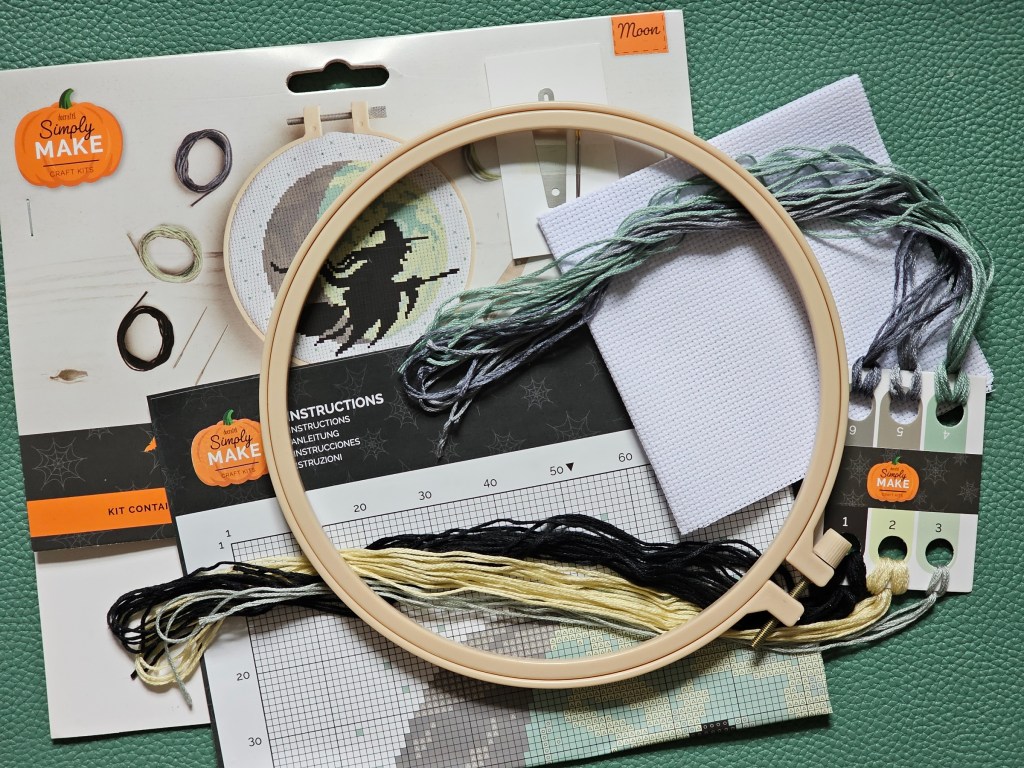
Contents of the set
I got this set in TK Maxx. It included a plastic embroidery hoop, a blank canvas, threads in six assorted colours, a needle, and a threader. There was also a leaflet with the pattern.
Starting off – sewing the witch
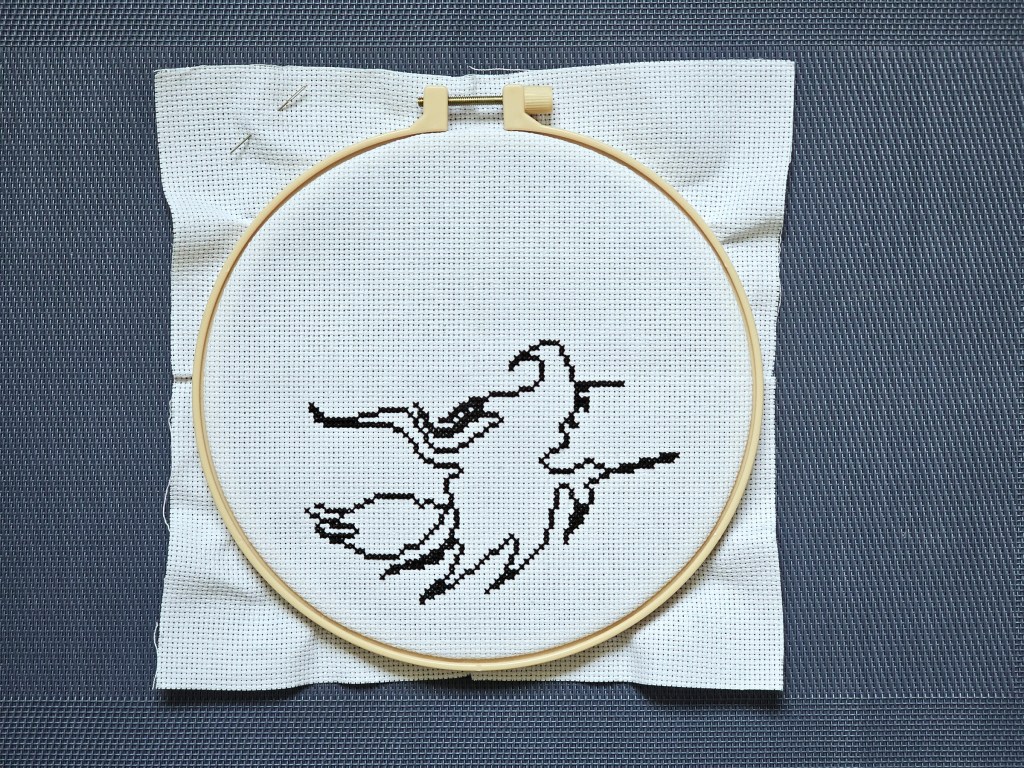
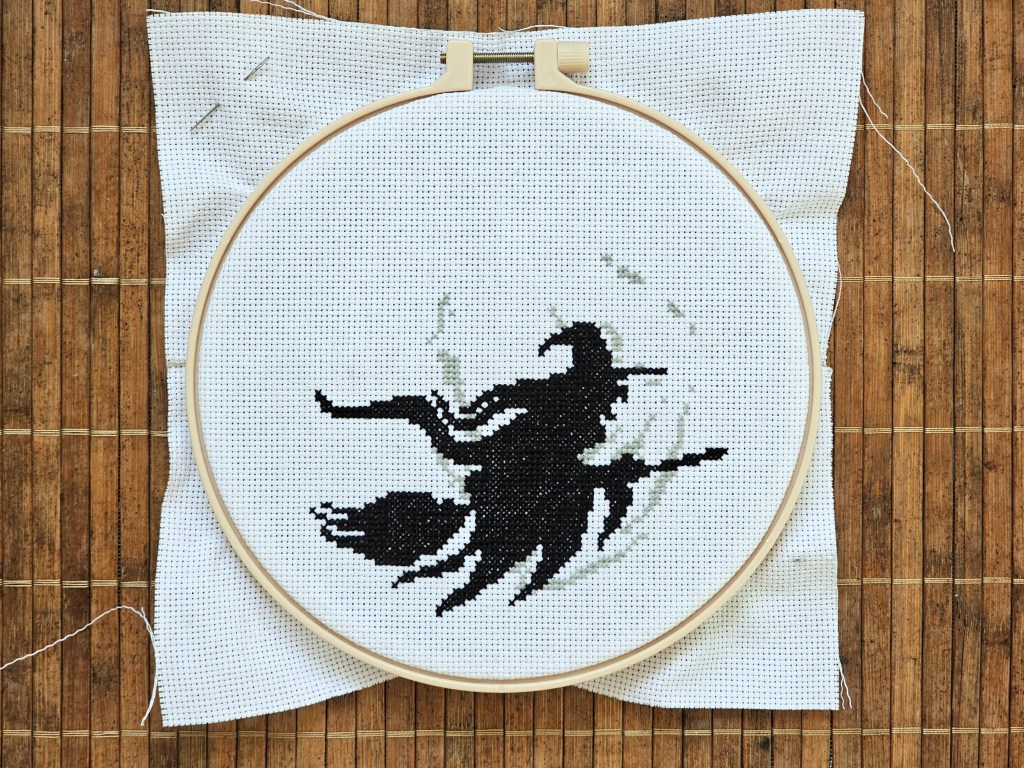
I decided to start by sewing the silhouette of the witch. When it comes to stitching large blocks of one colour, I typically start with the outline, and then just fill it in. That way, I only need to refer to the pattern at the beginning, and I can relax afterwards while stitching without thinking or counting the crosses. Naturally, it means I need to be extra careful when I sew the outline. This time, I managed to avoid mistakes and had a perfect outline of a witch.
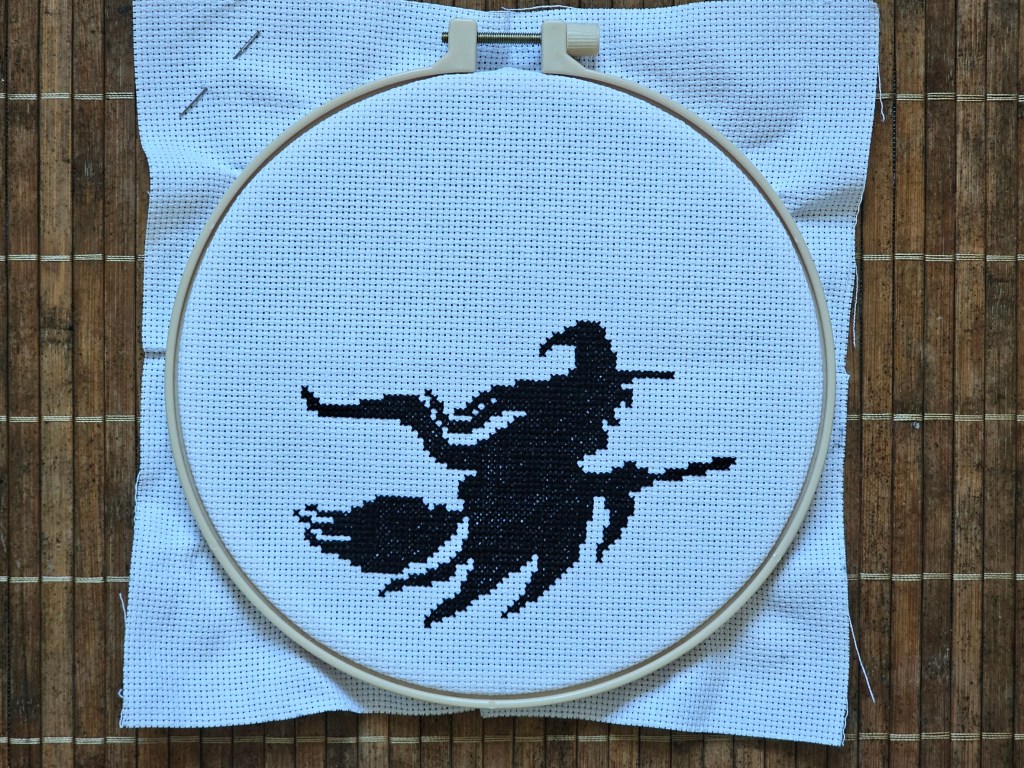
I then filled it in. It took some time, but it was quite enjoyable. However, I’m not entirely happy with how it turned out – I used two strands of black thread, following the instructions, but the white canvas was peeking through the black thread. I even tried to brush the crosses with my fingernails in hopes to fluff them up, but it didn’t help much. Oh well.
Sewing the moon – adding grey details
Next, I moved to sewing the background. I don’t love cross stitch patterns with a solid background – those take a long time to sew, and I get bored quickly. But since I had bought this set, I had to finish it.
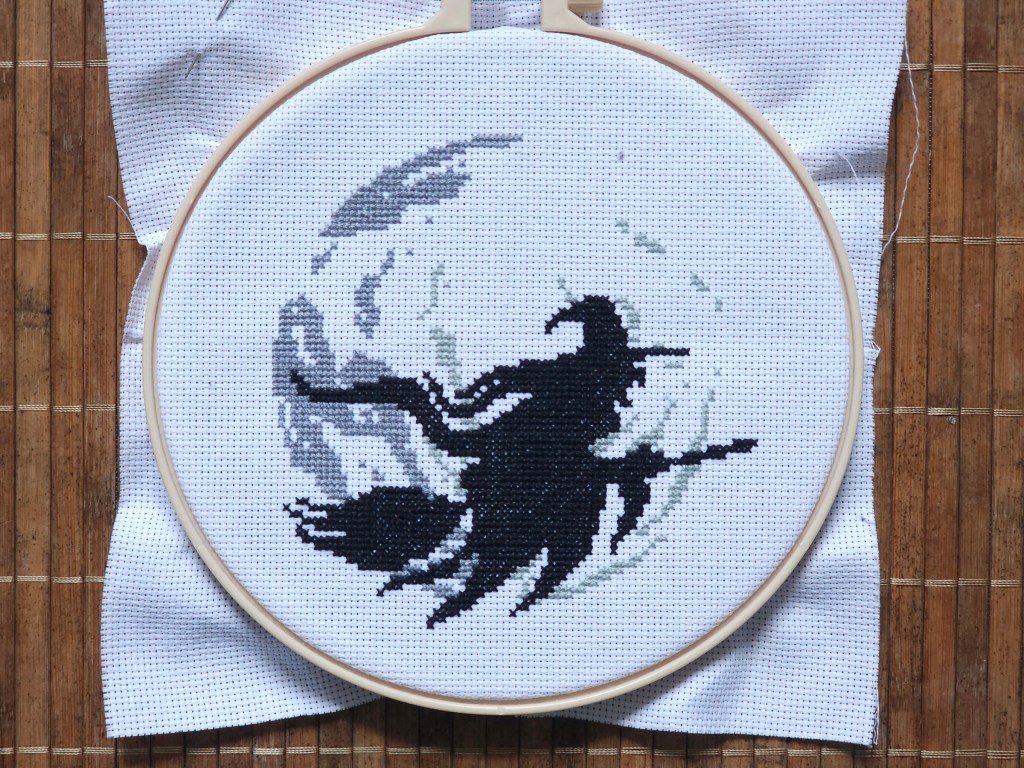
First, I added the light grey details on the right side of the moon. This required a lot of focus – I had to count the squares for each element.
Next, I did the same with darker grey thread on the left hand side. Those blocks were larger and took a bit more time to finish, but eventually, they were finished.
Continuing with the background
Frankly, this part of the project felt endless. Have I mentioned that I’m not a big fan of busy backgrounds?
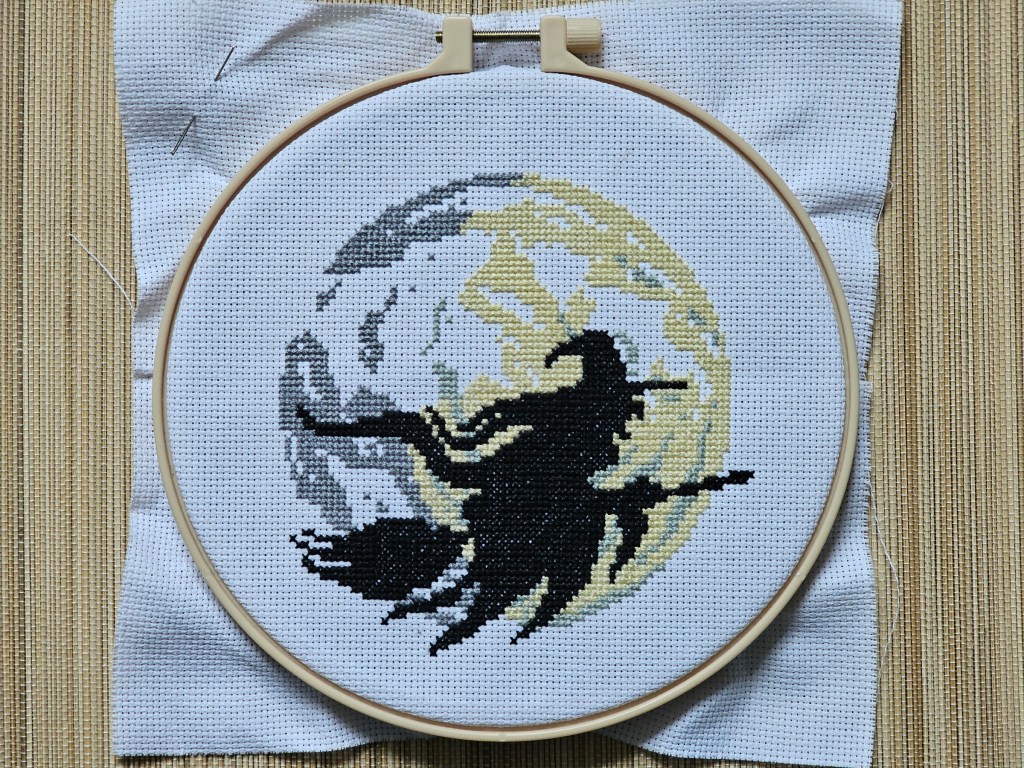
Next, I used the light yellow thread to sew a large block on the right side of the moon. I still had to count the squares and pay a lot of attention to the pattern, to leave space for the remaining teal details. After a longer while, the yellow area was finished.
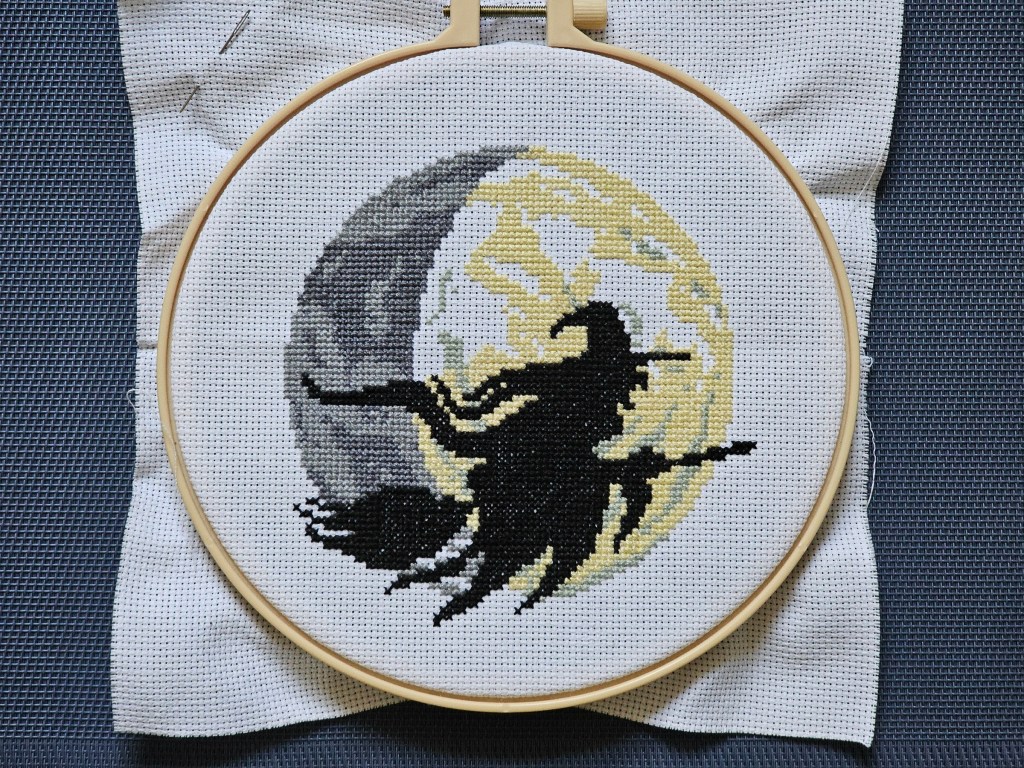
It was time to reach for the darkest grey thread and complete the left side of the moon. I used a similar technique to what I did with the witch: I sewed the outline first, and then filled it in. It took me some time to finish, but the ‘colouring in’ part was quite relaxing.
Sewing the final colour – teal details
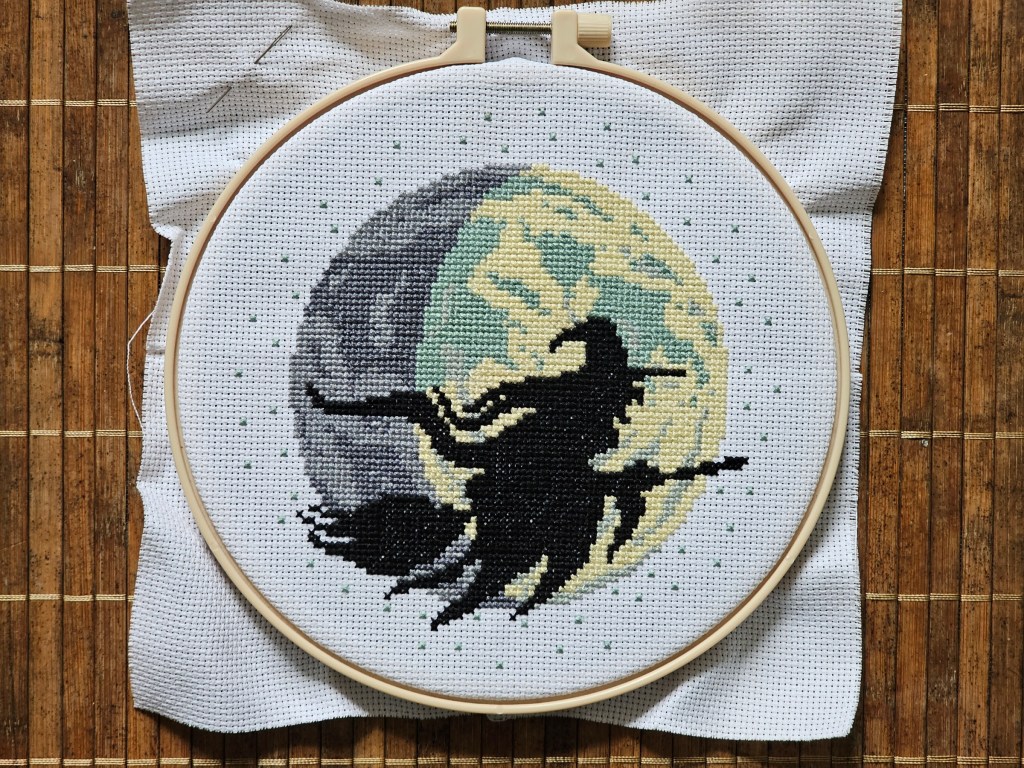
Finally, it was time to use the last colour of the pattern: teal-like green. I filled the gaps on the right side of the moon, and added dots around the pattern. And just like that, after a fair few hours of sewing (split over a few evenings), the Halloween witch cross stitch project was finished.
Final thoughts
While I don’t love cross stitching large backgrounds, this Halloween design turned out pretty cute! I enjoyed working on this seasonal crafty project, and I’m glad I can check it off my list. I’ve had this set in my stash for at least a year, probably two. It was time to finally complete it, and I did. Now, I can focus on a few more Halloween crafty projects before the end of the month!
Also see: