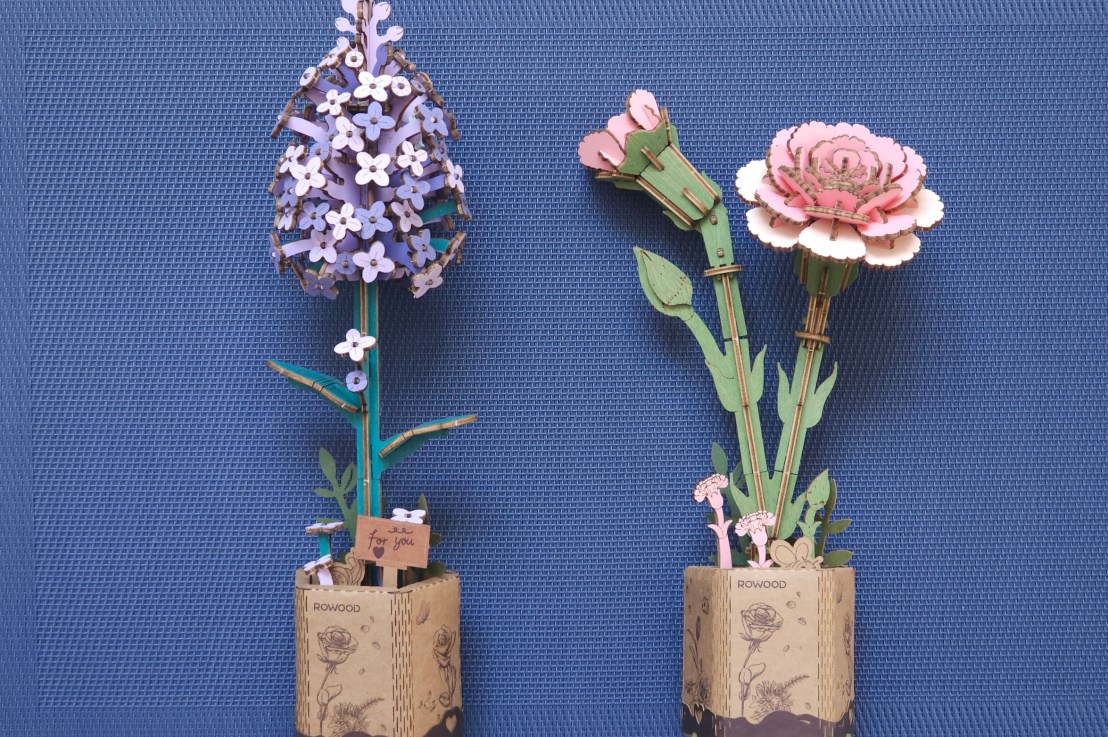
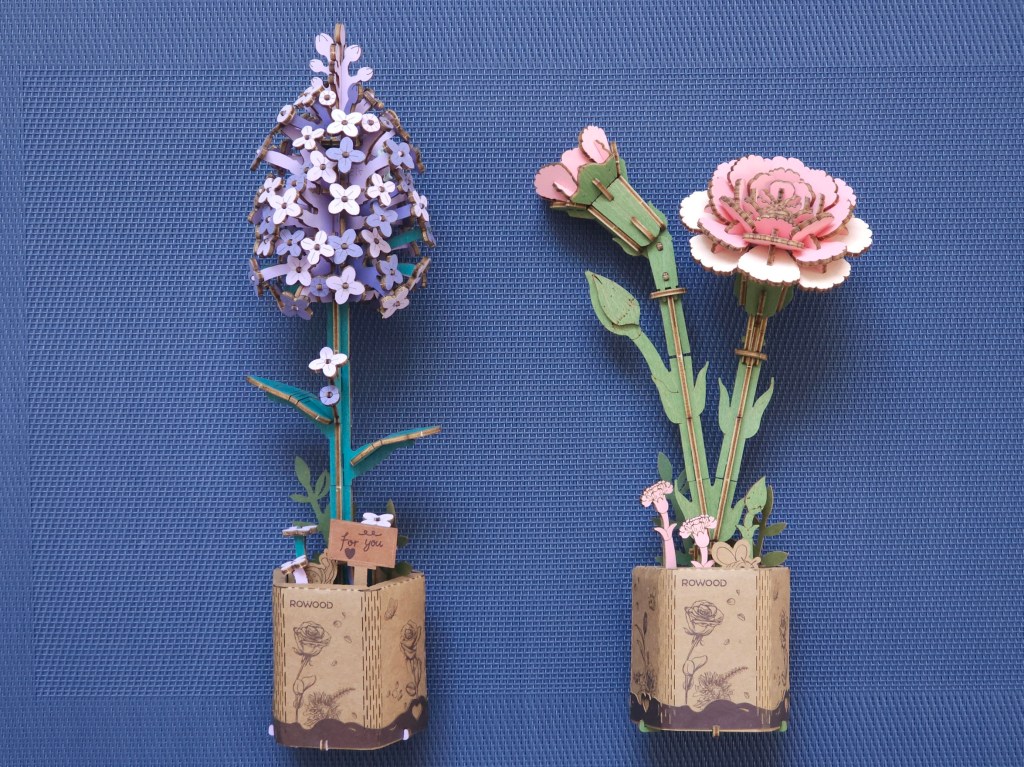
A few months ago, I posted about a 3D wooden flowers set I assembled, which I enjoyed much more than the LEGO Botanicals. Well, I recently bought a few more of those sets, and today, I’d like to show you two flowers I assembled: a pink carnation and a lilac. They joined the red camellias from earlier this year, and I love my growing display of wooden flowers. Assembling these wooden flowers was pure joy. I’m really impressed with the quality of these sets!
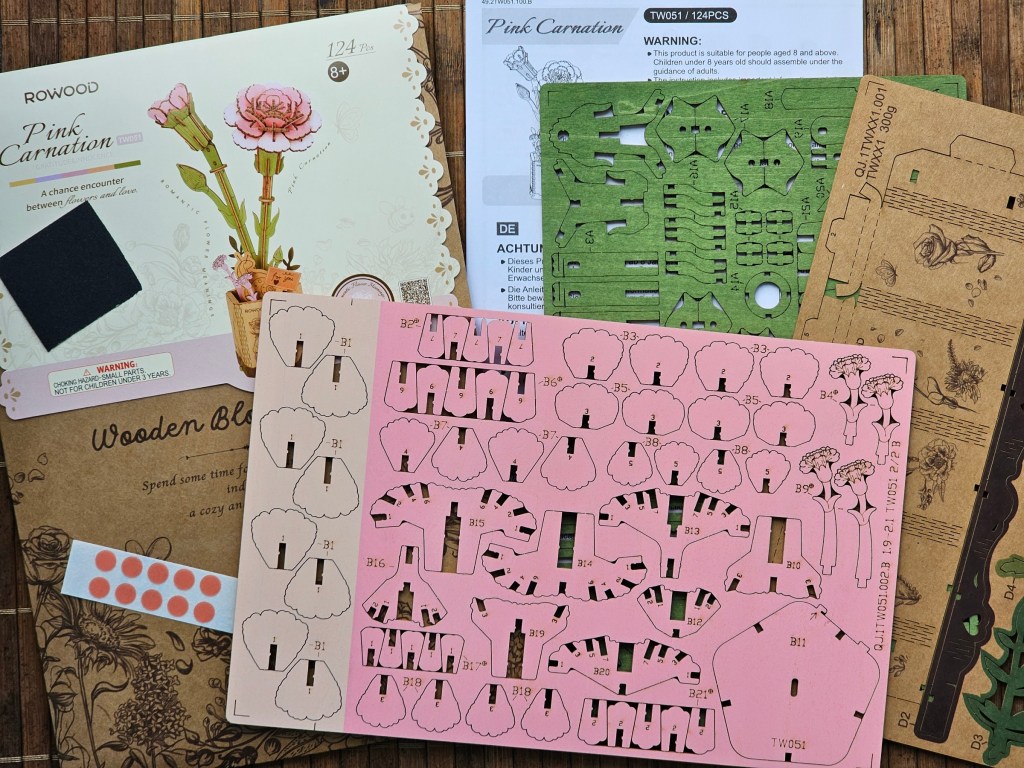
Contents of the set for making a wooden pink carnation flower
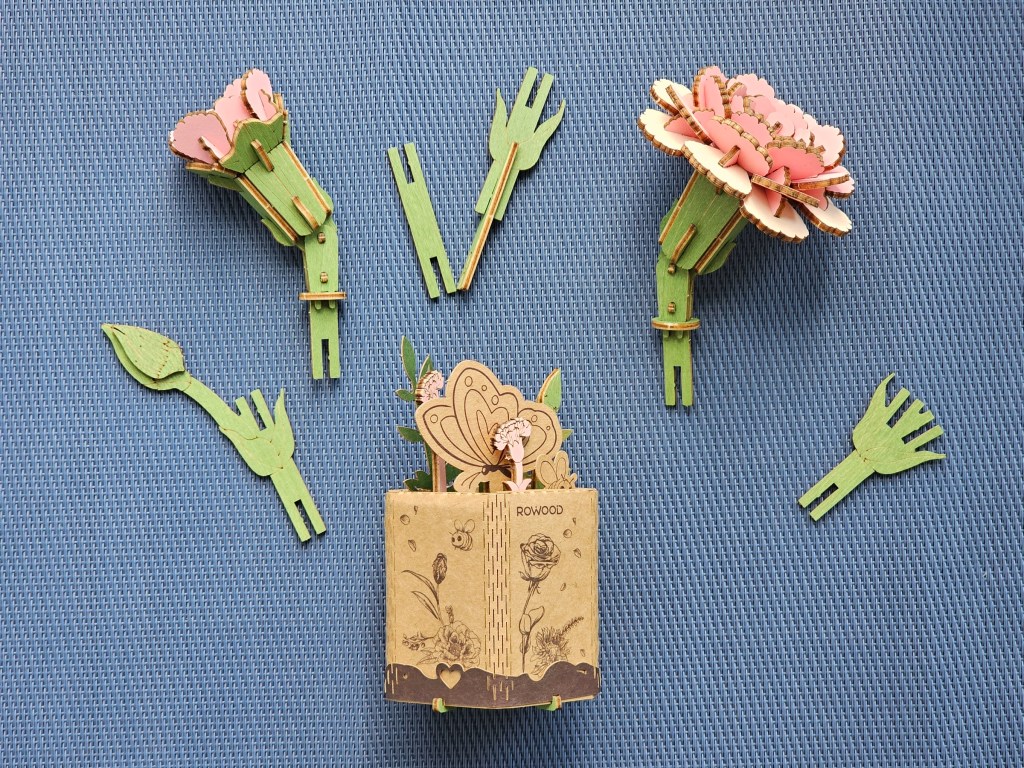
First, I assembled the pink carnation. The set included wooden sheets in various colours with laser-cut shapes, all with clear labels. There was also a paper sheet with pre-cut shapes for wrapping and decorating the stand/flower pot, as well as a piece of sandpaper and some double-sided pieces of tape. And of course, there was a leaflet with detailed instructions.
Starting off – assembling the flowers
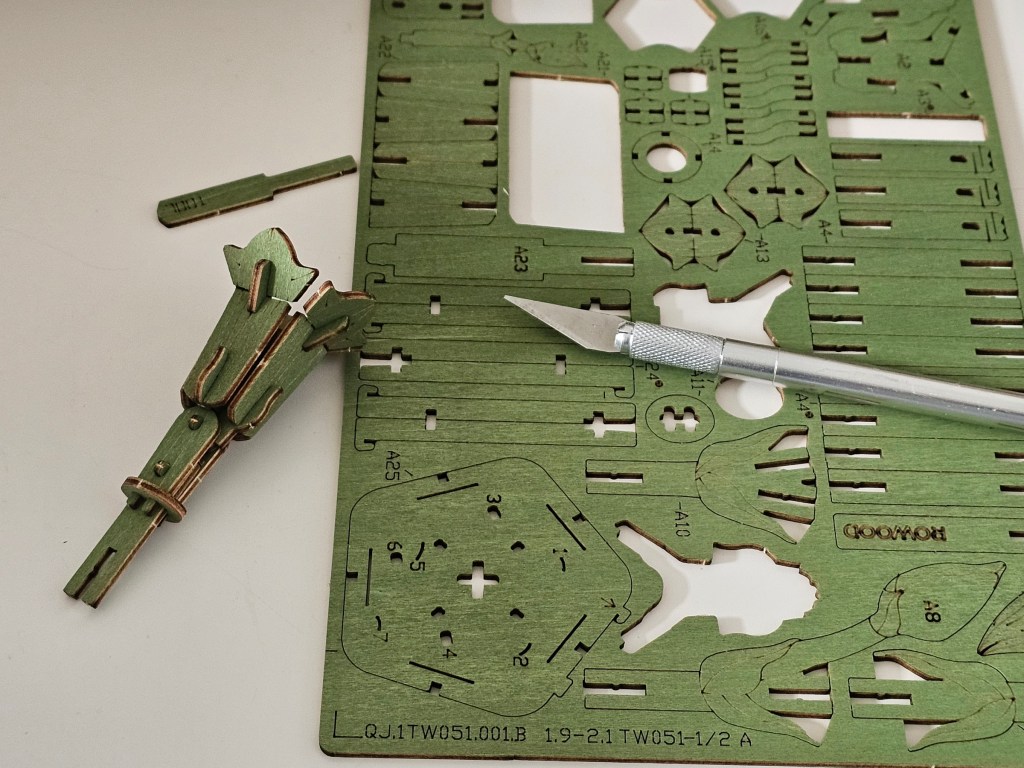
I followed the instructions, which told me to start by assembling the pink flowers – one large, and one small. For that, I had to push the appropriate elements out of the wooden sheets. The pieces were pre-cut, but not entirely. They were held in place by a few points where the laser didn’t cut. Pushing them out with sheer force wasn’t a good idea – it would have likely resulted with the pieces breaking or the wood chipping. I used a sharp craft knife to cut around the elements to get them out.
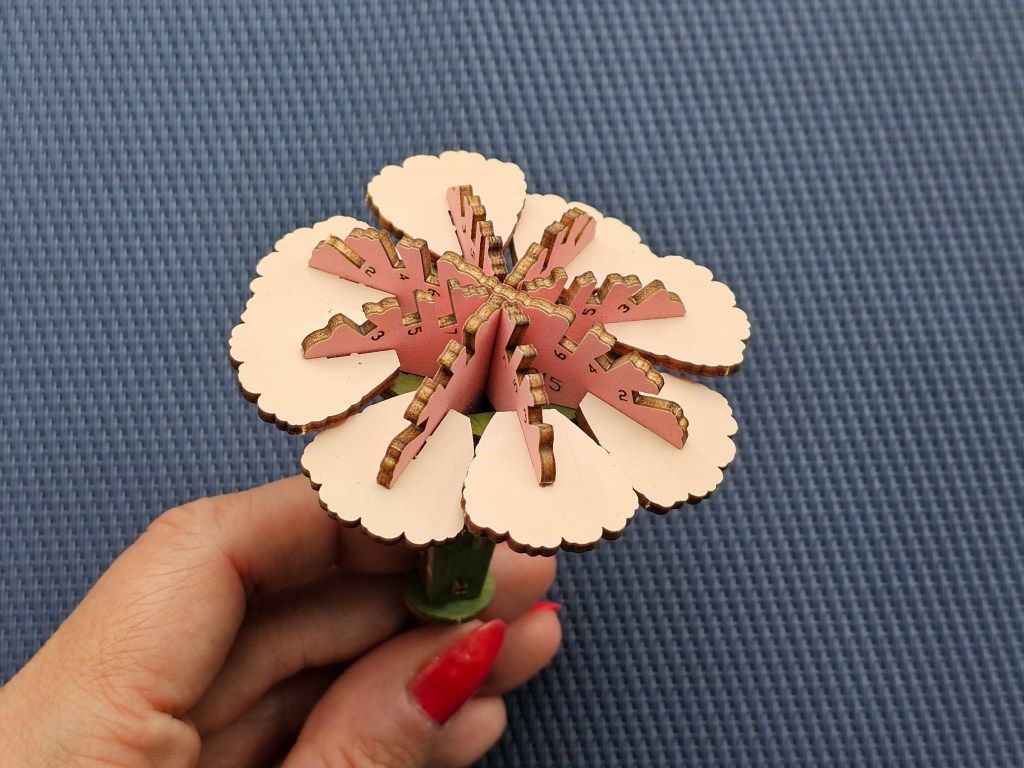
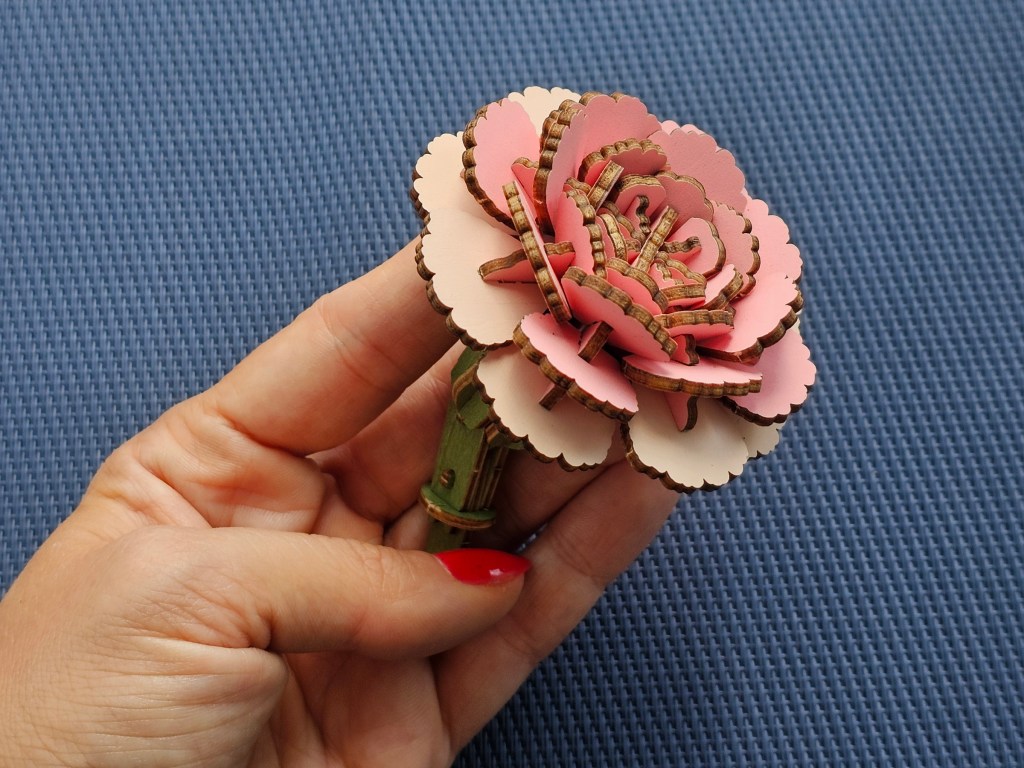
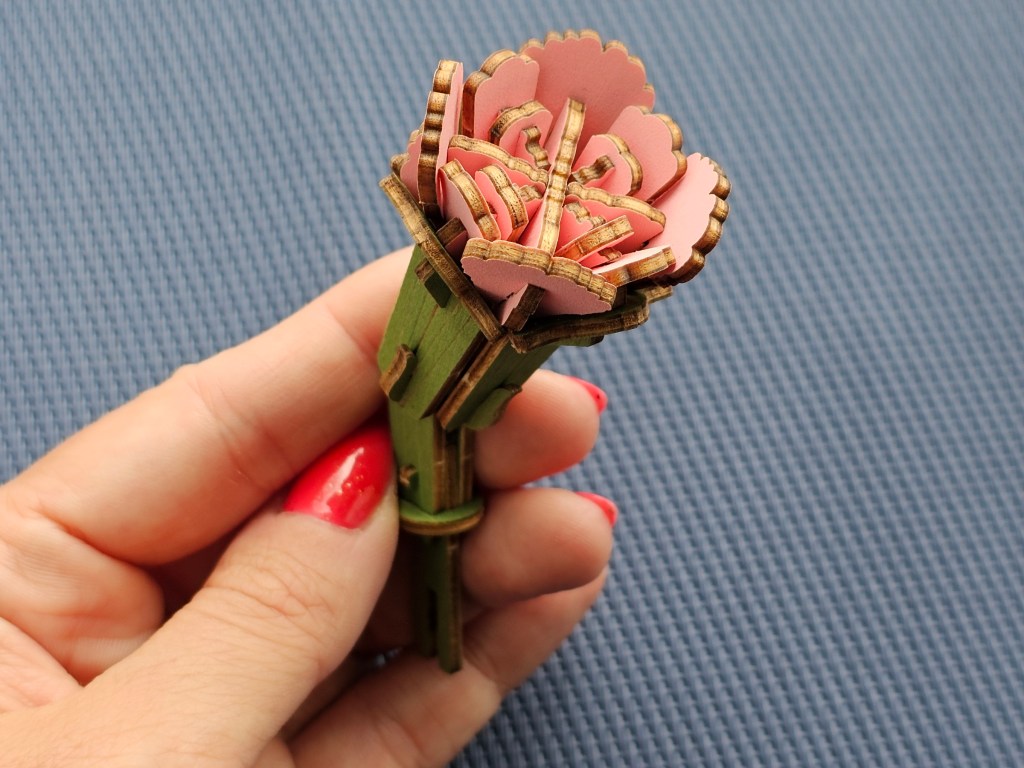
Once I had the relevant pieces out, I started assembling the flowers. The instructions were clear. The core pieces were labelled with numbers, and I had no problems with following the instructions. The pieces fit together snuggly – I didn’t need to use much force to assemble the flowers, yet everything felt sturdy and secure. Soon, I had both flowers finished.
Making the stem
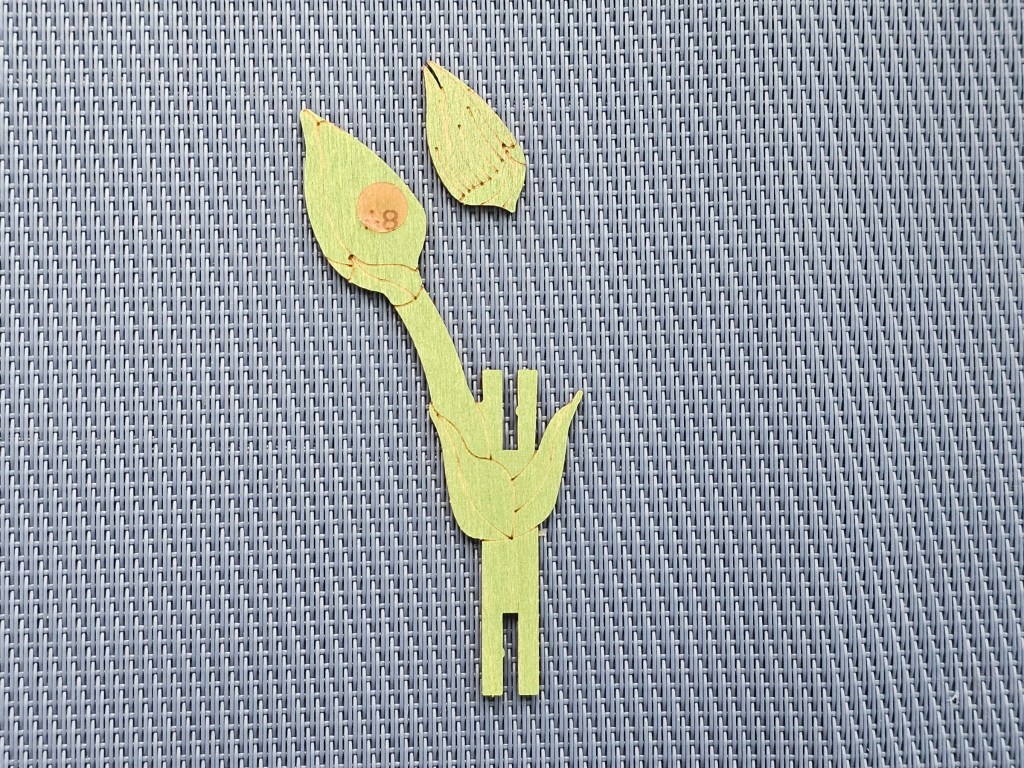
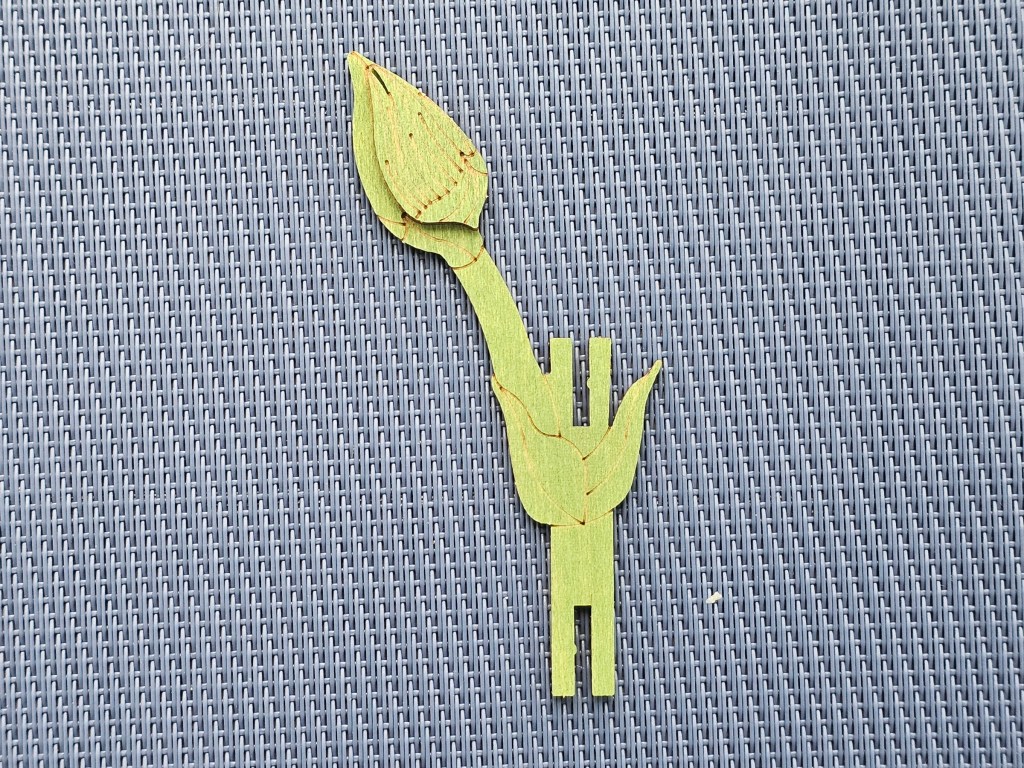
Next, it was time to prepare the elements needed for the stem. This step required using one of the tape dots, to stick a leaf onto the stem for a more 3D effect. In pretty much no time, the stem for the smaller flower was complete.
I also prepared the pieces needed for the stem of the larger flower.
Making the decorative stand
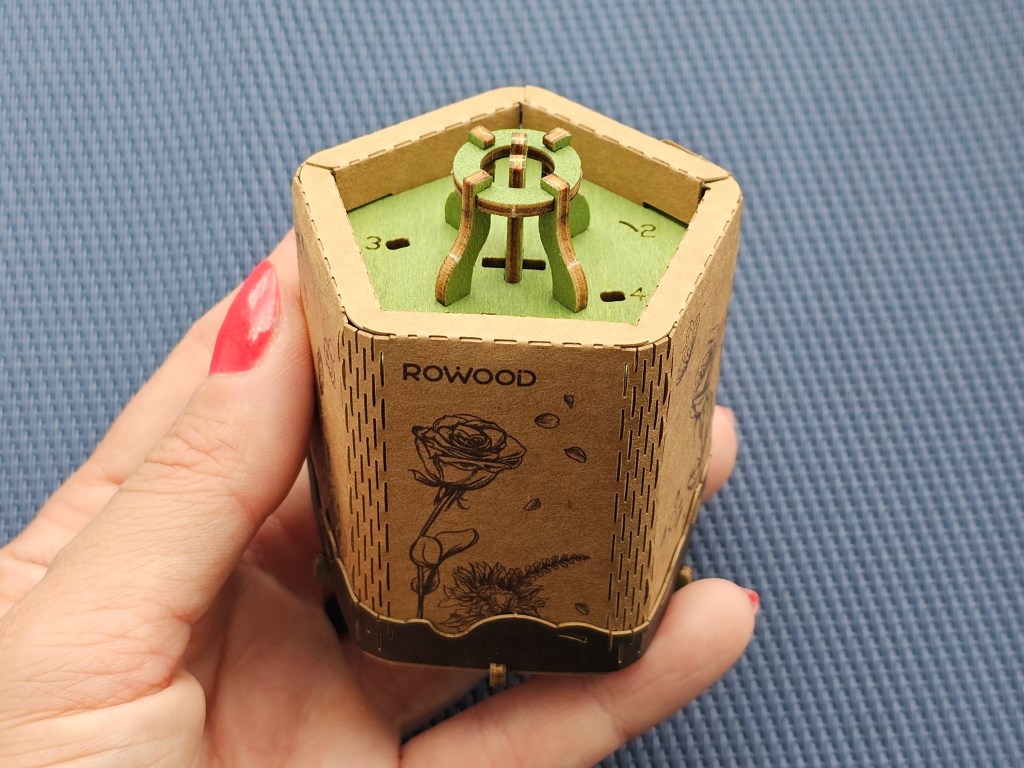
Next, it was time to assemble the decorative stand for my wooden carnations. That element is a common piece in all wooden flower sets by this brand. I quite like that fact – when you assemble a few flowers, you can tell that they all make a set.
Alternatively, you can skip the stands and make a bouquet with your wooden flowers. All sets have additional elements for making longer stems.
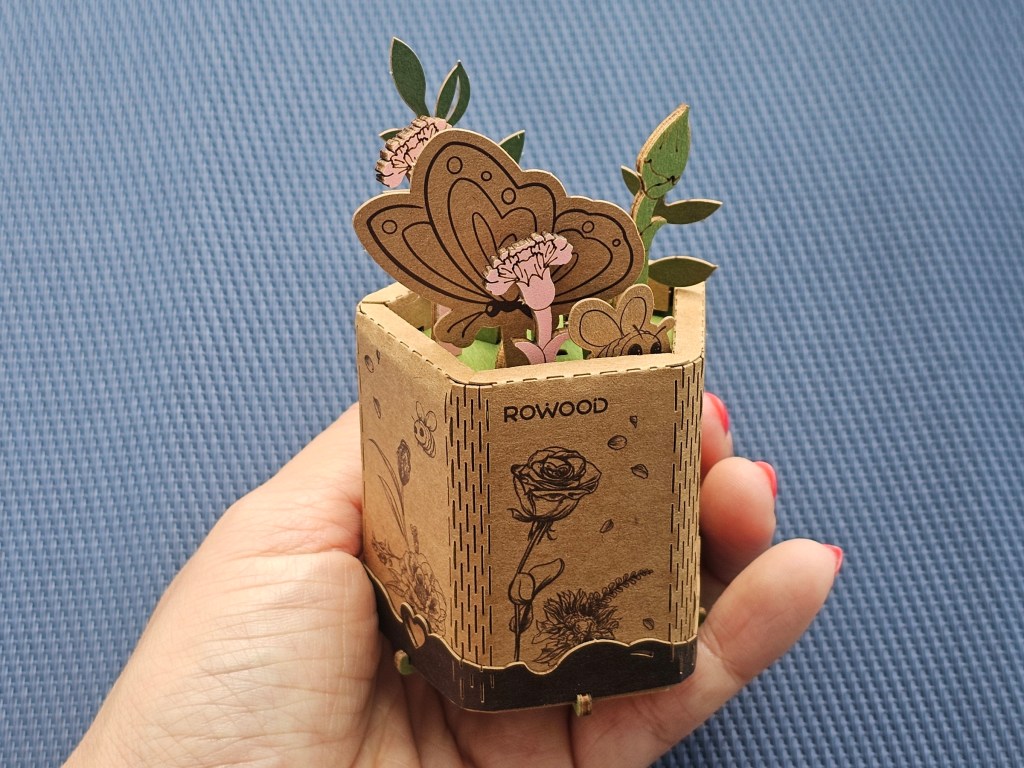
I prefer to keep my flowers in their own pots, so went ahead and assembled it. It was exactly the same as making the pot for the red camellias.
Assembling 3D wooden pink carnations
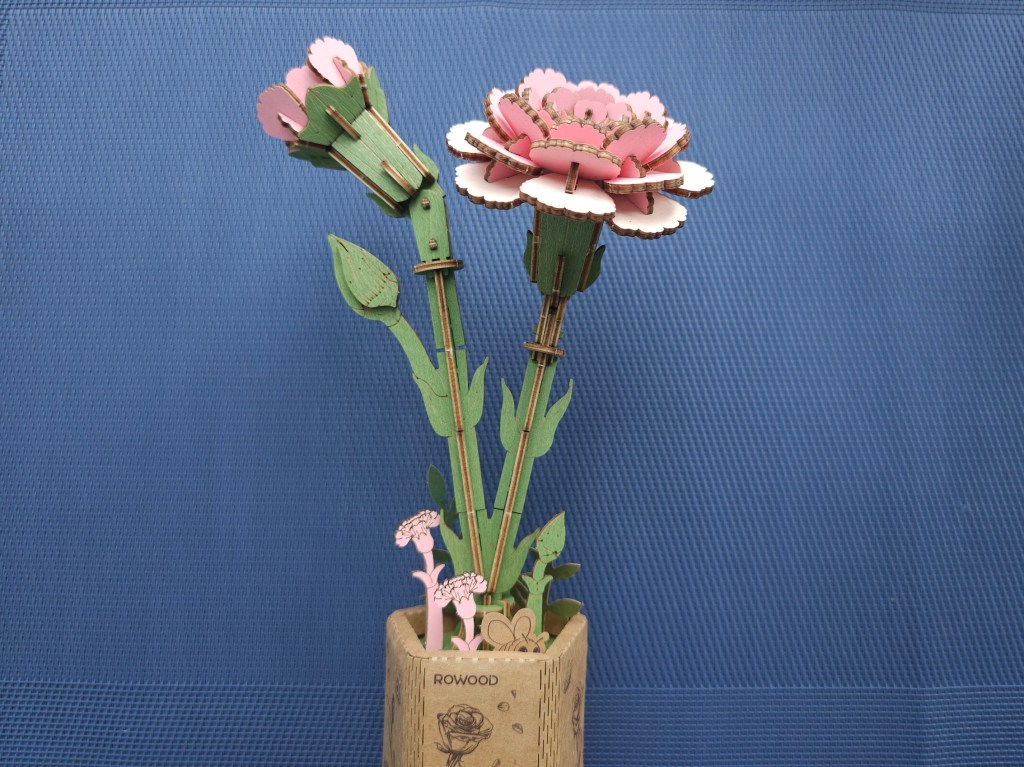
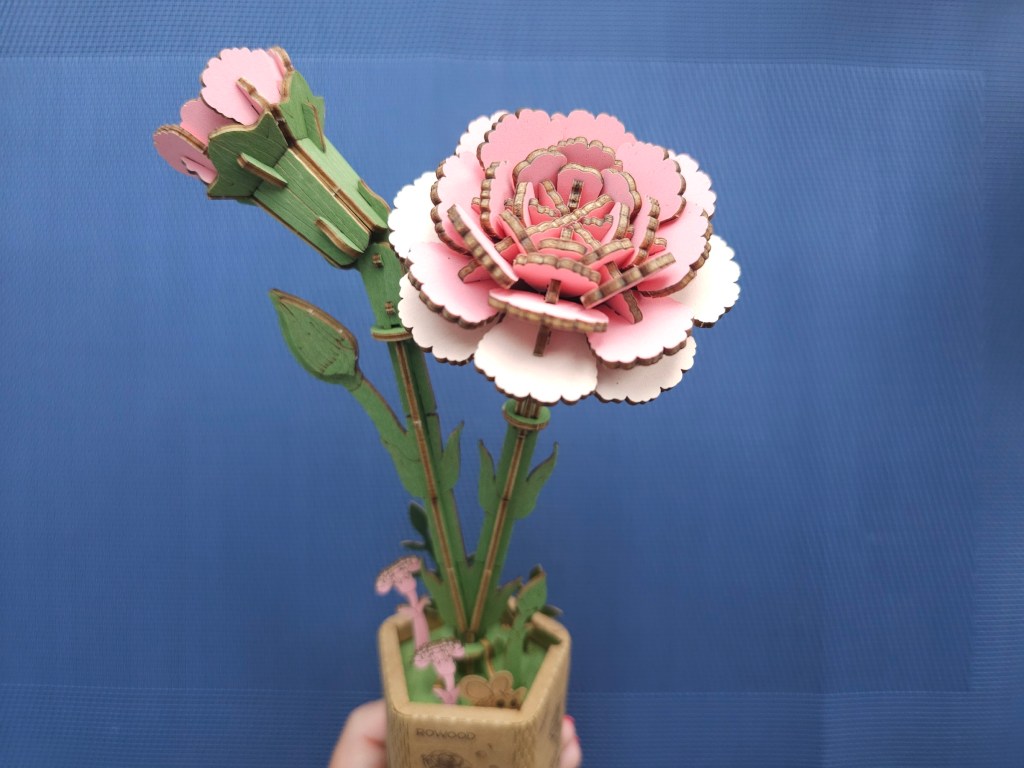
Finally, it was time to put everything together. The two flowers were securely attached to the pot, and decorative elements were added. The wooden carnations were complete!
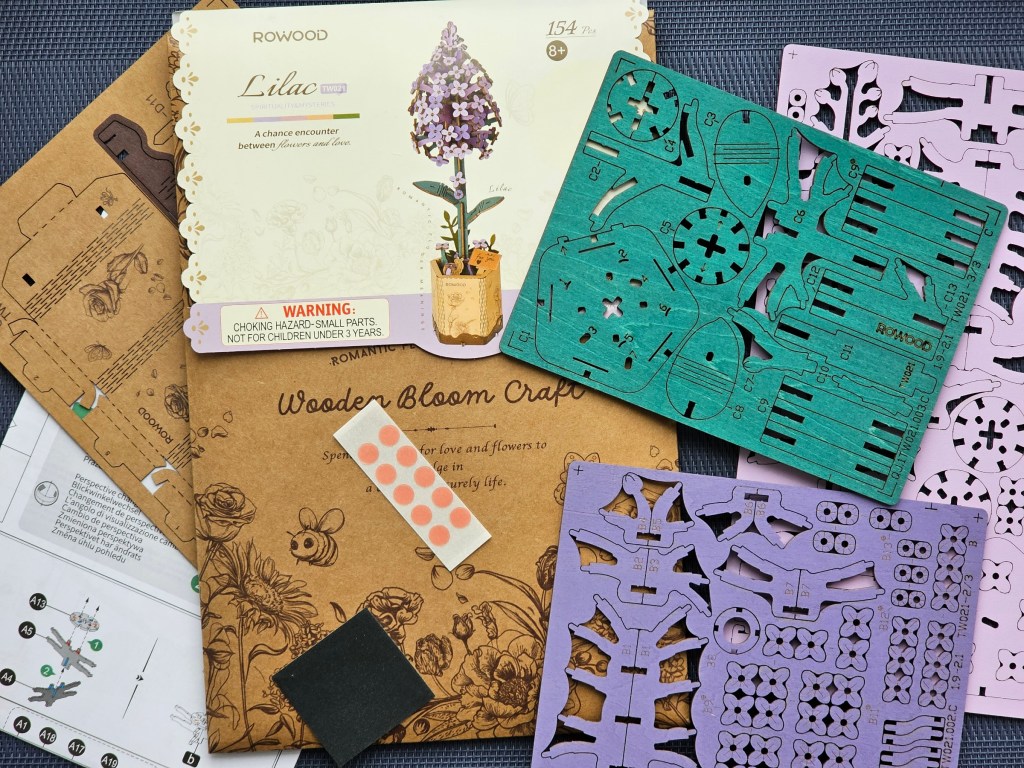
Contents for the set for making a wooden lilac
Next, I moved to assembling the wooden lilac. I was excited to work on this set, I loved how the flower looked in the picture.
The set includes a few wooden sheets in a few colours, with pre-cut, labelled shapes. There was also a small piece of sandpaper, double-sided tape dots, and a large leaflet with detailed instructions.
Assembling the core of the wooden lilac
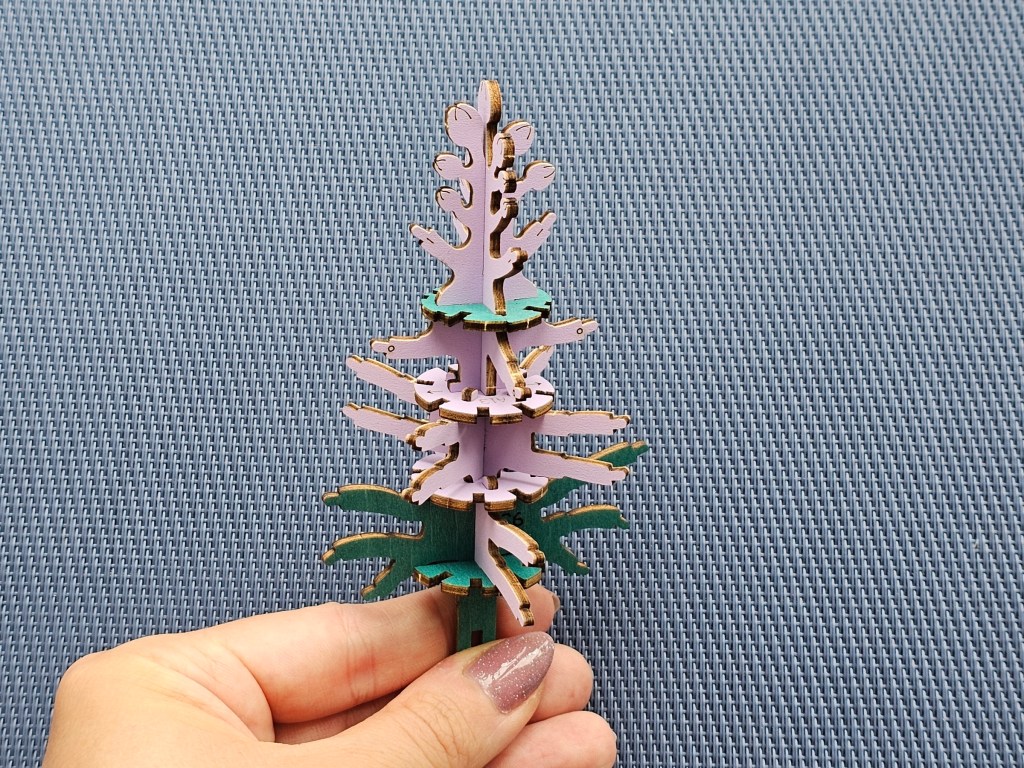
This set has only one main piece, but it’s made of quite a few elements. I followed the instructions and cut out the elements needed to build the core of the flower.
The instructions also told me to prepare all of the small flowers. There was a lot of them!
I slowly built the skeleton of the wooden lilac, adding more and more elements and attaching the first flowers. It was looking good!
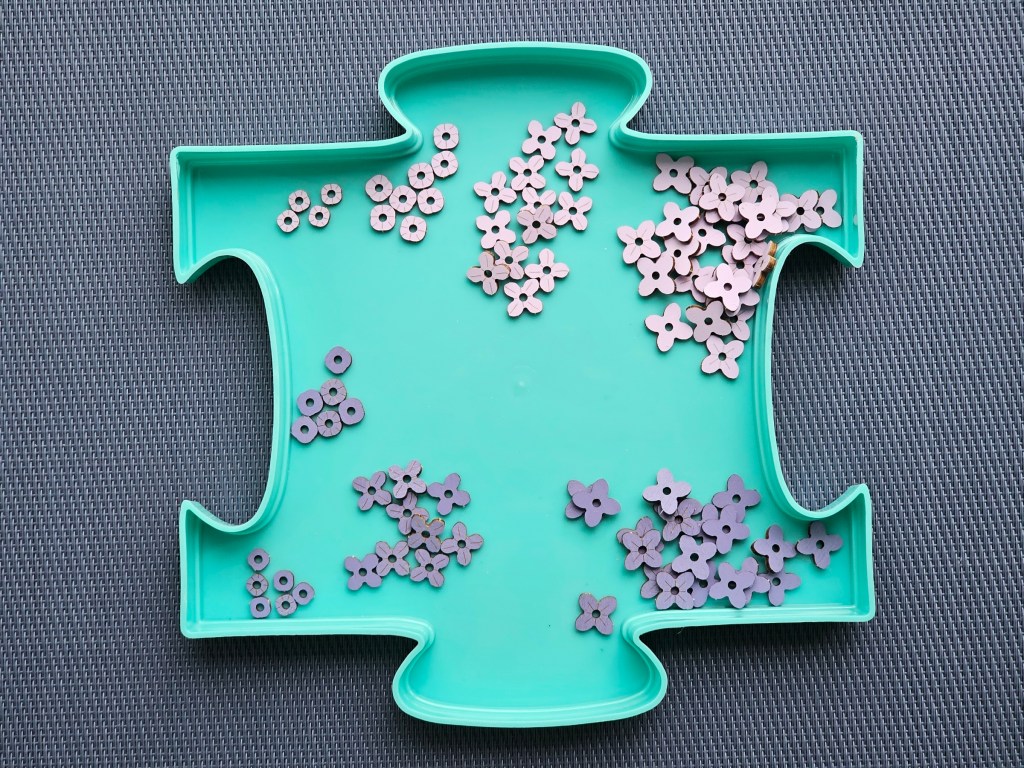
Adding more flowers
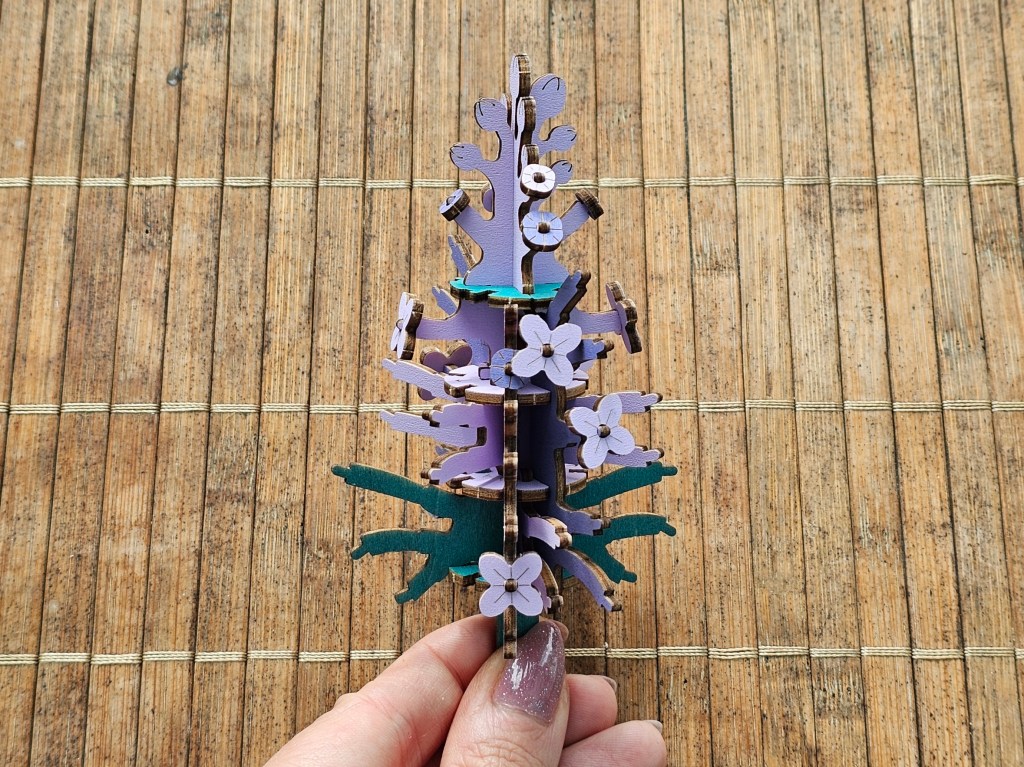
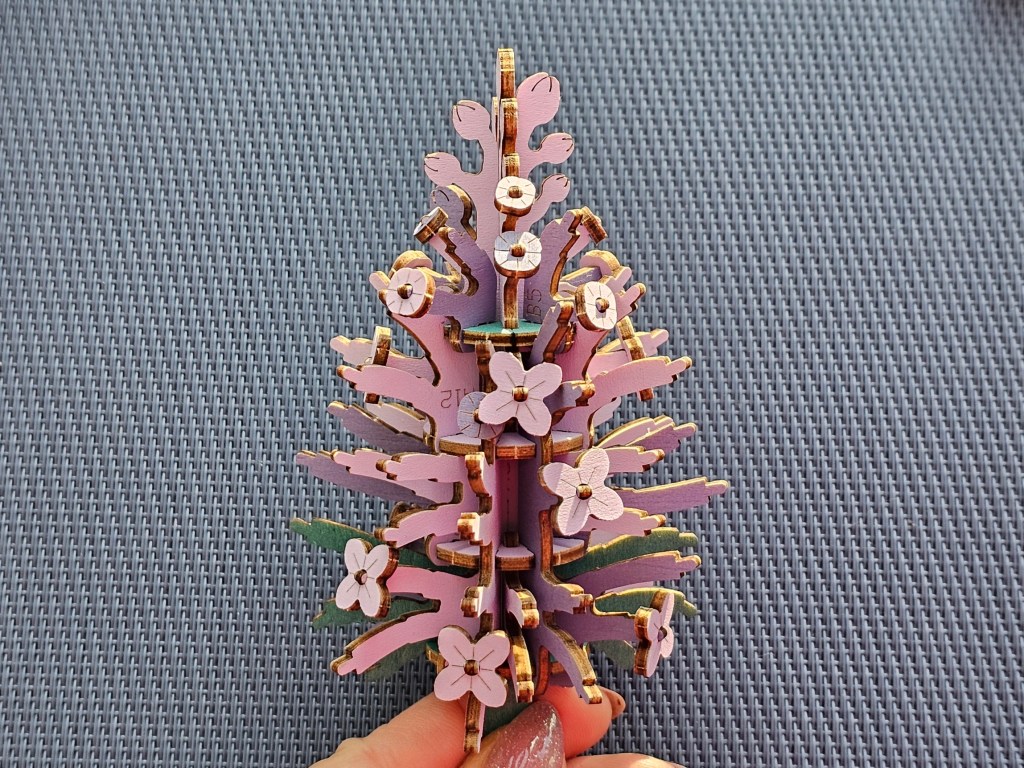
I moved to the next step of the instructions… and, to my surprise, the instructions told me to place the rest of the flowers however I liked. That’s a lot of responsibility! I didn’t expect that, I thought I would simply follow the instructions.
I carefully assembled the lilac, trying to spread the small flowers (which came in two colours, four sizes each) evenly around the core of the lilac. Eventually, the main part of the flower was done.
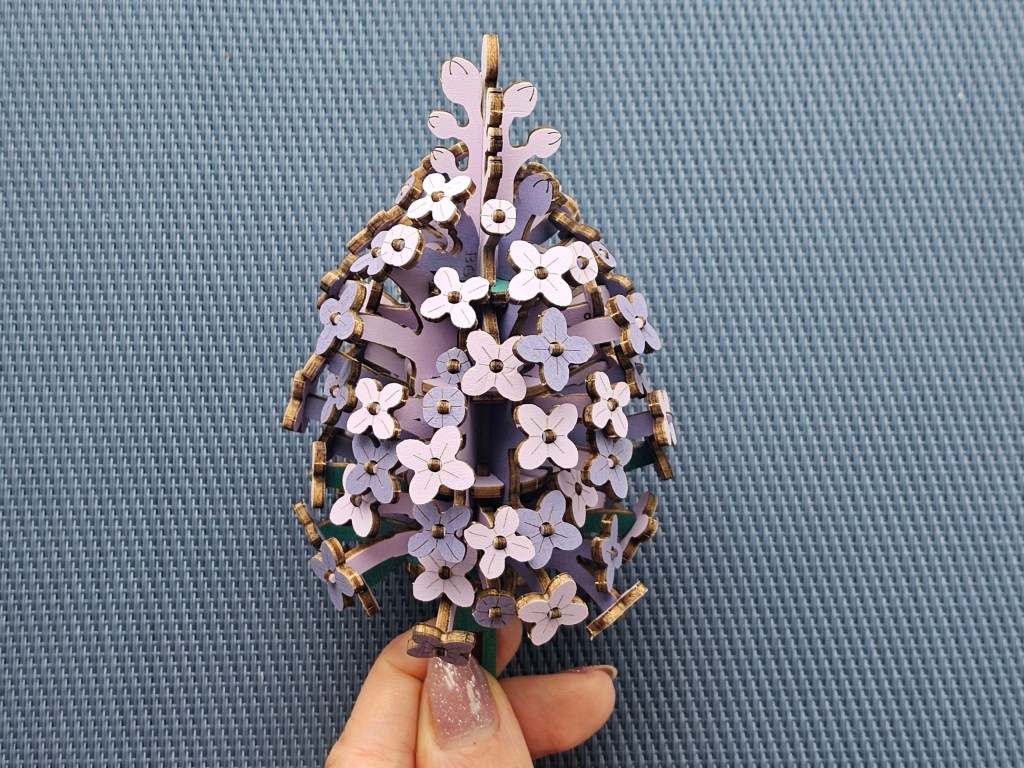
Assembling the stem of the lilac
Next, it was time to assemble the stem. It included two leaves, cut in a smart way that allowed bending them for a nice 3D effect. It also called for adding a couple of small flowers. The stem was ready in no time!
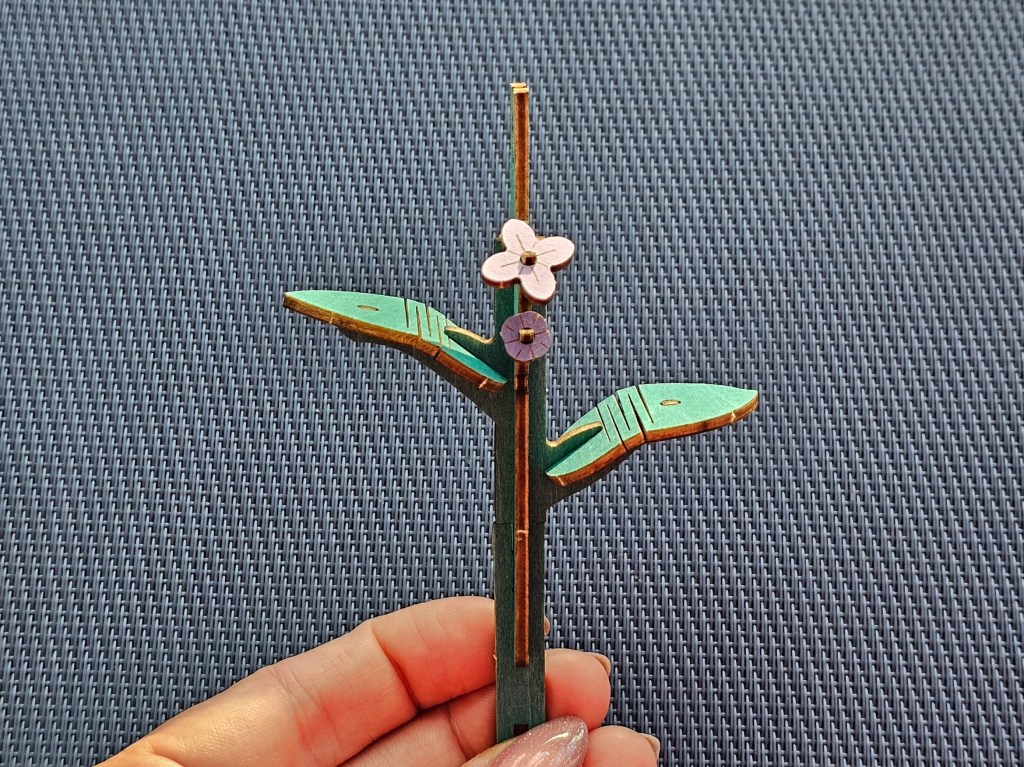
Assembling a wooden lilac
I then built the stand/pot, exactly how I built one for the carnations. Once the stand was ready, I was able to put everything together. Soon, the wooden lilac was securely standing in its pot.
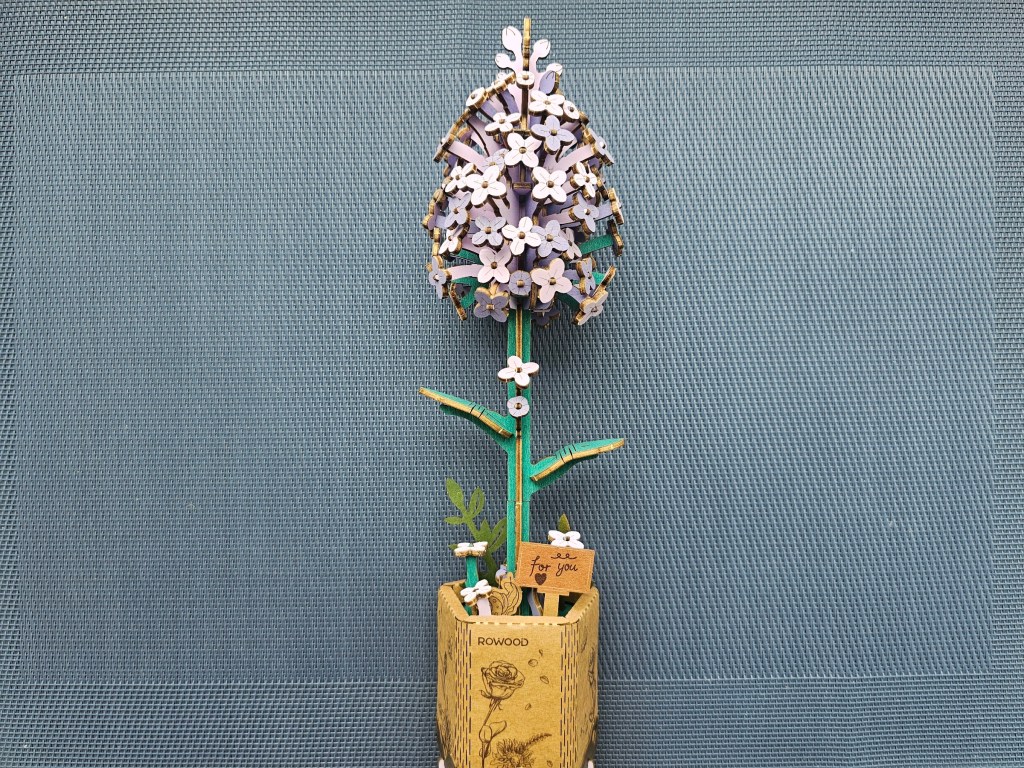
Final thoughts
Overall, I’m still a big fan of this series of wooden flowers. As I mentioned in my post about the red camellias, the quality of these sets is really great! The pre-cut shapes are precise. They fit together well. For most of them, I didn’t need to use any force to slide the pieces into place. There were maybe 2 or 3 that didn’t want to go in – I didn’t try to force them in, remembering how I broke a piece when I built the camellias. Instead, I used the sandpaper to shave off any small bits of wood sticking out and blocking the pieces from sliding into place.
I love how these flowers turned out. I actually have two more of these sets, and I can’t wait to assemble them and add them to my collection.
I genuinely think that these are better than LEGO Botanicals. I have one bouquet from the LEGO series and it’s cute, but the wooden flowers look more… chic?
Christmas is coming soon – there’s less than 100 days to go. These wooden flowers will make a great gift – add them to your list of Christmas presents inspiration!
Also see: