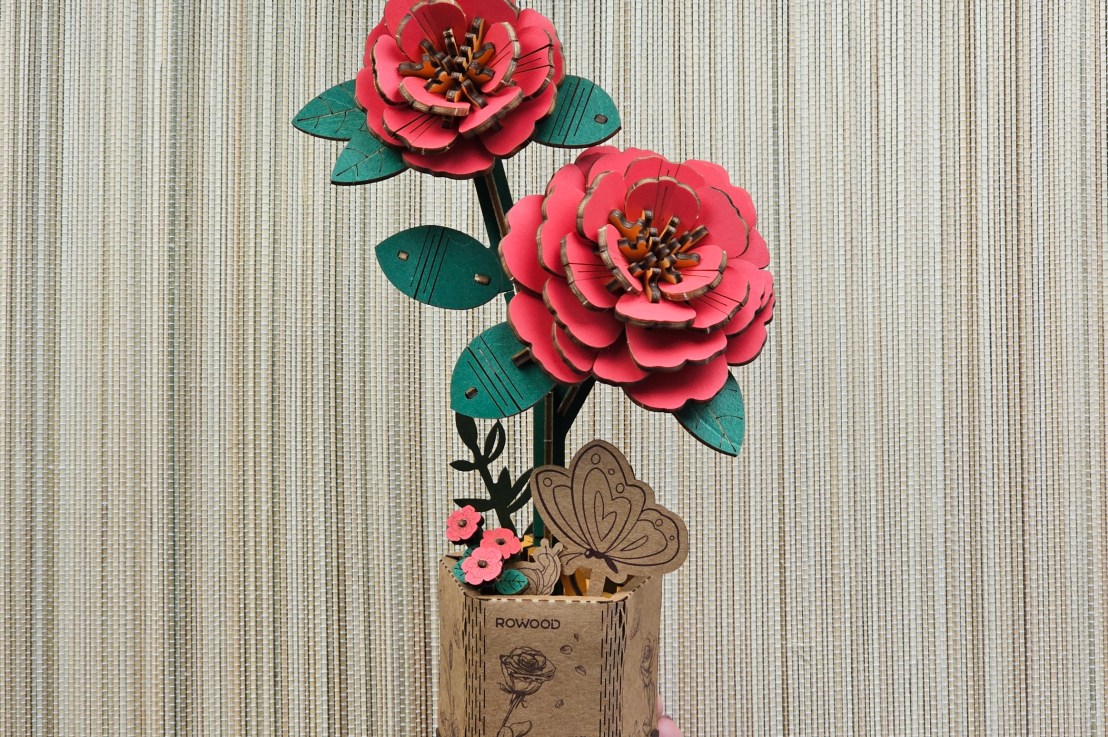
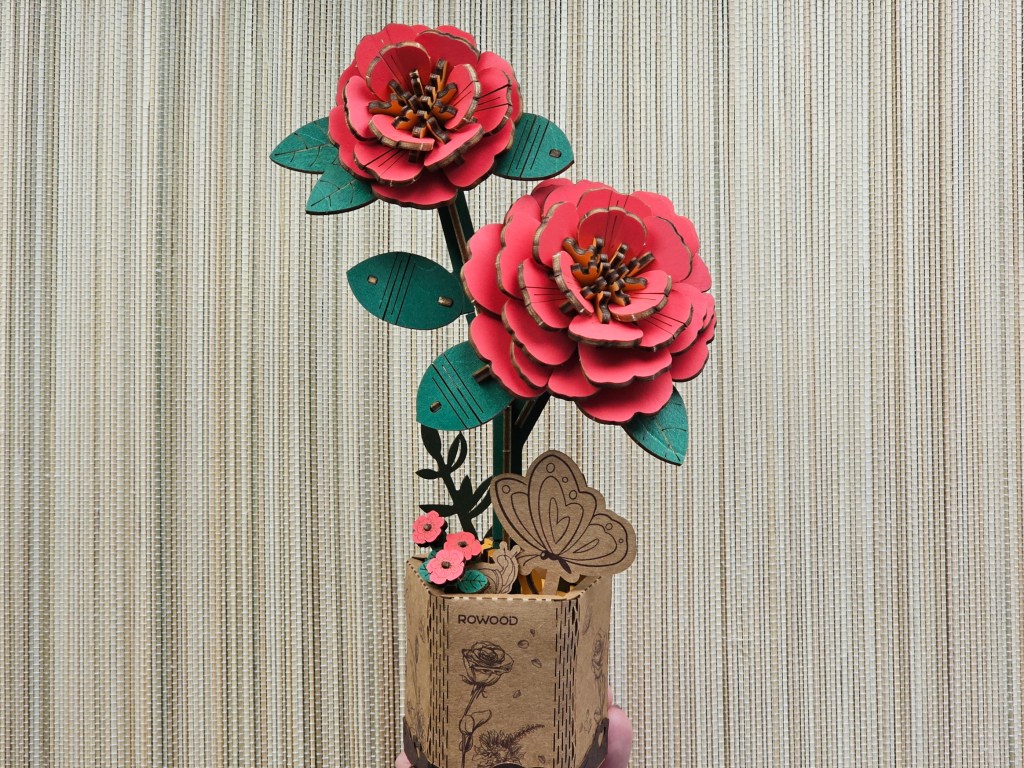
It’s already February (this year is just flying by!), and Valentine’s Day items have taken over the supermarkets all over the world. If you’re looking for a unique gift idea – or if you simply enjoy a 3D puzzle – here’s my recently completed DIY project. These wooden flowers were fun to assemble, and the final result looks super cute! The kit was cheaper than the popular LEGO sets, and takes less space – great if you have limited space in your apartment. I also think that the wooden flowers look more chic than plastic ones. With minimal trouble, I had my pot of red camellias ready in just a few hours.
Contents of the kit
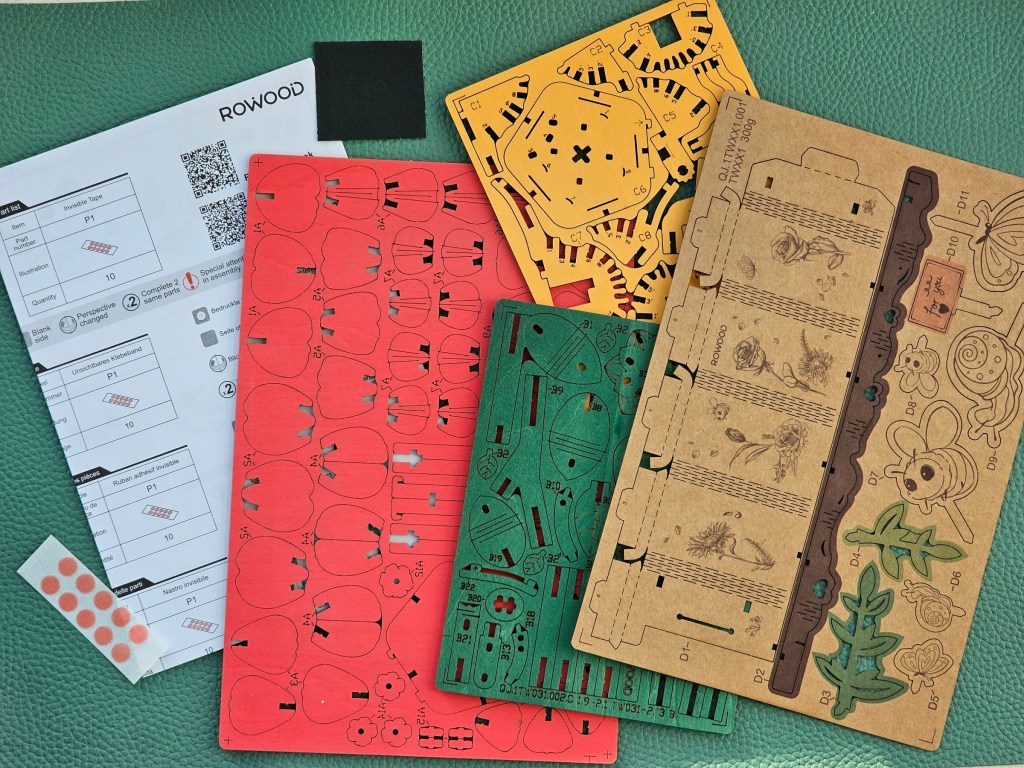
First, let’s take a look at the contents of the kit. It included three wooden sheets with pre-cut shapes in green, yellow, and red, as well as a cardboard sheet with more elements, a piece of sandpaper, some glue dots, and a leaflet with detailed instructions.
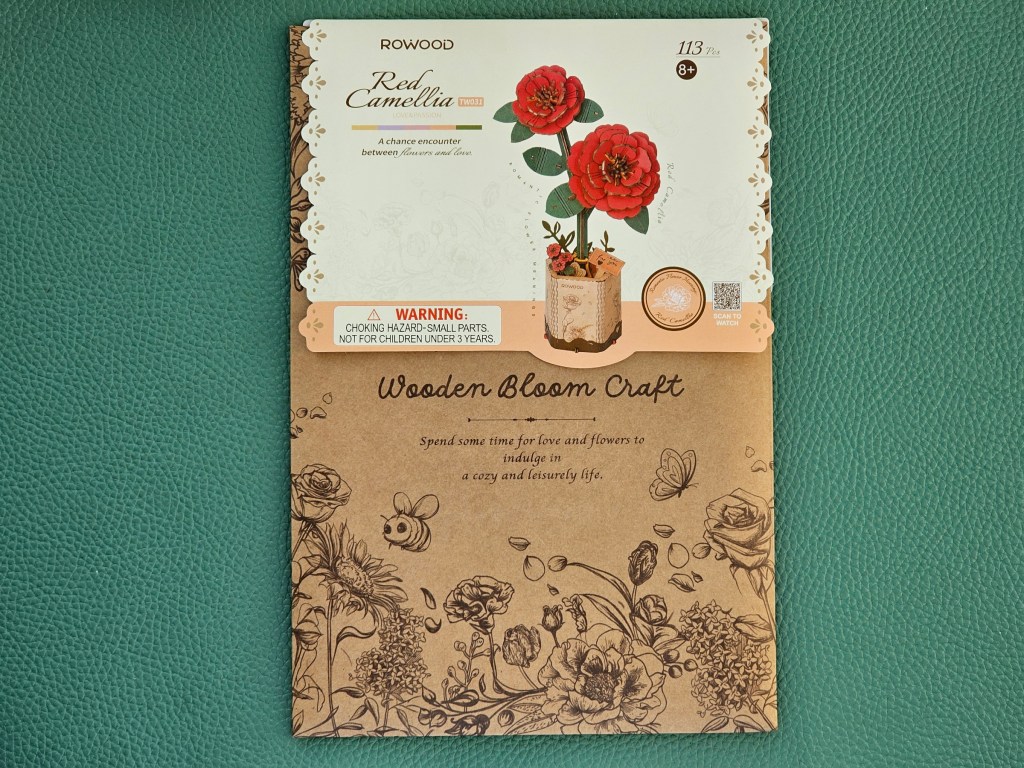
This set is by a brand named Rowood (don’t worry, this post isn’t sponsored in any way). I bought it on sale when I was in Poland for Christmas, for around £9.50. Having a quick Google search, it looks like the brand can be found online in the UK too. Some of their larger wooden flower bunches look absolutely incredible, I might try to get my hands on one of those one day!
Starting off – building the first flower
I completed a different 3D wooden model last year, featuring a Japanese garden. It was by a different brand, but also included pre-cut wooden sheets. I remember struggling to get the shapes out of the frames back then.
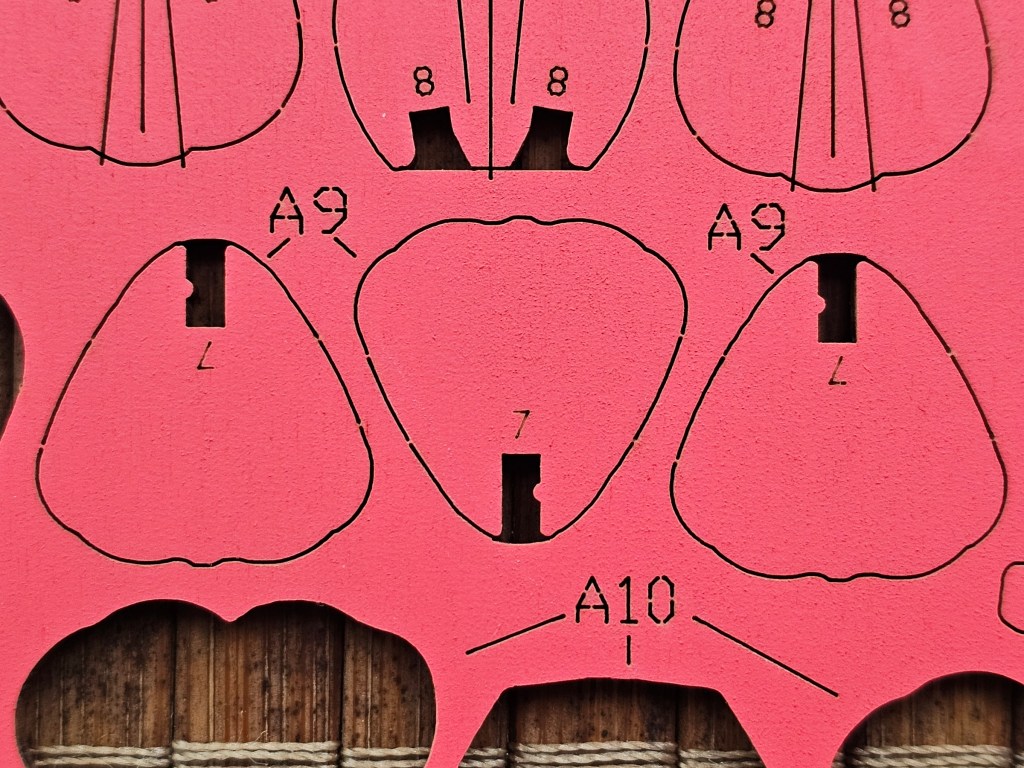
This time, it was a much easier process. I still needed to use a craft knife to cut through the places that were holding the shapes inside the frame, but it didn’t require much force. Since many of the elements were very similar and had the labels printed on the frame rather than the elements themselves, I decided against taking all of the pieces out at the start. Instead, I followed the instructions and only took out the elements that were needed for the next step.
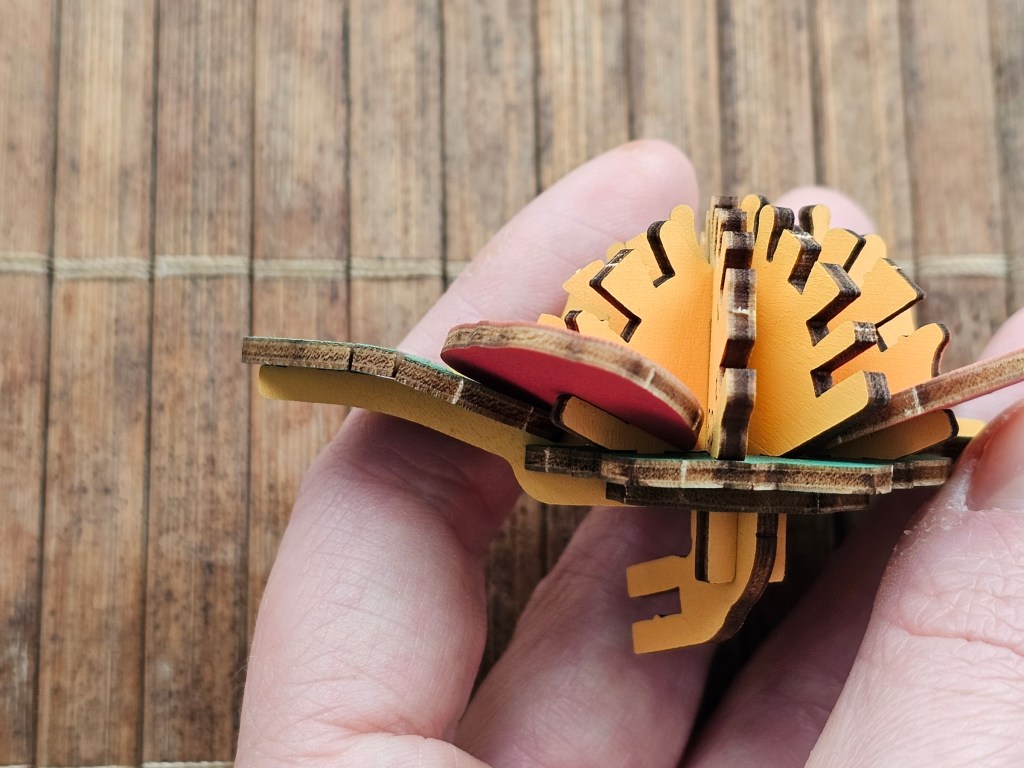
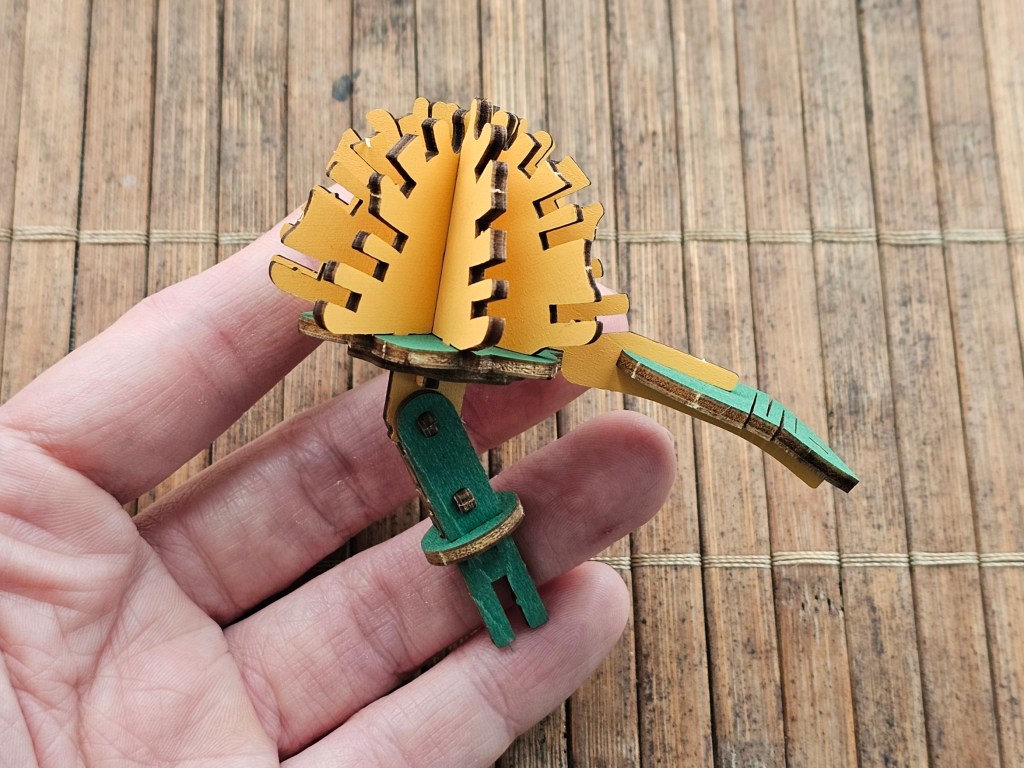
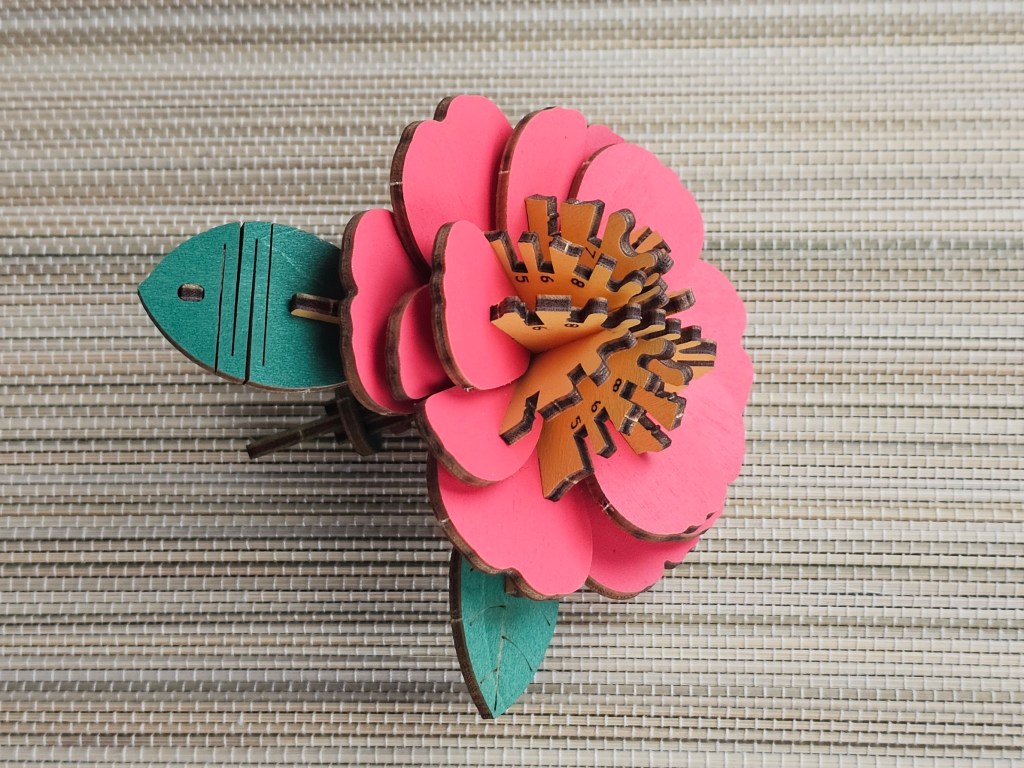
Assembling the elements was pretty easy – it didn’t require much force. The elements fit together like a glove. Great precision of the pre-cutting! Compared to the previous model I worked on, I was really impressed. In close to no time, I had the first few elements of the first flower combined.
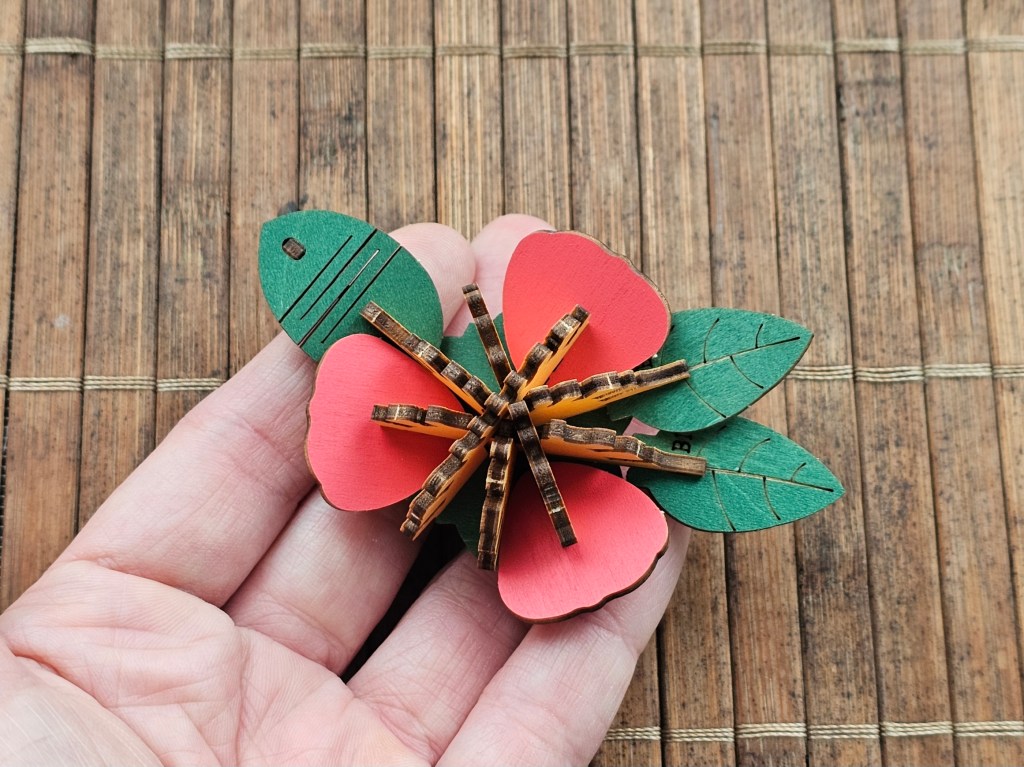
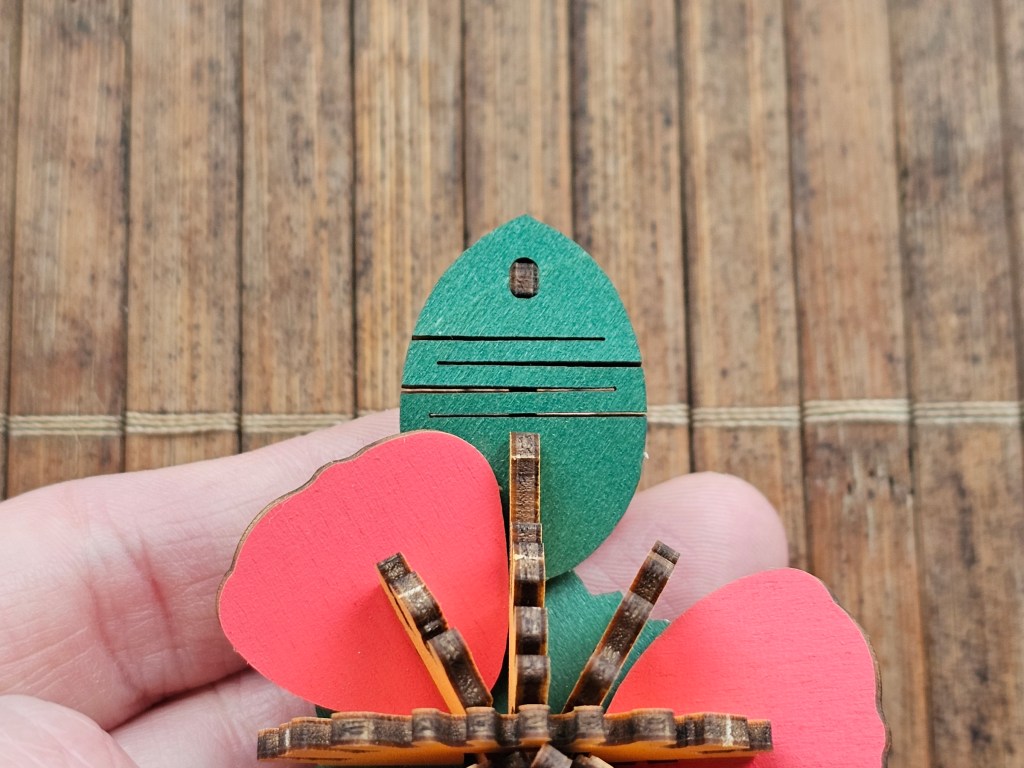
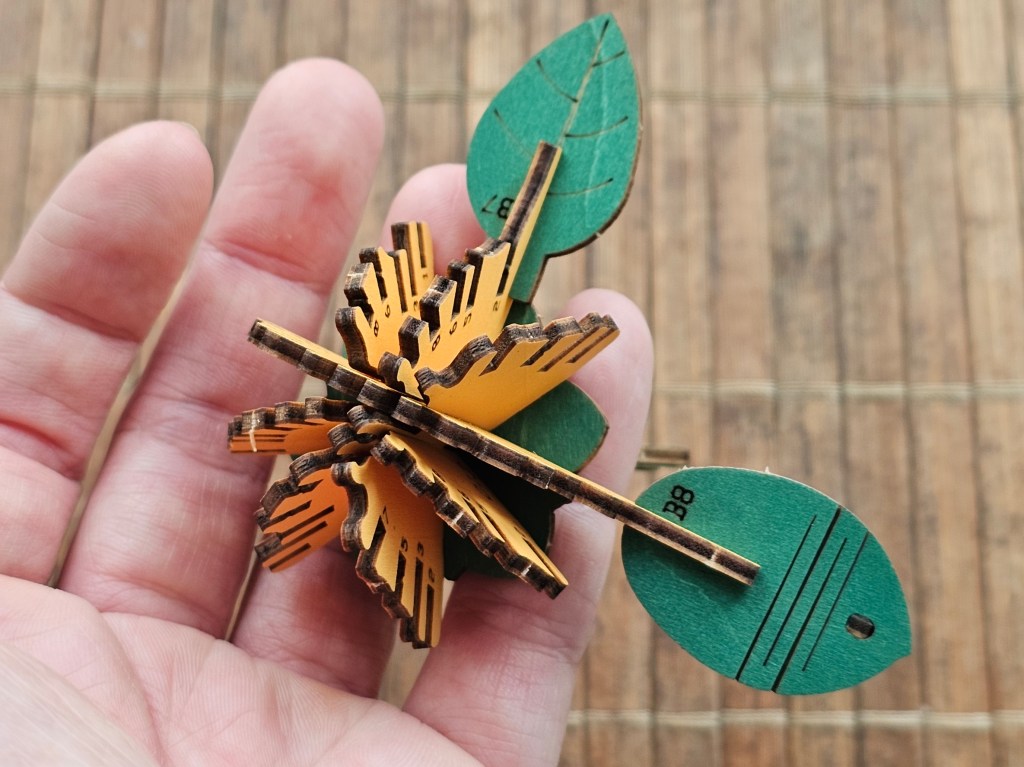
That’s when I noticed a clever design feature included in the model. Some of the elements had a zigzag shape cut into them. It had a very specific purpose! Wood by itself isn’t pliable, but the zigzag incision made it possible to slightly bend the elements. Thanks to that, some of the leaves and petals formed a bit of an arch, which gave the final result a more natural look. Genius!
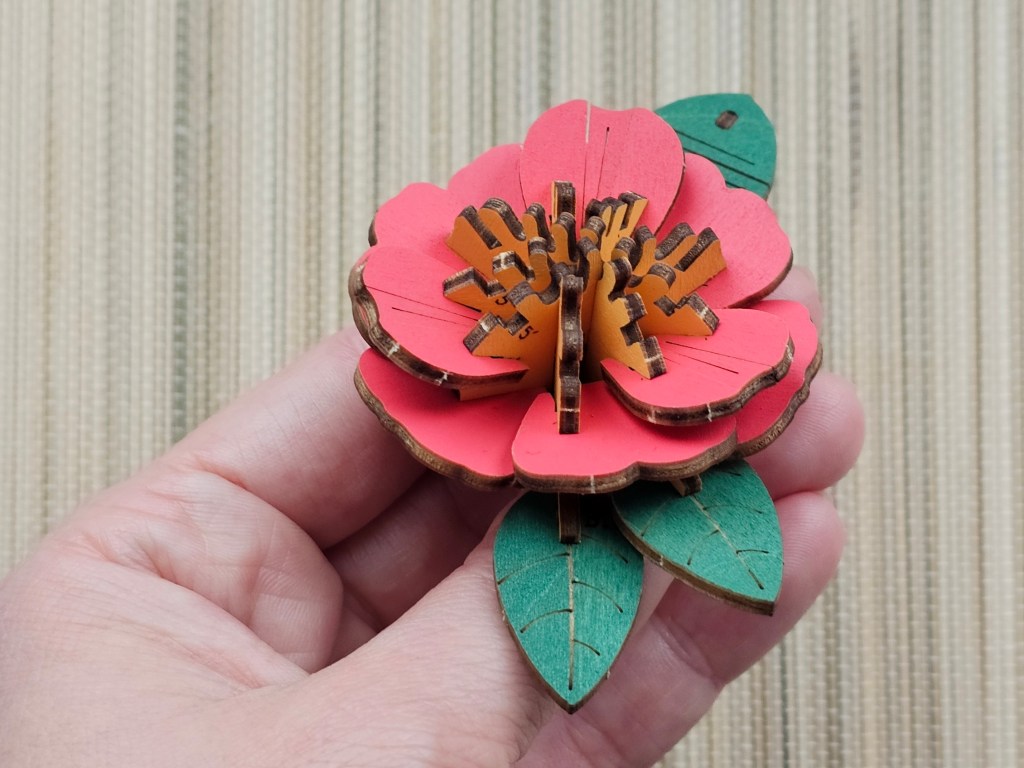
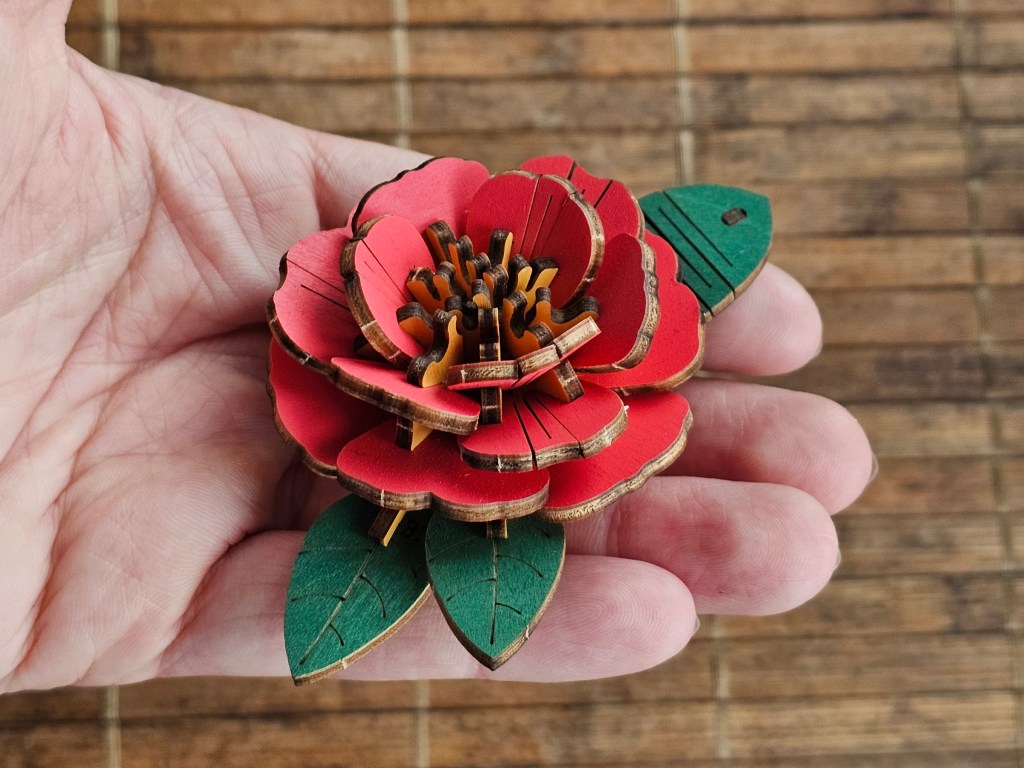
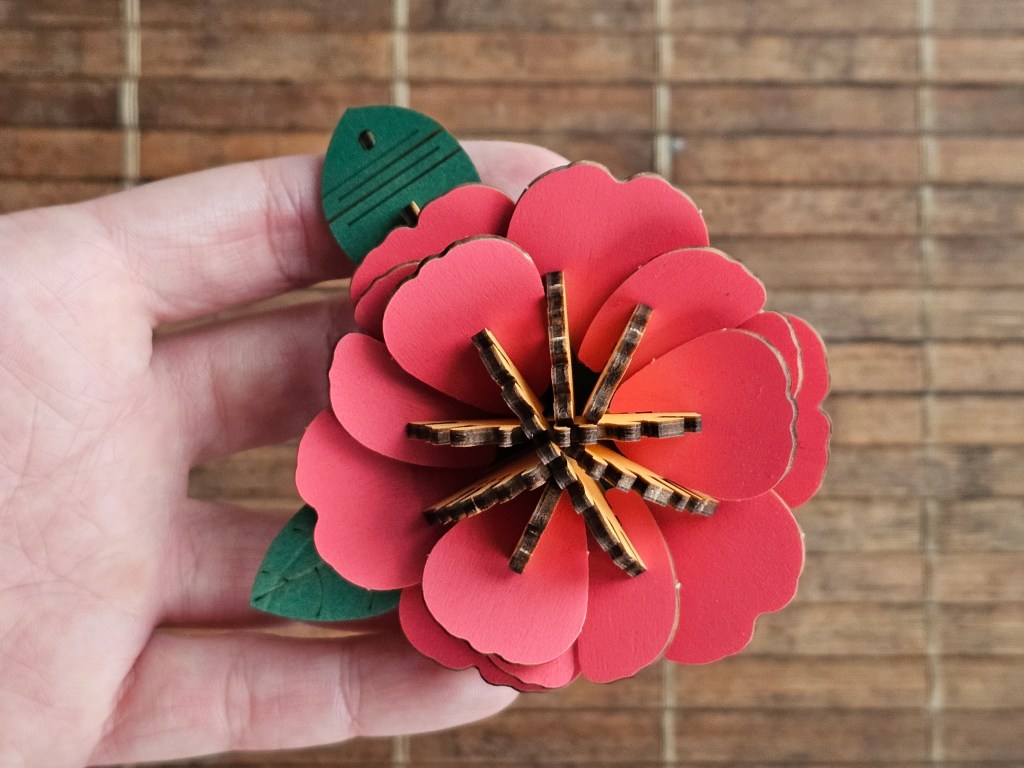
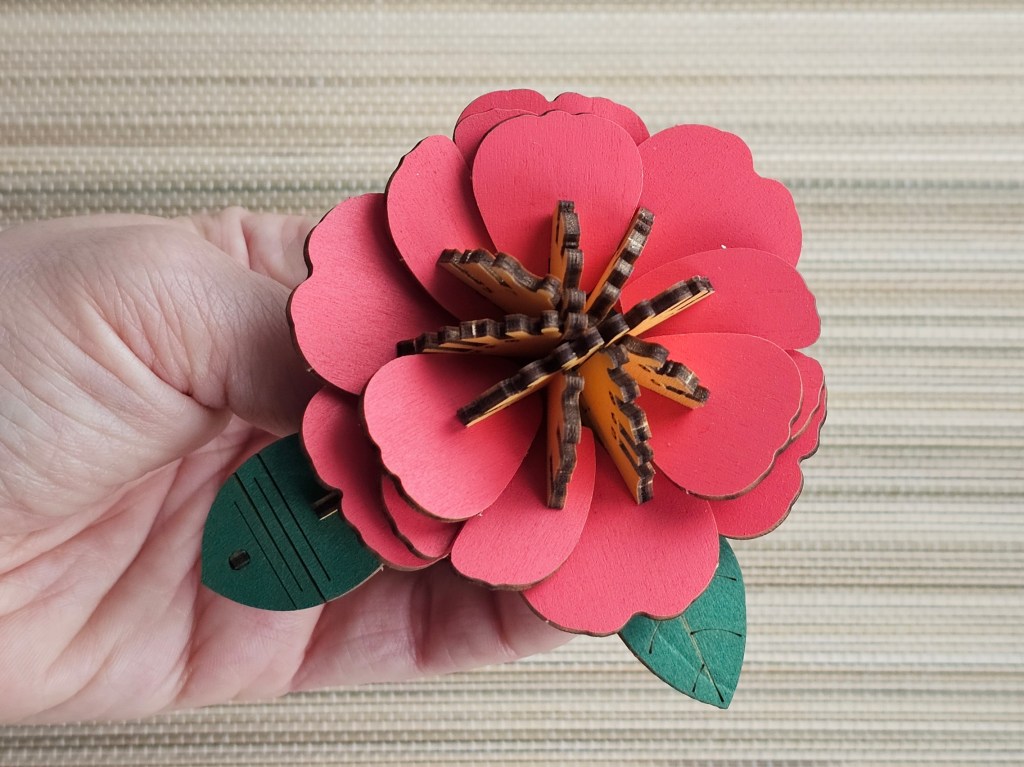
I continued assembling the first flower and soon, it was all finished.
Building the second flower
Next, it was time to build the second flower. Once again, I worked step by step, only taking out the pieces I needed. Everything was going smoothly. And then, a tragic event happened.
I got impatient, and used just a bit too much force when trying to insert one of the red petals. And poof, two of the teeth-like bits of the yellow element in the centre of the flower snapped. They didn’t break entirely, but they were hanging on by splinters. Disaster! I didn’t even think to take a photo. I ran to the fridge to grab super glue and carefully, using a toothpick, applied the glue to the broken elements, making sure not to put it in any crevices where another element would later need to fit. I set the flower aside and hoped the elements would stay in place.
I had a closer look at the culprit petal, and noticed that there was a small bit of wood bulging out where it should slide into another element, and it was blocking the way. Some other elements also had it, but it usually wasn’t bad enough to stop the element from sliding into place. In fact, I suspect it was there on purpose – probably to make sure the petals don’t slide out. However, in this case, it was just a little bit too tight. I used a sharp craft knife to shave it down. Later on, every time I had trouble connecting pieces with reasonable amount of force, I checked if there’s something that can be shaved down instead of trying to press too hard. In fact, I imagine that’s why there was a piece of sandpaper included in the kit. It wasn’t explicitly mentioned in the instructions. However, I found it easier to use a craft knife.
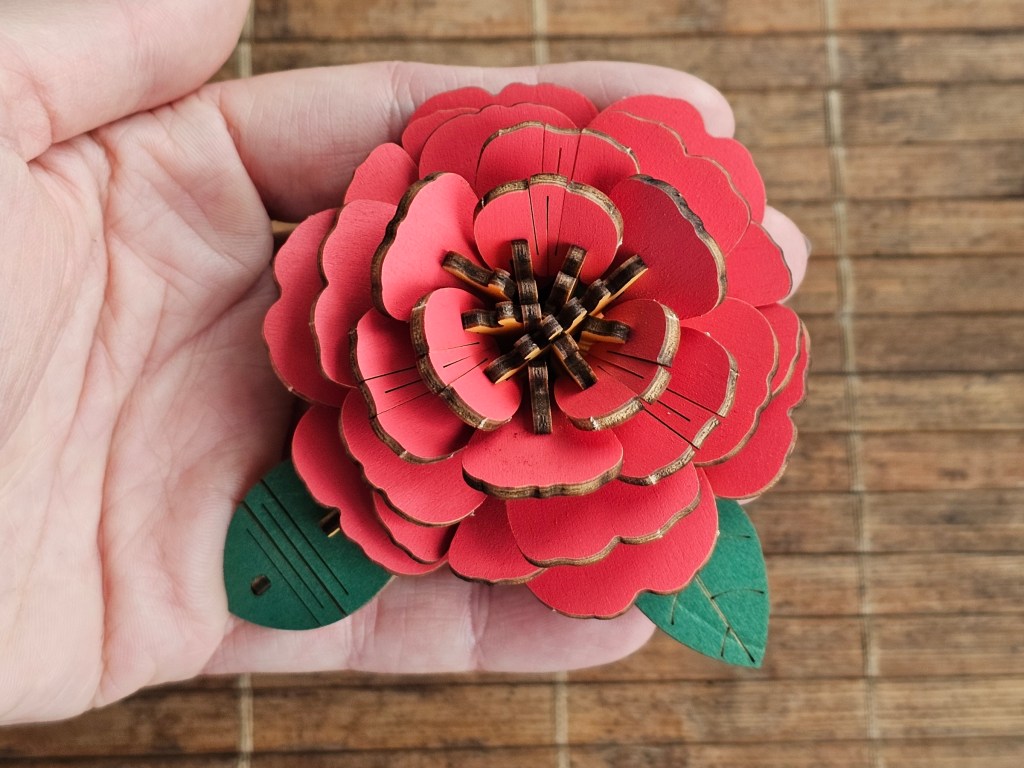
After a few hours, I picked up the flower and carefully tried to put the petal in the space near the broken pieces. Luckily, it went in without any issues and stayed put, and the broken parts didn’t get agitated. PHEW! I was able to continue building the second camellia. I made sure to be careful and didn’t rush through the process, but it still didn’t take me long to complete it.
Connecting the flowers
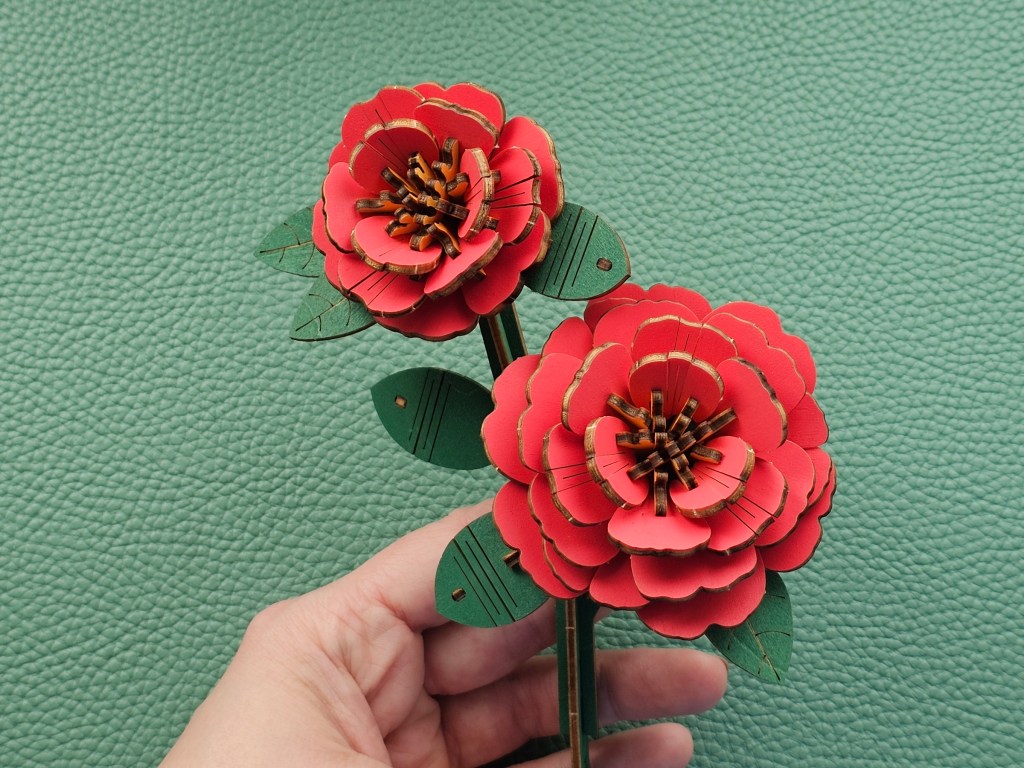
Next, it was time to connect the two flowers on a shared stem. I built the stem following the instructions, and then inserted the flowers in their designated spots. How cute!

Building the pot
The set came with two options for displaying the flowers. There are additional elements for building a longer stem, if you wish to display your flowers in a vase, perhaps with other wooden flowers by the same brand. Not a bad idea, but it’s actually my least favourite thing about the popular LEGO botanicals sets. I have one of their flower bunches, and it’s great, but finding a right vase for it was an absolute nightmare. And an additional cost, for that matter.
So, I went for the second option – the kit included elements for building a display stand. It had a wooden frame inside, and the outside was a thick paper / thin cardboard sleeve. A bit like origami! Once again, everything fit precisely where it should. Not one drop of glue was needed.
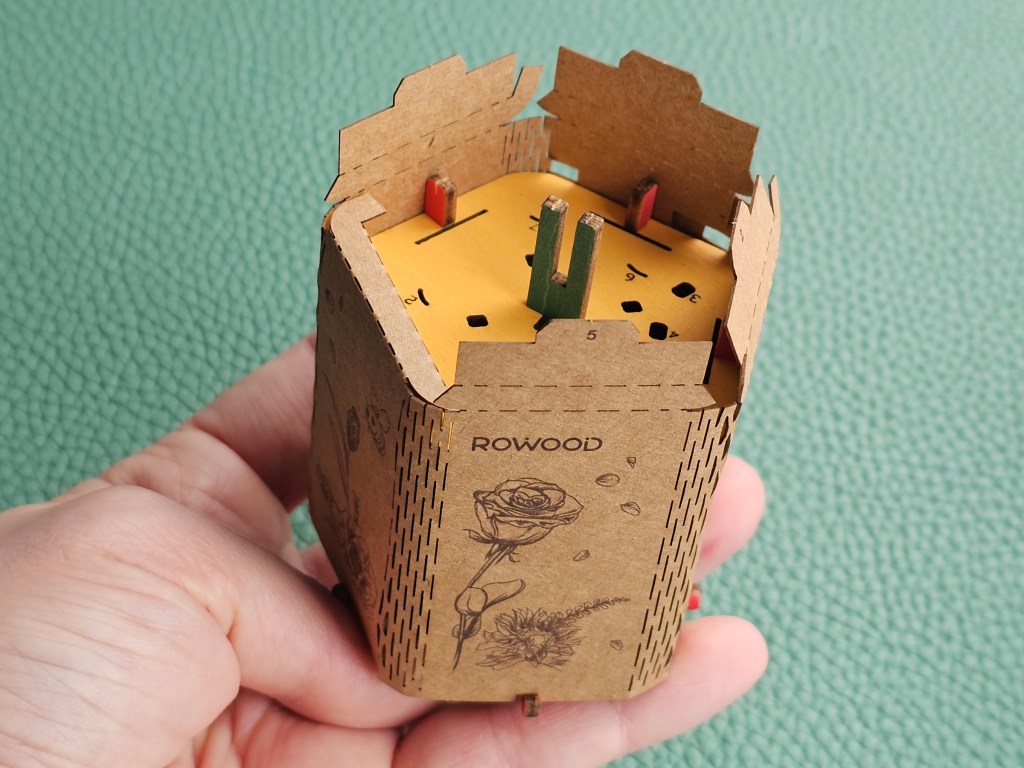
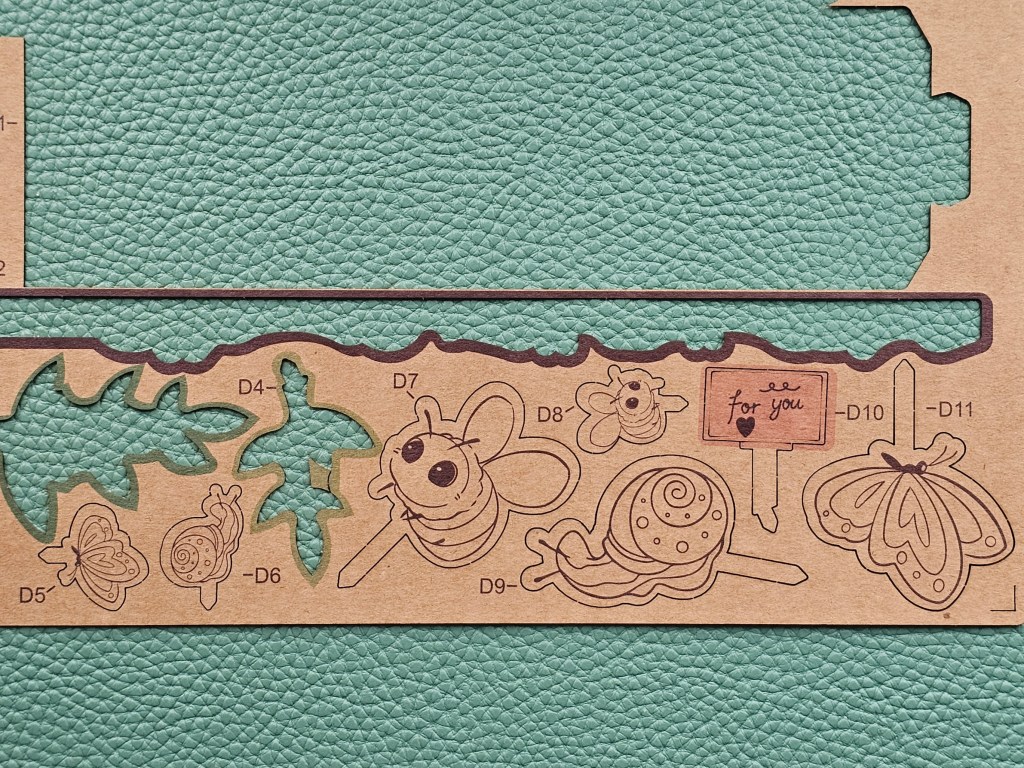
The stand had additional decorative elements, including extra leaves and tiny camellias. There was also a selection of optional elements to choose from included in the kit, like butterflies and bees. I decided to go for a large butterfly and a small snail.
Assembling everything together
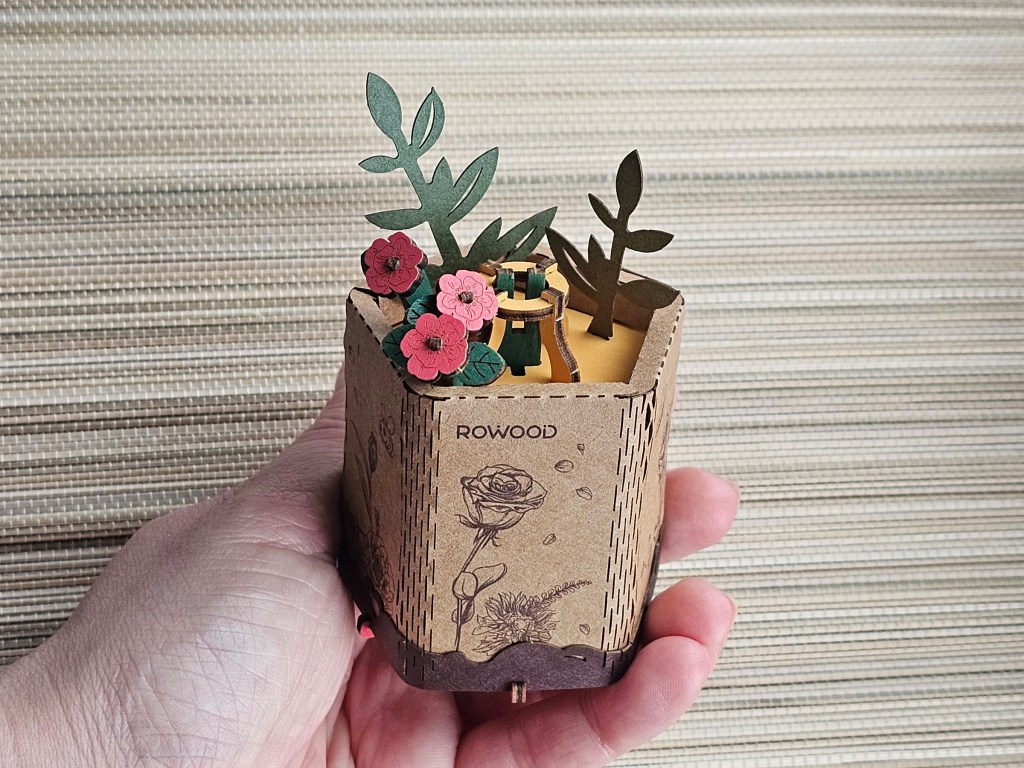
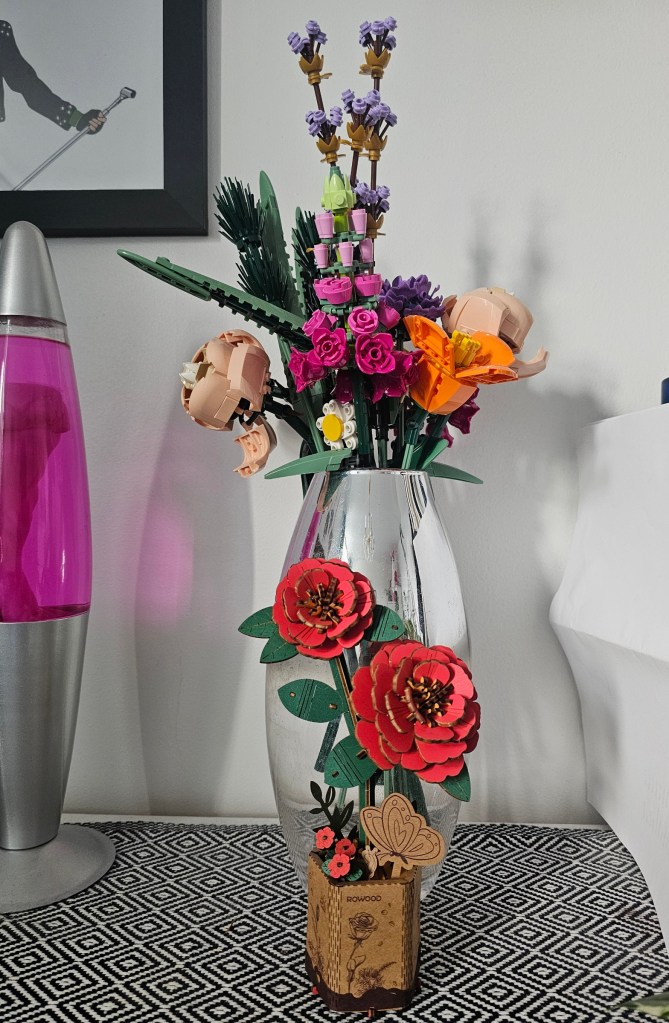
And finally, it was time to assemble the final result. I carefully inserted the flower stem into the designated place in the stand, and the wooden red camellias were finished. I absolutely love the final result! The whole process was smooth, with just one incident, which was entirely my own fault. I actually have two more sets from this range, with different flowers, and I can’t wait to build those.
I’m also going to include a photo with size comparison against my LEGO flowers. These red camellias are quite a bit smaller, which personally, I’m quite happy about. I love a 3D floral puzzle, but I don’t have space in my small apartment for several large bunches. With these smaller sets, I’ll be able to house a few of them.
Final thoughts
I’m really excited to work on the next two flowers from this range. Building the red camellias was so much fun!
I would say, sets like this one are probably best suited for adults or teenagers. The box says 8+ years, but I have a feeling that the small pieces require precision and patience that an 8-year-old may not have. And once you accidentally break one piece, it might be hard to save it! I stupidly made one costly mistake, but was able to salvage it. But it could have ended very differently.
I’m posting this just before Valentine’s Day, because sets like this can be a great Valentine’s Day gift idea. Or a great gift idea in general, to be honest. You can even make it a nice date night for a crafty couple – assembling everything as two people can easily be done in an hour. And it’s so much fun!
Also see:


Such a cute arrangement and a great gift idea whether assembled or not! Turns out, these are also available in the US. I had to check after reading your post. They can be ordered online from several sources and there are more kits than just flowers. Thank you for sharing your thoughts and experience with your kit!
LikeLiked by 1 person