I feel like it’s been ages since I last posted about my crochet projects, so let’s fix it! My most recently completed piece is a crocheted owl, originally designed to be a key chain, but I left it as a small plushie. I bought this assorted kit quite a while ago – as per my New Year’s Resolutions 2026, I’m trying to limit purchasing new DIY sets and focus on completing the ones I already have. I procrastinated for quite some time when I got to the embroidery steps, but overall, I completed this project in relatively little time. Here’s my latest crochet piece, a cute owl.
Contents of the set
The set included a ball of beige yarn, shorter pieces of white, black and yellow yarn, a crochet hook, a needle, a stitch market, a keyring, toy stuffing, and a leaflet with instructions. I got this kit in TK Maxx for £3.99.

Crocheting the body of the owl
I started by crocheting the biggest, yet simplest piece: the body of the owl. Those round elements are always the easiest to make – typically, they only require basic stitches. It was exactly the same this time. Soon, I had the body of the owl finished and stuffed.

Crocheting the wings of an owl
Next, I moved on to crocheting the wings of the owl. I was curious to see how it would be done – in the photo, they looked like a fun shape, and I had no idea how to make it. Turns out, it was actually pretty simple! It started with a magic circle and a few rounds of double crochets. Then, I had to fold each circle in half, and sew it closed with a fun combo of slip stitches and chains. The two half-circles for wings were ready.

Crocheting the eyes of the owl
As the next element, I crocheted the eyes of the owl – plain, small circles based on a magic ring. It doesn’t get much easier than that!
However, the eyes weren’t entirely done yet. I still had to do one more thing – embroider the black pupils. Embroidery certainly isn’t my strength! I used the black yarn provided in the set and tried my best to replicate the look from the photo in the pattern. This time, I think I did a decent job! The eyes turned out pretty cute, in my humble opinion.


Crocheting the ears of the owl
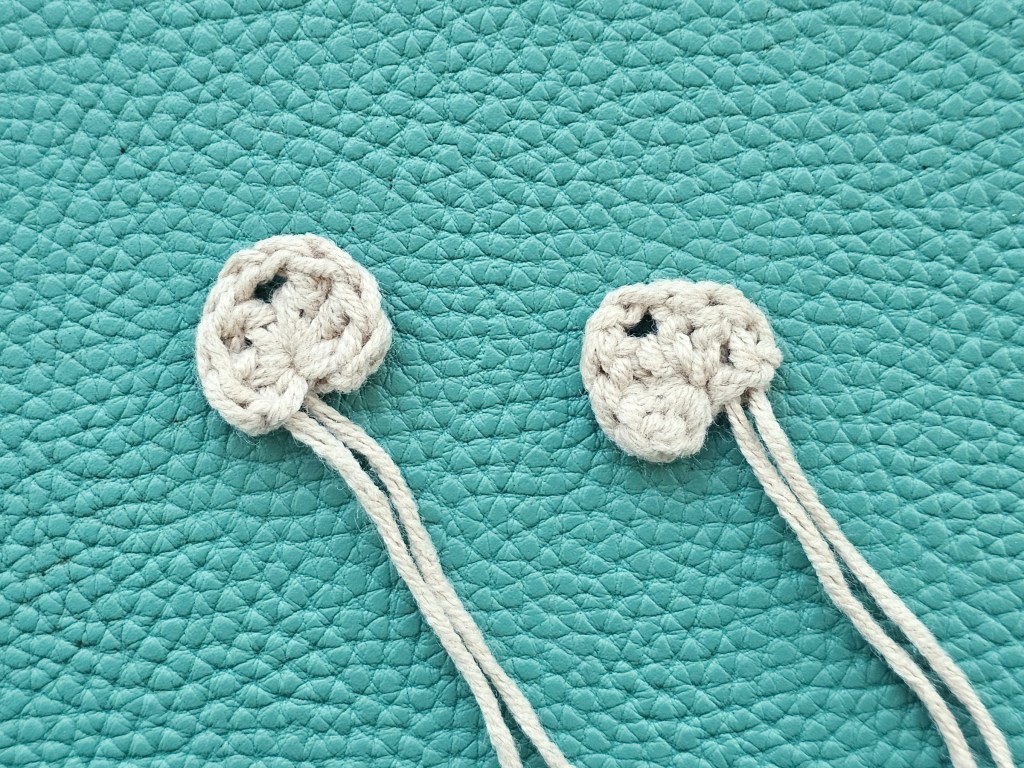
Next, I used the beige yarn to crochet the ears of the owl. Do owls even have ears? Surely not external ones! Still, I followed the pattern to crochet the two small pieces. This time, there were no magic rings involved. I completed the small combination of stitches, and the first ear was finished. It looked close enough to the reference photo, so I made the second ear. I left long tails of yarn to be able to attach the ears to the body of the owl.
Assembling the crocheted owl
Finally, it was time to put it all together. And, to be honest, it’s always my least favourite part of crocheting. It took me… a few weeks to pick up this project to sew it all together, after all individual elements were crocheted. I suppose I enjoy crocheting, but not sewing or embroidery!
I don’t know why I procrastinated for so long. It really didn’t take me a huge amount of time to put it all together!
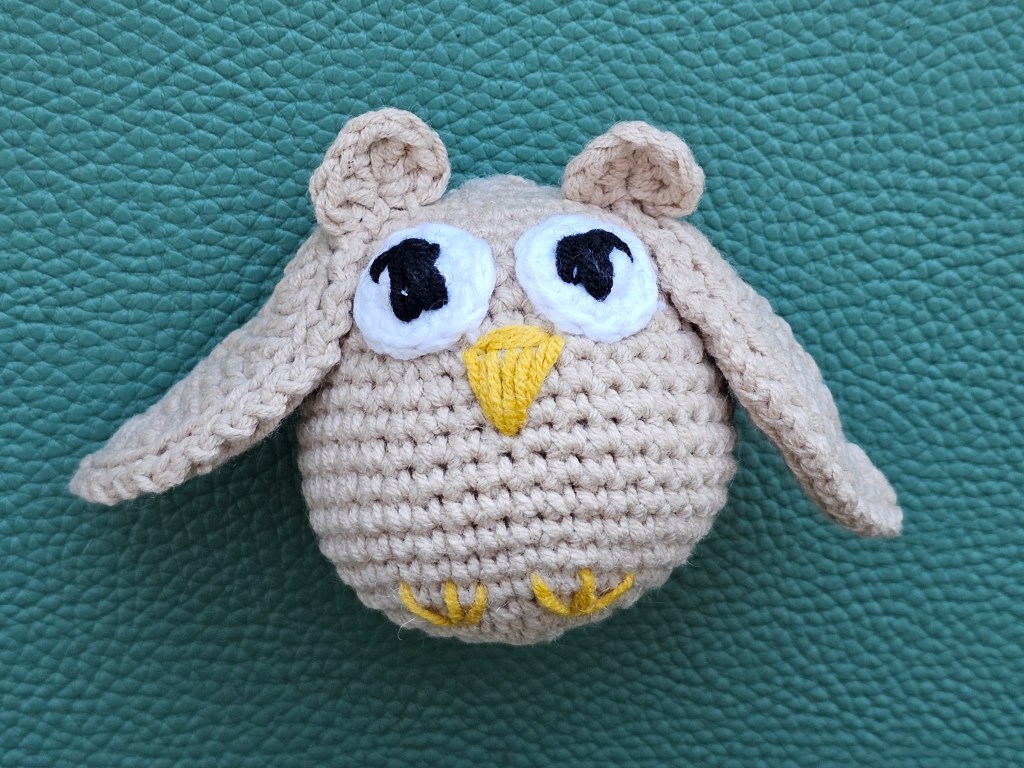
I started by attaching the two eyes, placing them close together. Next, I sewed the two wings, and added the ears too. I’m still not convinced whether owls should have ears, but at least they look kinda cute. At that point, all of the crocheted pieces were in the right places. All that was left was embroidering the beak and the feet.
I used the yellow yarn and sewed the final details. I’m not great at embroidering details on crocheted projects, but this time, I’m pretty happy with all of them! The eyes, beak and feet all turned out pretty cute. And just like that, my crocheted owl was finished!
This crochet set came with a key ring, because the owl was supposed to become a key chain. I’m not a fan of key chains, though, so decided to leave it as a small plushie. I can always attach the key ring in the future.

Final thoughts
I’m quite happy with how this crocheted owl turned out! I managed to crochet all elements quite well, and even the embroidered details, which I usually struggle with the most, don’t look too bad. Overall, another successful step on my journey learning how to crochet!
Also see: