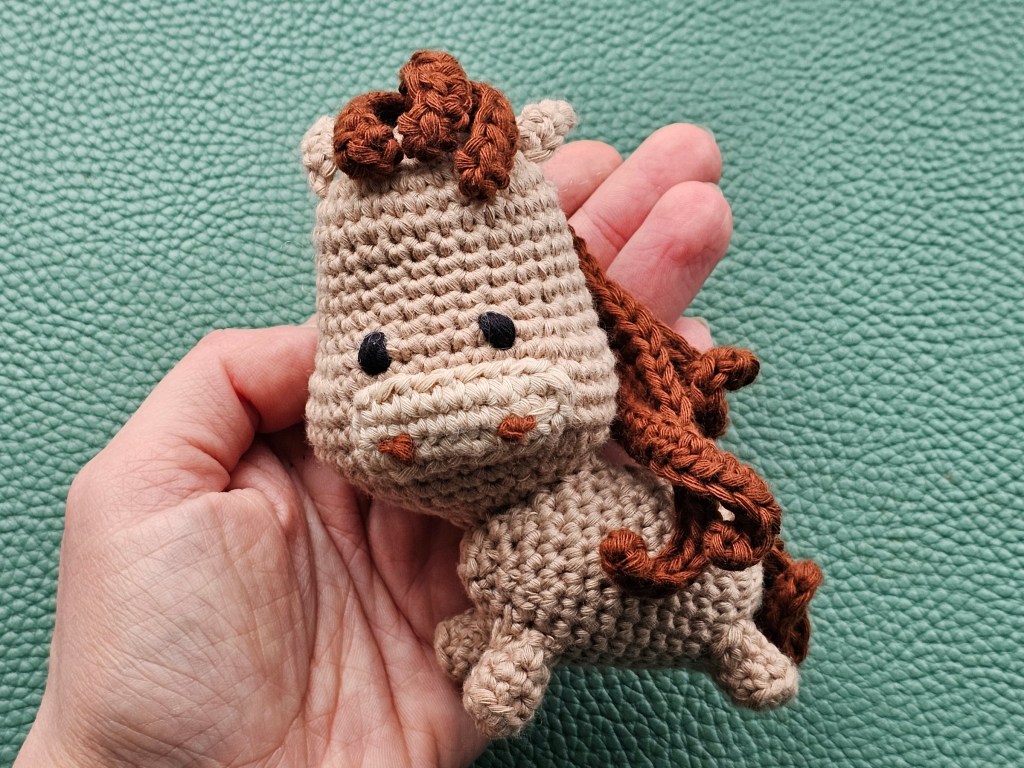
Last week, I shared a post about my 1 year journey learning to crochet. I’ve mainly used assorted craft kits, as they’re – in my opinion – the best way to pick up a new craft. Following even the simplest patterns was a challenge for me 12 months ago, but now, I usually manage to follow the patterns from assorted sets without major troubles. My learning journey continues, and today, I’d like to share my most recent crochet project: a cute pony stuffed toy.
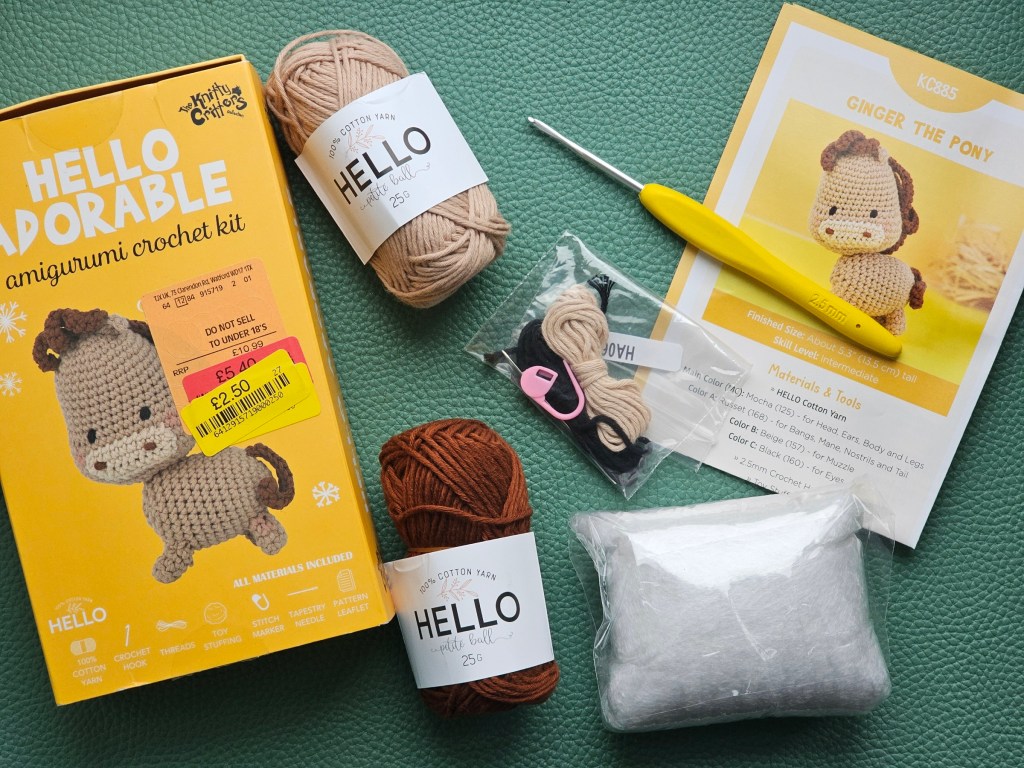
Contents of the set
As always, let’s start by taking a quick look at the contents of the set. It included beige, brown and black yarn, a crochet hook, a stitch marker, and a needle. There was also a leaflet with the pattern and instructions, and toy stuffing. The whole set, discounted, cost me £2.50 in TK Maxx. What a bargain!
I need to point out something quite funny. If you look at the price tag on the box, it says ‘do not sell to under 18s’. Sorry, what? I’ve seen this on craft kits in TK Maxx several times, and I’m always flabbergasted. What are we afraid of, kids finding better hobbies than staring at the screen all day?! The crochet hook doesn’t have a sharp end, and the sewing needle is tiny. Kids can easily access far more dangerous items!
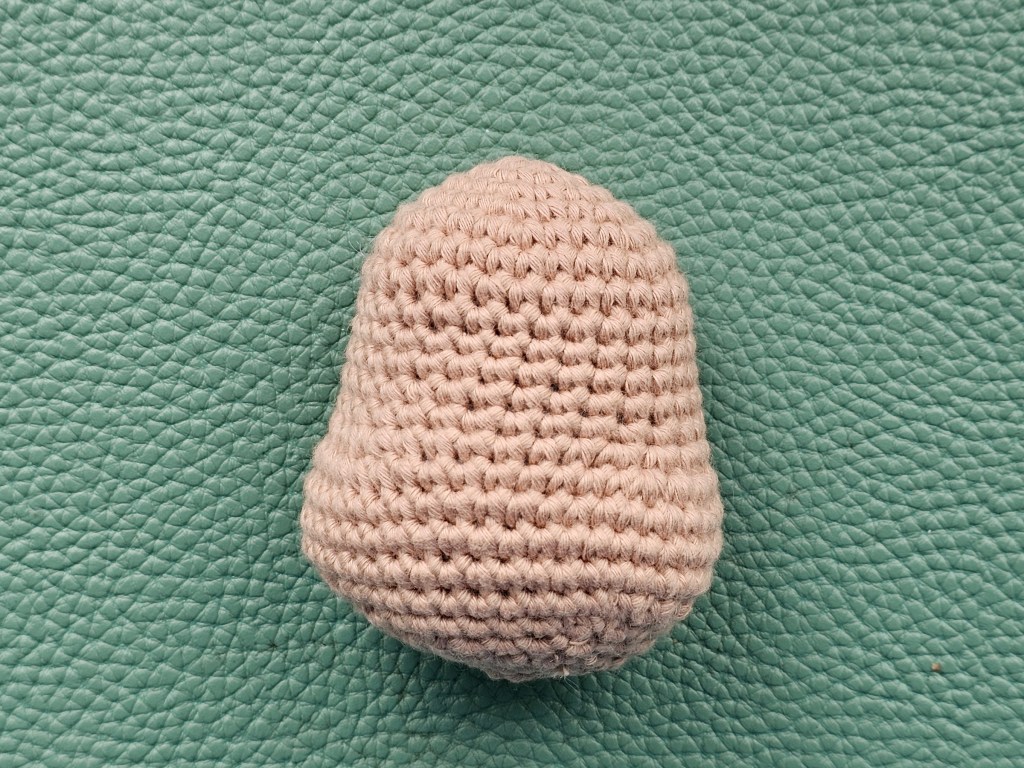
Crocheting the head
I started crocheting by making the disproportionally large head of the pony. It has a funny shape, but it was made using only basic single crochets, with increases and decreases. It still amazes me that irregular shapes can be achieved with the simplest of crochet stitches.
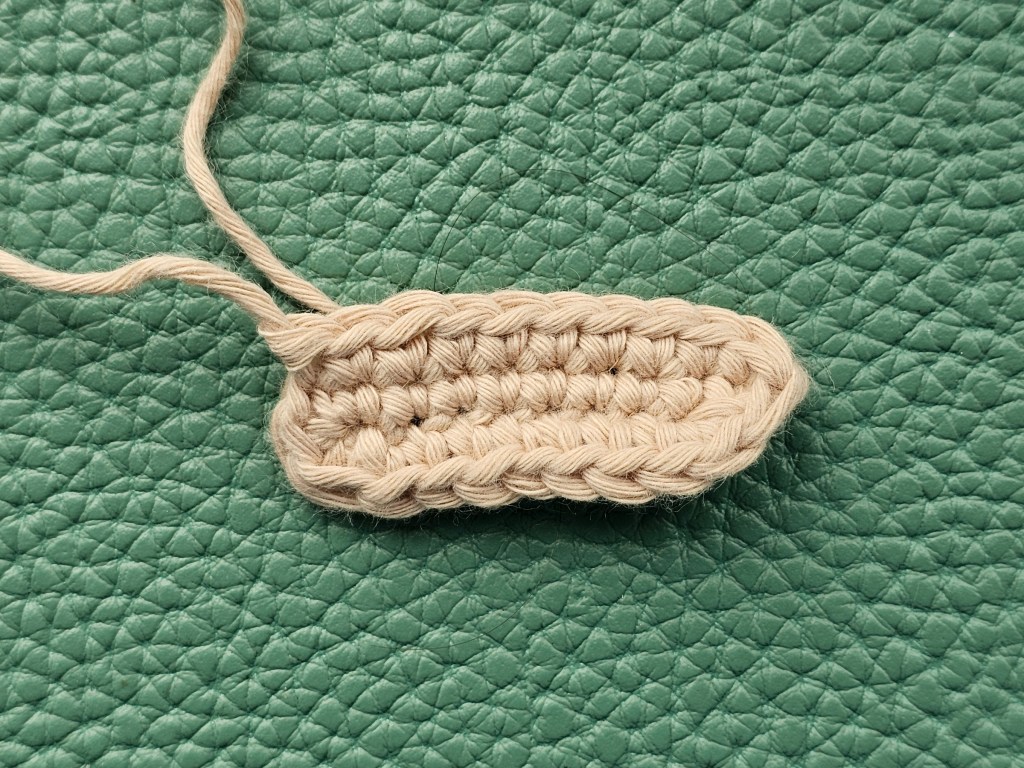
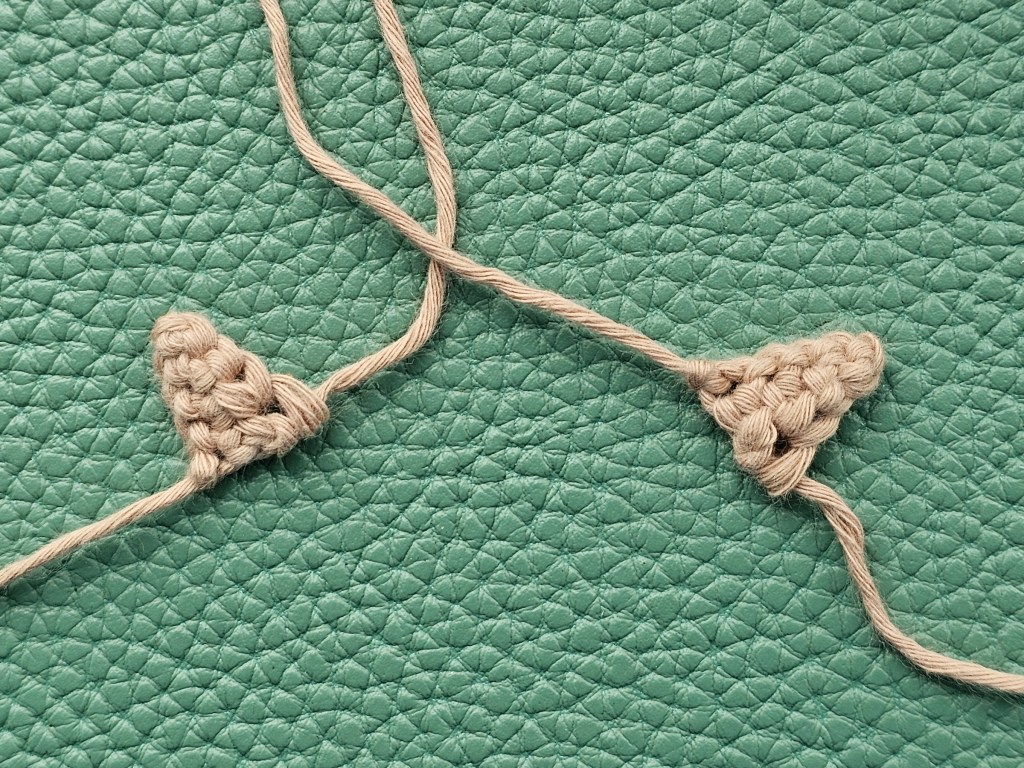
Making the ears and muzzle
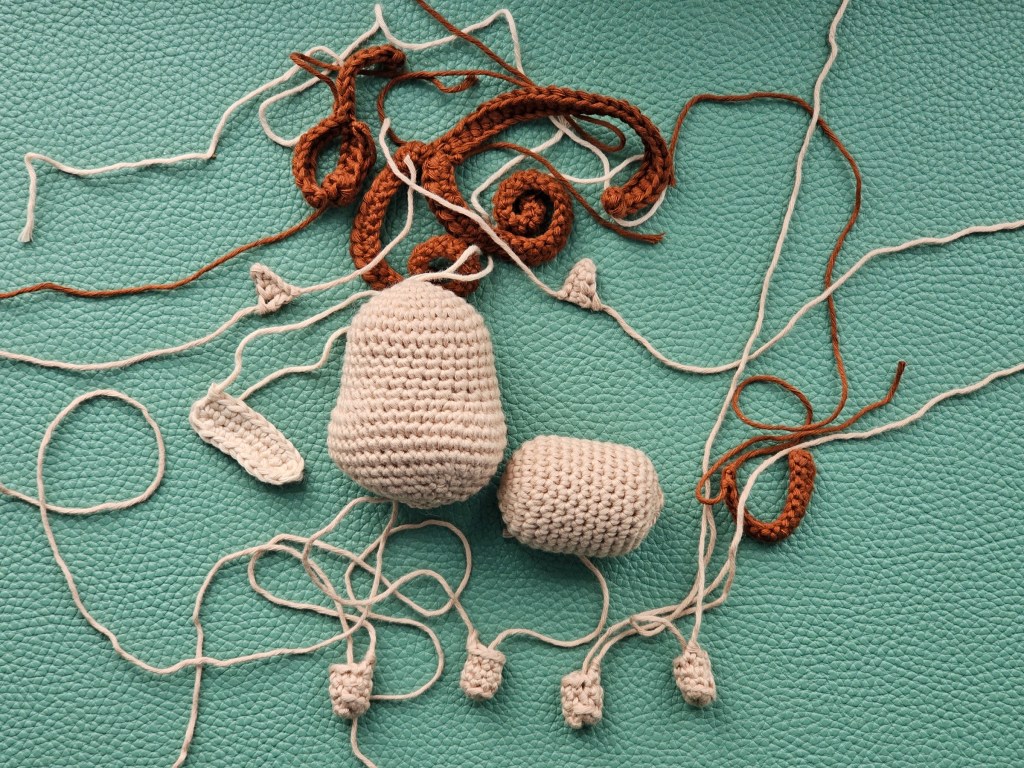
Next, I moved on to crocheting the ears and muzzle. Both of them were amigurumi style patterns, starting with a chain, and not a magic circle (which I’m most used to). I still managed to execute the pattern quite well, though! I’m particularly happy with the ears, which turned out as perfectly even triangles. I left long tails of yarn to later use them to sew the pieces onto the head of the pony.
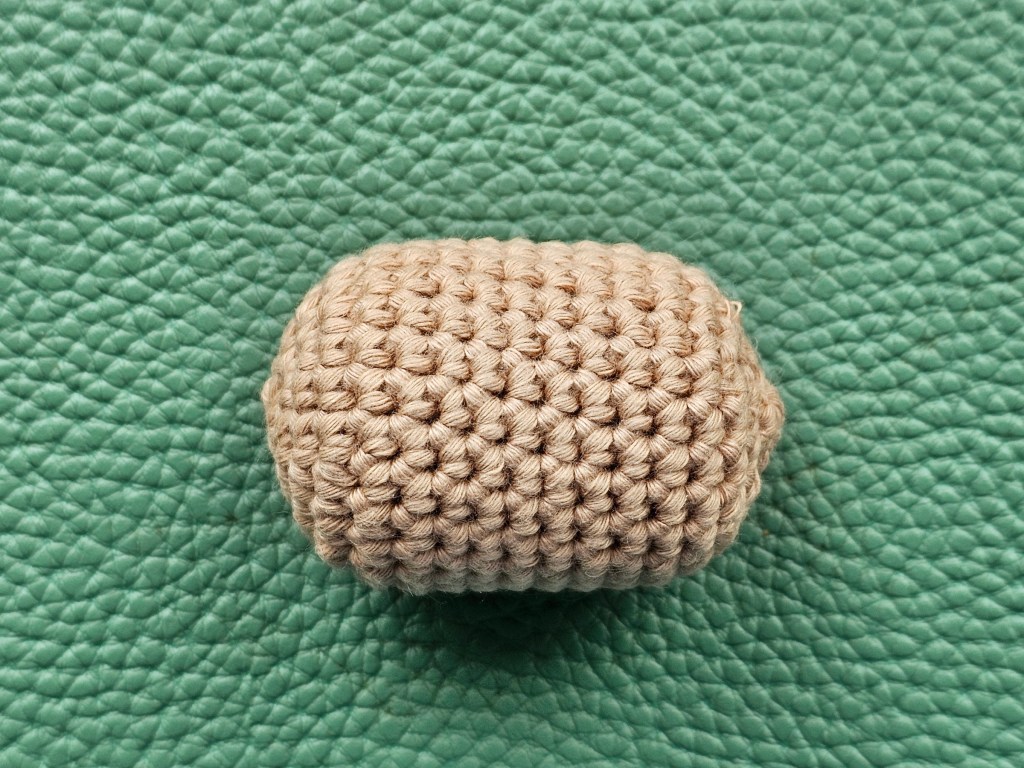
Crocheting the body
Then, I crocheted the body of the pony. It was really basic – a simple tube made with basic stitches, which looked kinda like a mini sausage. I stuffed the body with the toy filling and fastened it off. The biggest pieces of the crochet pony were now completed – it was time to move on to smaller details.
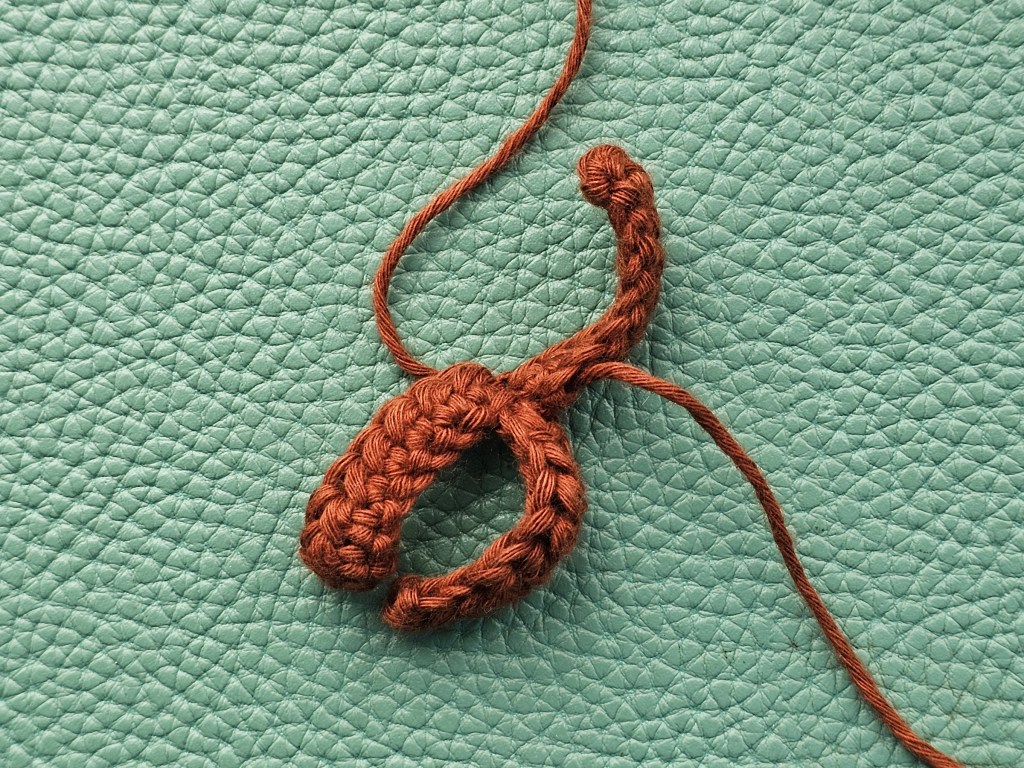
Crocheting the legs
First, I crocheted the legs of the pony. All four used the same pattern. I’m glad that they turned out roughly the same size! I still struggle with controlling the tension, and sometimes I end up making pieces in visibly different sizes, despite using the same pattern and tools. This time, the four small legs looked similar enough. I left long tails of yarn and moved on to the final pieces.

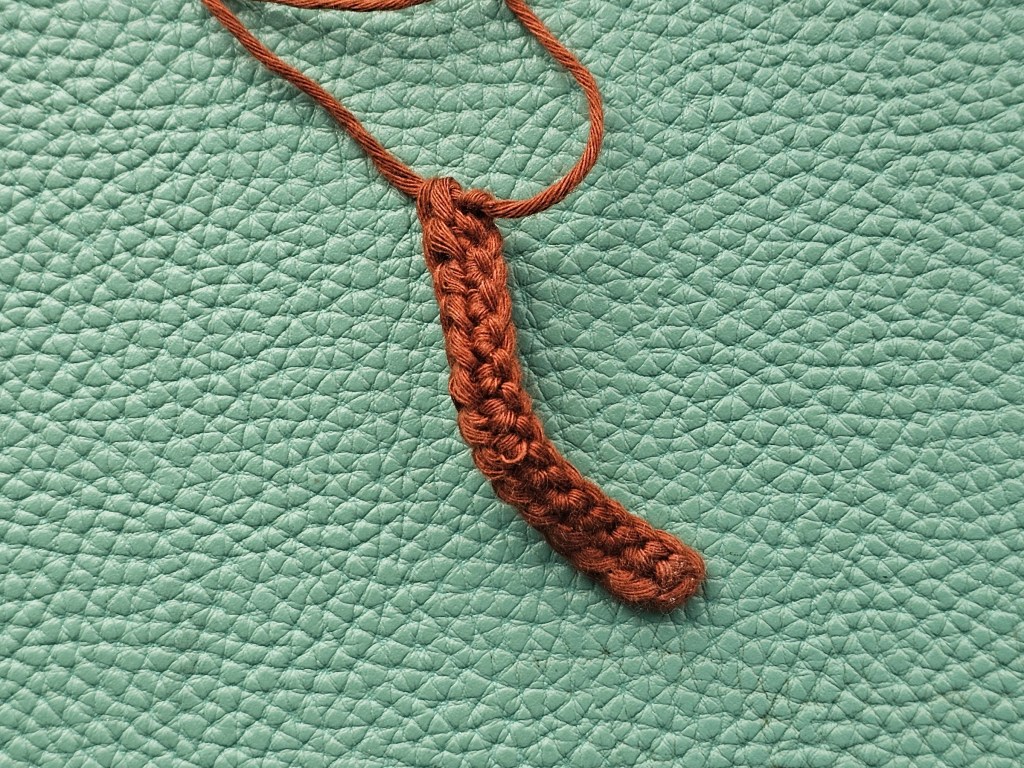
Crocheting the fringe, mane, and tail
It was time to use the brown yarn and crochet the fringe, mane, and tail of the pony. They all used a similar pattern: a starting chain, followed by a round of double stitches. I had no trouble making them, and in close to no time, I had all elements finished. The pieces naturally curled, despite including no increases. I’m not sure if it’s right or if it’s my lack of skills, but the curls are cute!

Assembling the crocheted pony toy
Finally, I could start assembling the pony. This is always the most challenging step for me, especially when there’s embroidery involved. In this case, I had to embroider the eyes and nostrils of the pony.
The nostrils were particularly tricky, as they were done with French knots, which I had encountered – and failed to property learn – a few times in the past. After quite a few attempts, the little knots were looking decent, but I’m still not convinced that I did it correctly.
I assembled all pieces together: I sewed the ears and muzzle onto the head, and attached the abnormally large head to the body. I sewed the four legs, and finally, added the fringe, the mane, and the tail. My crocheted pony was completed!
I’m not sure I love the design itself, which might be purely because I’m not a fan of colour brown, but I think I executed it well! For just £2.50, it was a great project to work on and improve my crochet skills. If you’re looking to start crocheting but don’t know where to begin, craft sets are great! Although, when it comes to crocheting, the craft sets alone usually aren’t enough to teach you. Be prepared to watch a lot of video tutorials online!
Also see: