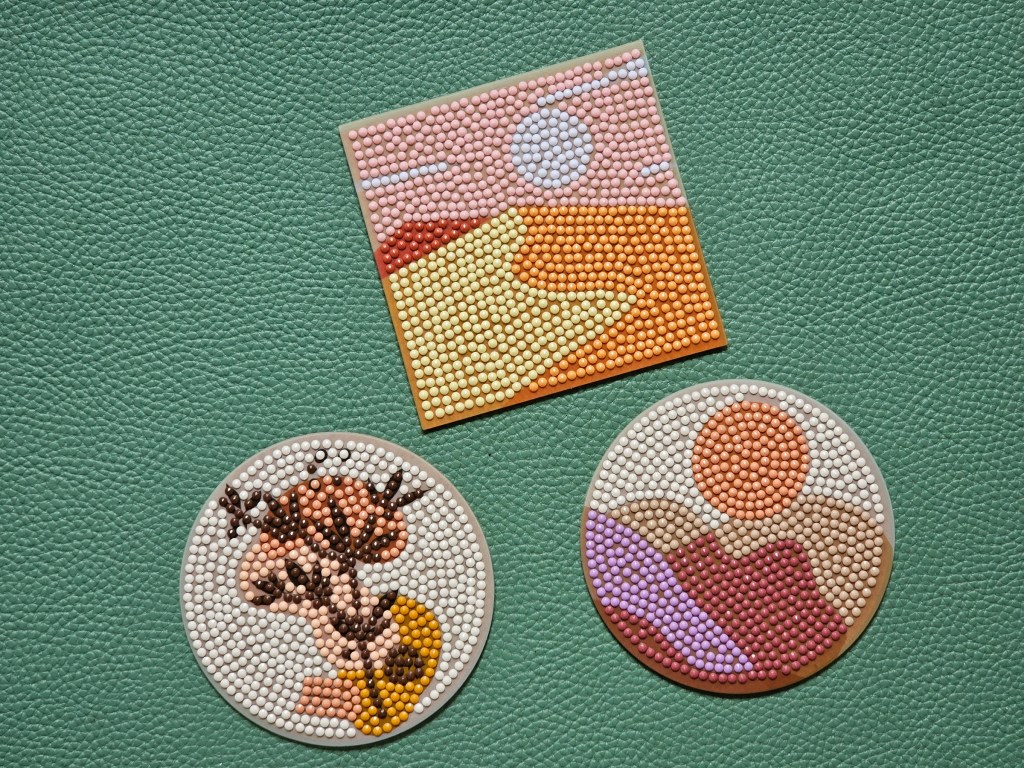
This year, two unexpected words started trending on social media: hobbymaxxing and solomaxxing. And if you’ve been following my blog for a while, you probably know that I’m a master of both. Today, expanding on my hobbymaxxing quest, I’d like to share with you a new craft I tried recently: diamond painting. Well, in fact, I tried it for the first time back in January, when I completed three small coasters. But this time, I worked on a large-scale painting. It’s a craft that requires a great amount of patience and quite a lot of time, but the result is pretty impressive!
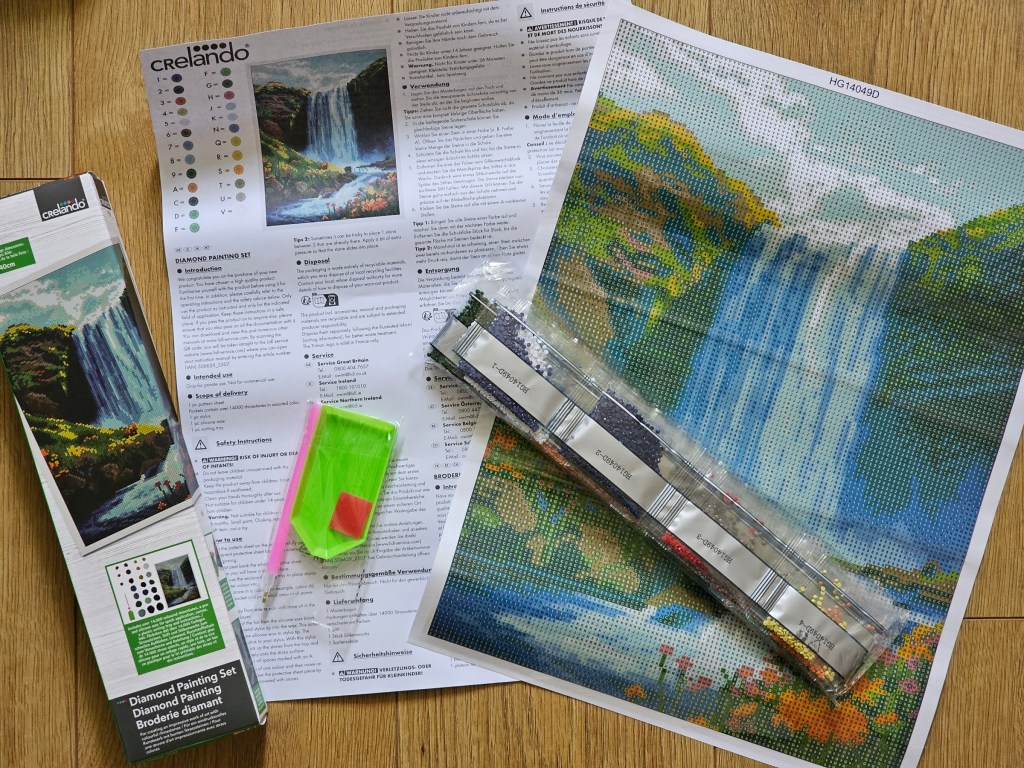
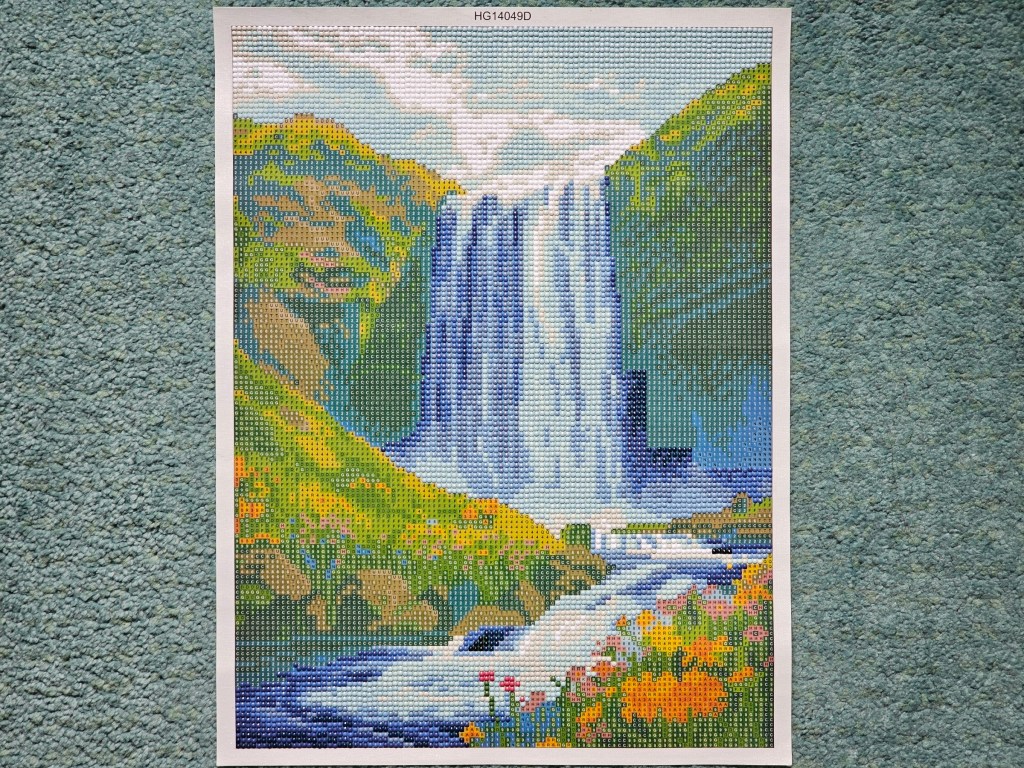
Contents of the diamond painting set with a waterfall design
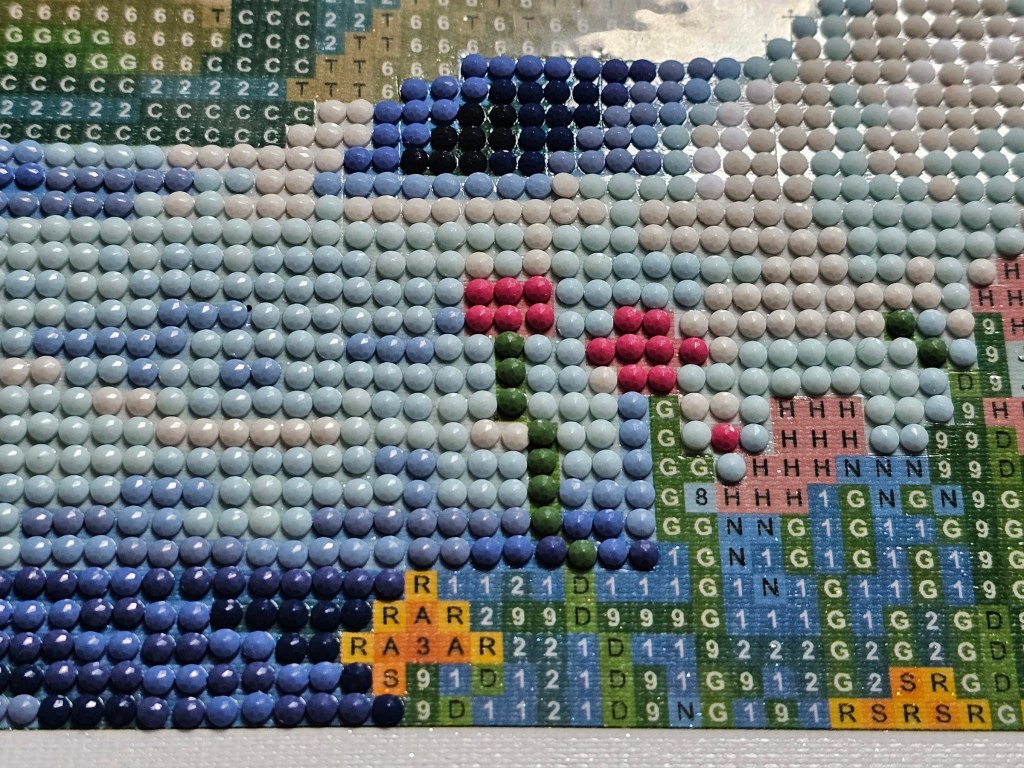
I got this set in Lidl for around £3 or £4. It included a canvas with the design and a layer of sticky glue/tape covered with foil, a plastic pen tool, a piece of wax, a tray, and lots of small pouches filled with beads, labelled with letters and numbers. The cells on the canvas had letters/numbers printed on them too, to indicate which beads to place on them.
Starting off – bedazzling the sky
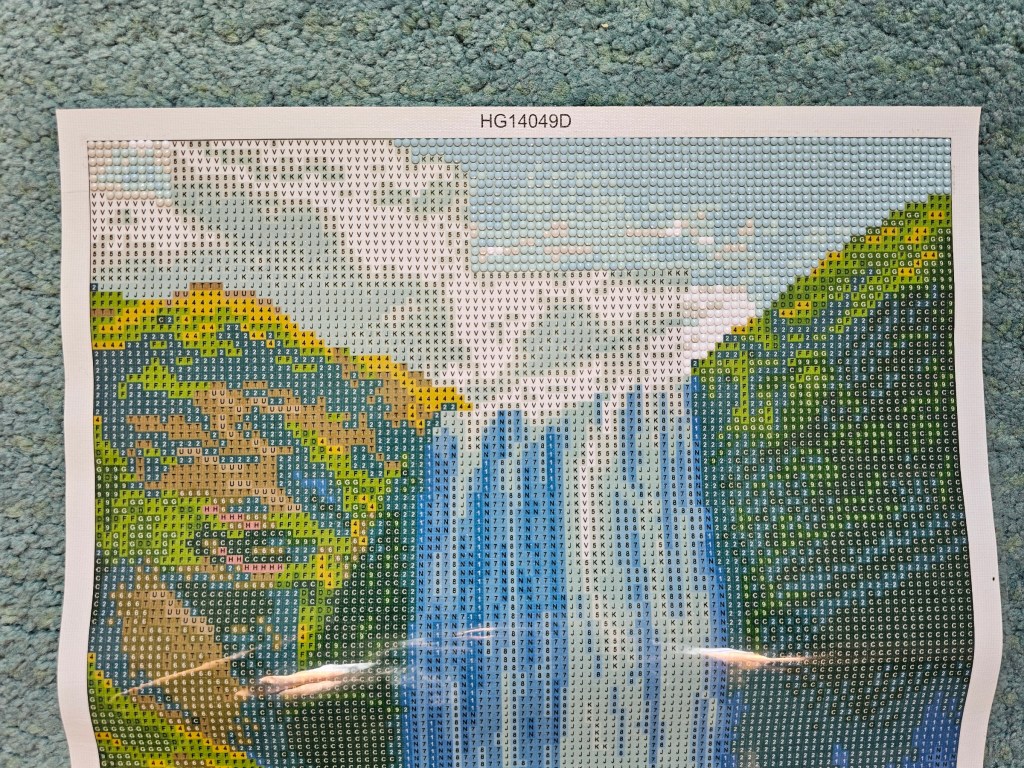
I decided to start from the top of the canvas and prepared pouches with diamonds in the first few colours.
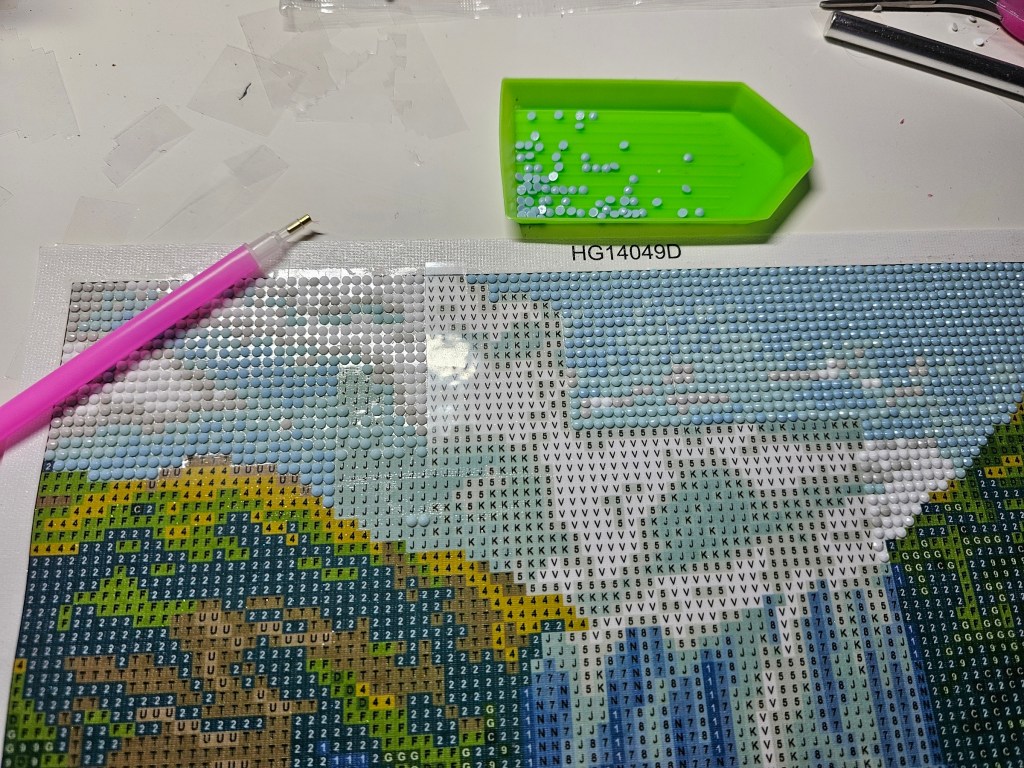
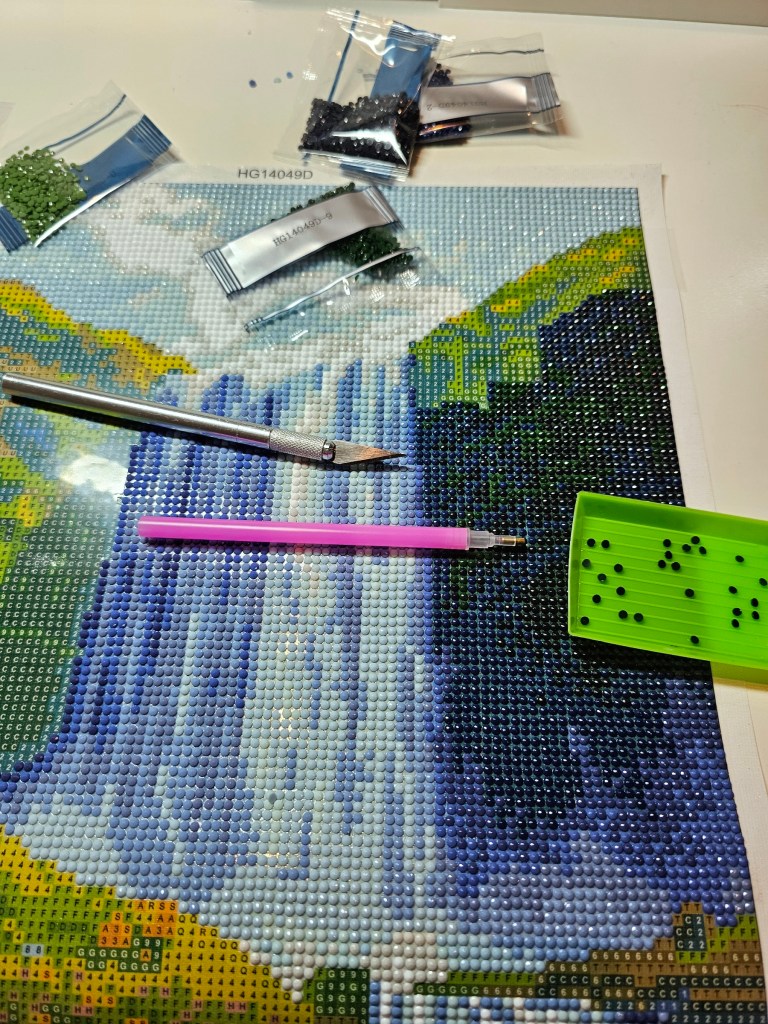
I used a sharp craft knife to cut off the foil covering the design in the area I planned to work on. I didn’t want to take off the whole foil at once, knowing that the project would likely take me a good few days to complete.
I was a bit worried that the knife would cut through the canvas too, so I made sure to only use enough pressure to cut the thin foil – it worked fine.
I worked in pretty small sections. For each section, I worked colour after colour. After a couple of evenings, the sky was done.
Continuing with the blue colours
I didn’t want to open all of the pouches with beads at the same time, so I continued working through areas that used the same colours as the sky – so, the water. I worked on the waterfall, top to bottom, and then moved to the river at the bottom of the design.
To place the beads on the canvas, I poured them into the tray, and then shook the tray until most of the beads were facing the right way up.
To pick up a bead, I used the pen tool, which had a piece of wax at the tip. The beads stick to the wax, but when you place them on the sticky canvas, they stay there. That’s actually brilliant!
I read that people who love diamond painting and complete lots of projects generally dislike the pens included in the sets and recommend getting a wax pencil instead. I can confirm that the pen wasn’t 100% perfect, but for just one project, it was good enough.
After a few evenings, most of the water areas of the design were finished.
Adding more colours
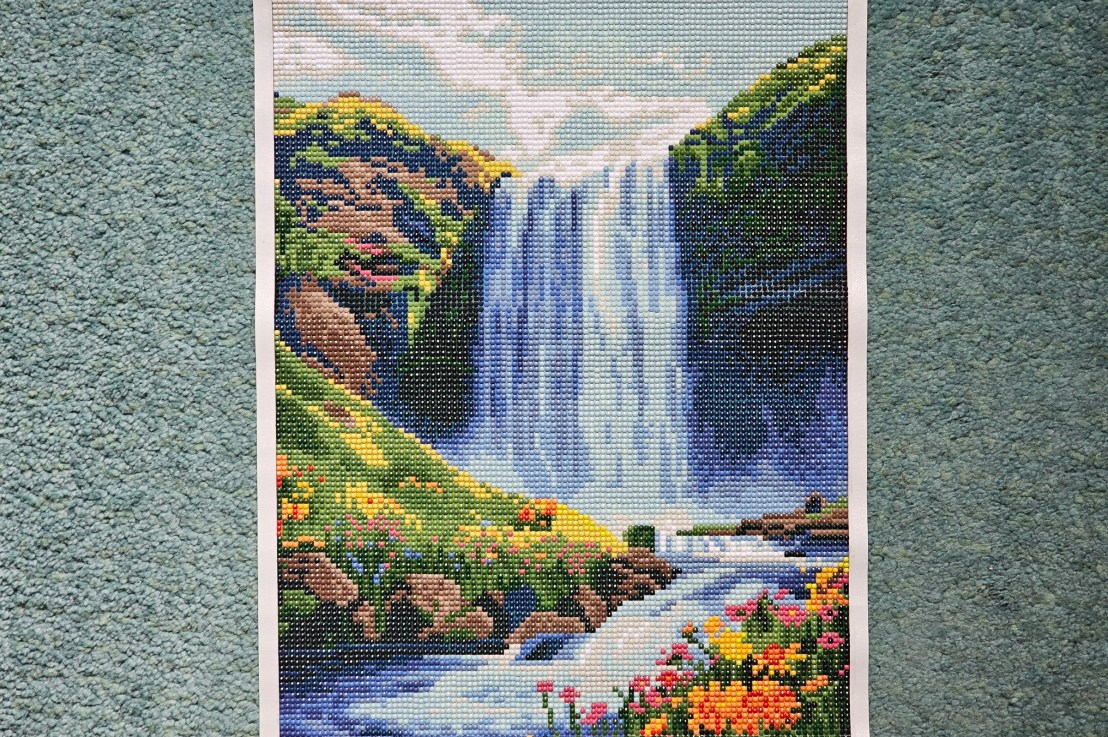
I quite enjoyed working on this project, but it did feel never-ending. The leaflet said that there were around 14000 beads included in the set. That’s a lot! If I counted correctly, the design is 116 beads wide and 141 beads tall. That’s 16356 diamonds – even more than they mention in the instructions.
Sticking the beads onto the canvas is quite relaxing and satisfying. It doesn’t require a lot of brainpower. It’s like colouring by numbers, just with beads.
I worked on the areas on both sides of the waterfall – the rocky cliffs covered with plants. In terms of colours, it was a good transition from the blues to the greens.
Continuing with the bedazzling
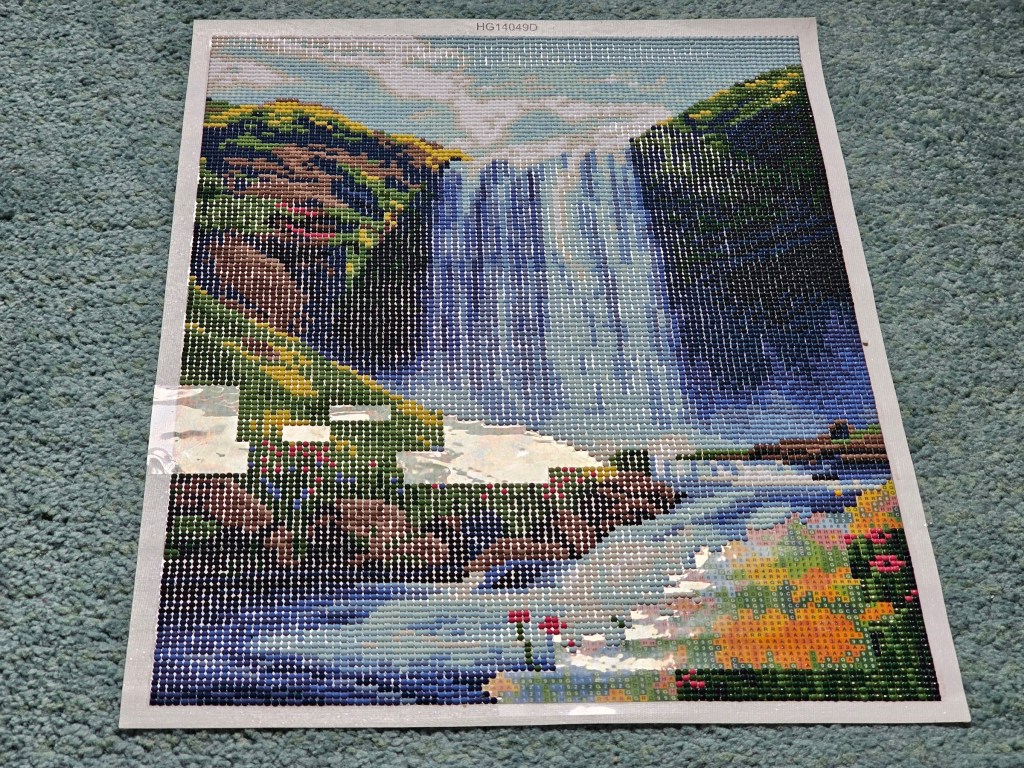
Eventually, I got to the point where I had to open almost all of the diamond bags. I worked on the green and yellow plants, and colourful flowers. After quite a few long evenings, I could slowly see the finish line. The areas covered with beads were growing, and there were fewer and fewer sections left to do.
On a few occasions, my clumsiness led to spilling a tray full of beads. I always made sure to collect them, but I certainly lost quite a few. Luckily, there was a pretty generous margin of the beads included in the set. Every time I finished a colour, I still had a fair amount left in the bag. If you work on a diamond painting set and lose a bead, don’t stress about it!
Another DIY project completed
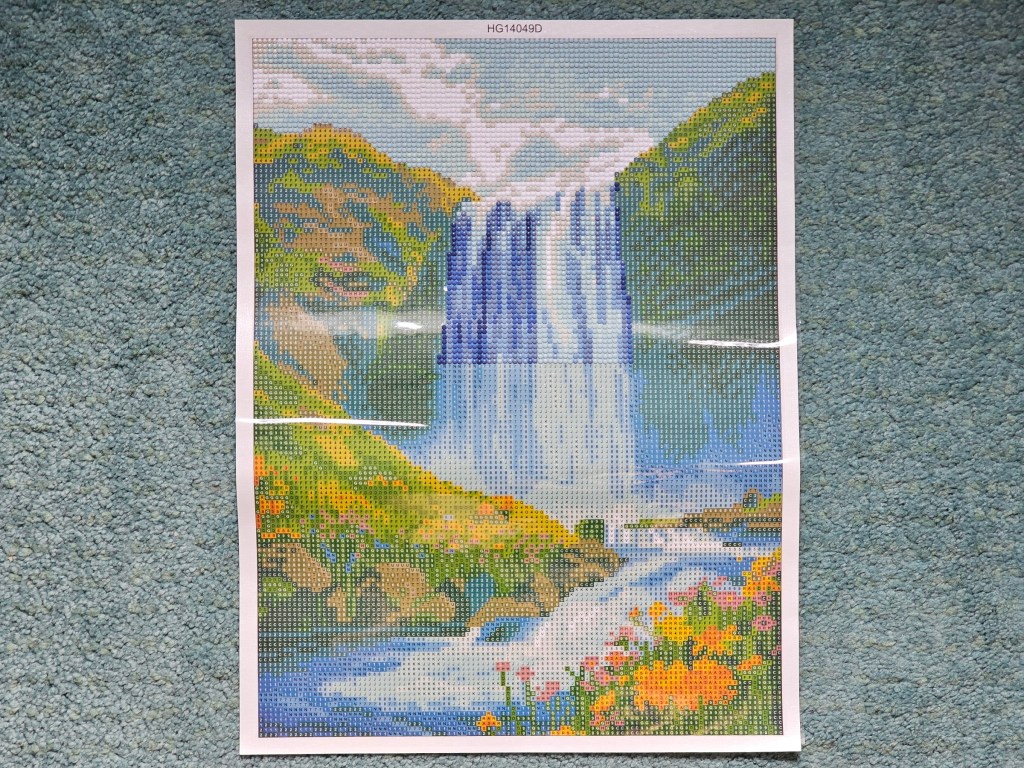
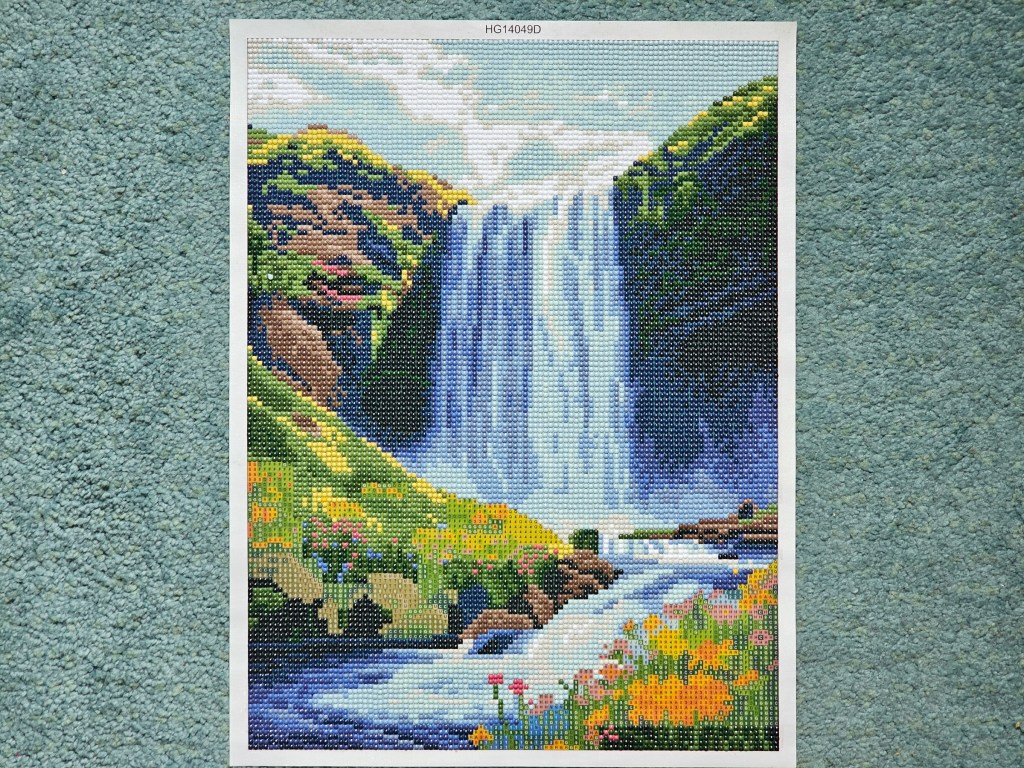
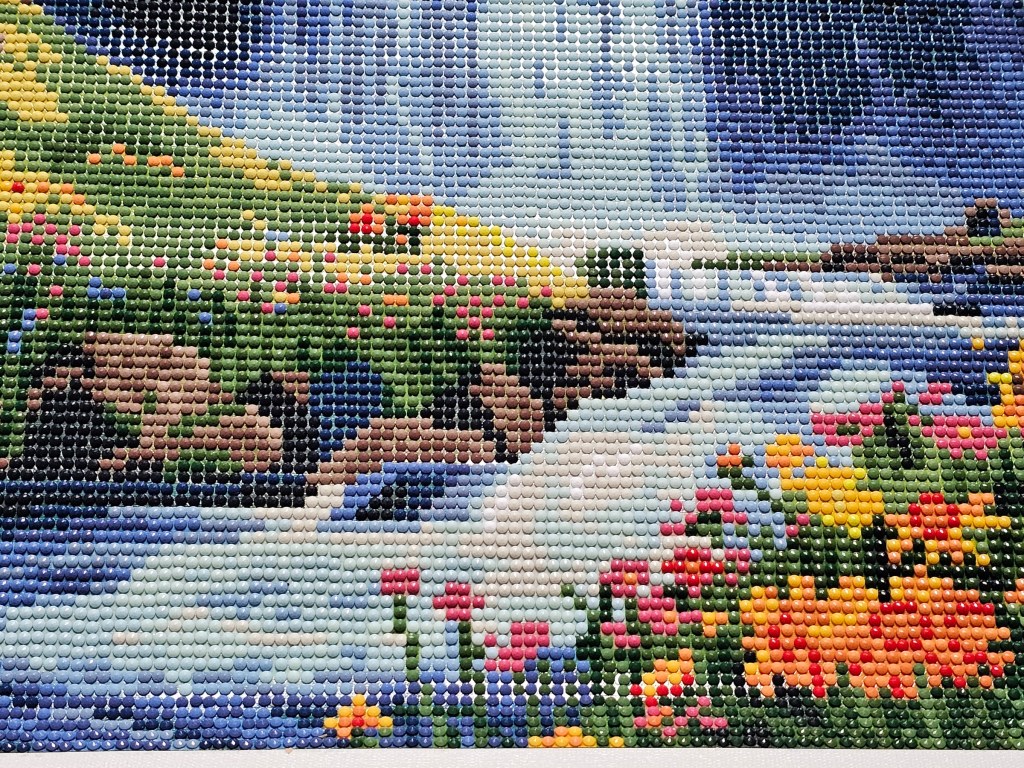
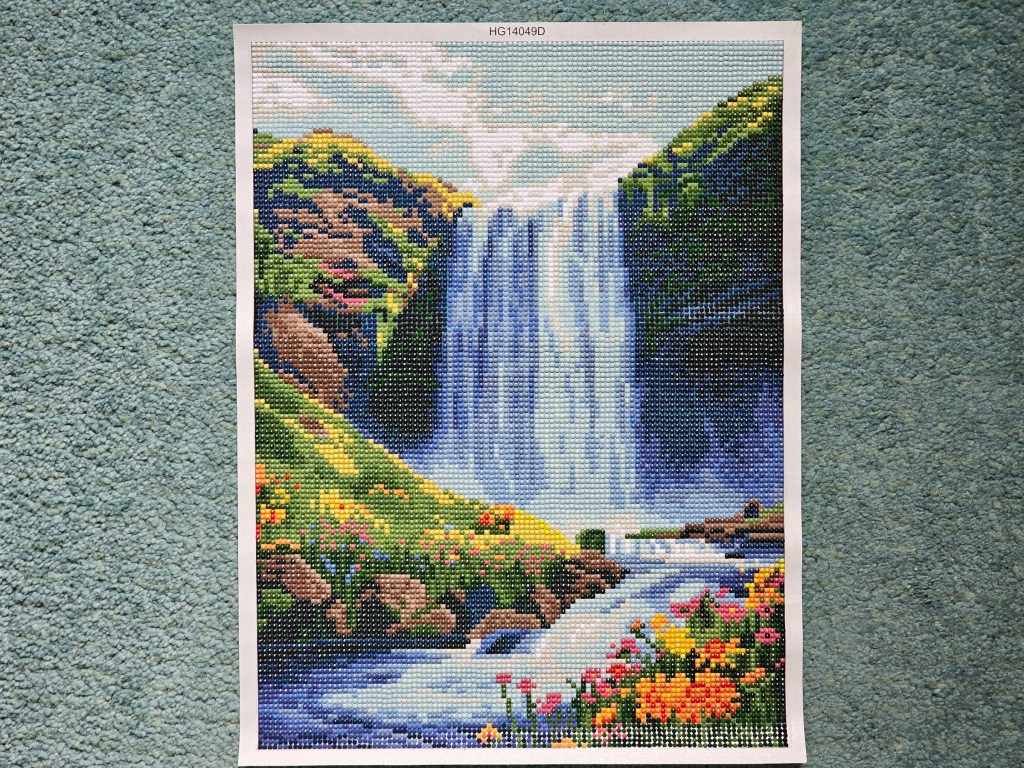
And finally, after about a week and a half of diamond painting evenings, I finished the waterfall painting. Phew! It was so satisfying to see the design in all its glory.
I enjoyed diamond painting and found it relaxing, but I think I prefer smaller DIY projects that take less time to complete. I don’t think I’ll be buying a large diamond painting set again any time soon! I do have a Christmas set, actually, but it’s the size of a small coaster – shouldn’t take more than an hour to finish.
All in all, it was fun to try another craft. My hobbymaxxing continues! I mostly cross stitch and crochet, so it was nice to try something different. As far as unique crafts go, one of my favourites are 3D wooden flowers – a great alternative to LEGO Botanicals.
Have you tried diamond painting or other unique crafts? I’d love to hear about it!
Also see: