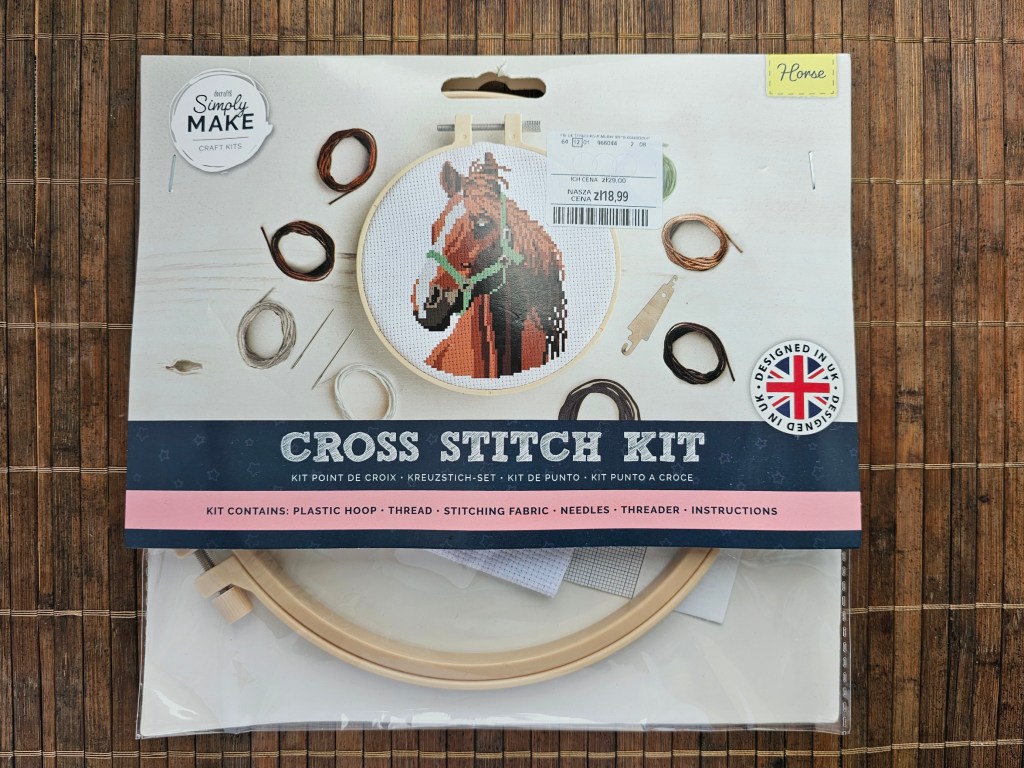
One of my New Year’s resolutions for 2026 was to refrain from buying too many new DIY supplies and focus on using up those I already have. So, I decided to work on this horse cross stitch set. I have to admit, I wasn’t too excited on sewing this specific design – I suppose there’s a reason why it took me about 2 years to get round to it! I love horses in the real life, but I don’t really like orange and brown as colours, and this design is full of them. Yet, I’m actually quite happy with how it turned out, it looks quite realistic. Last week, I shared my pony crochet project, so my recent weeks were pretty equine-focused. Luckily, I have now picked up a different cross stitch set, which doesn’t involve horses… but that’s for another day.
Contents of the set
As always, let’s take a look at the contents of this assorted cross stitch set that I got at TK Maxx. It included a blank canvas, embroidery thread in selected colours, a needle, a threader, a plastic embroidery hoop, and a leaflet with instructions. I actually forgot to take a picture of the whole set unpacked… it’s never happened before!
Starting off
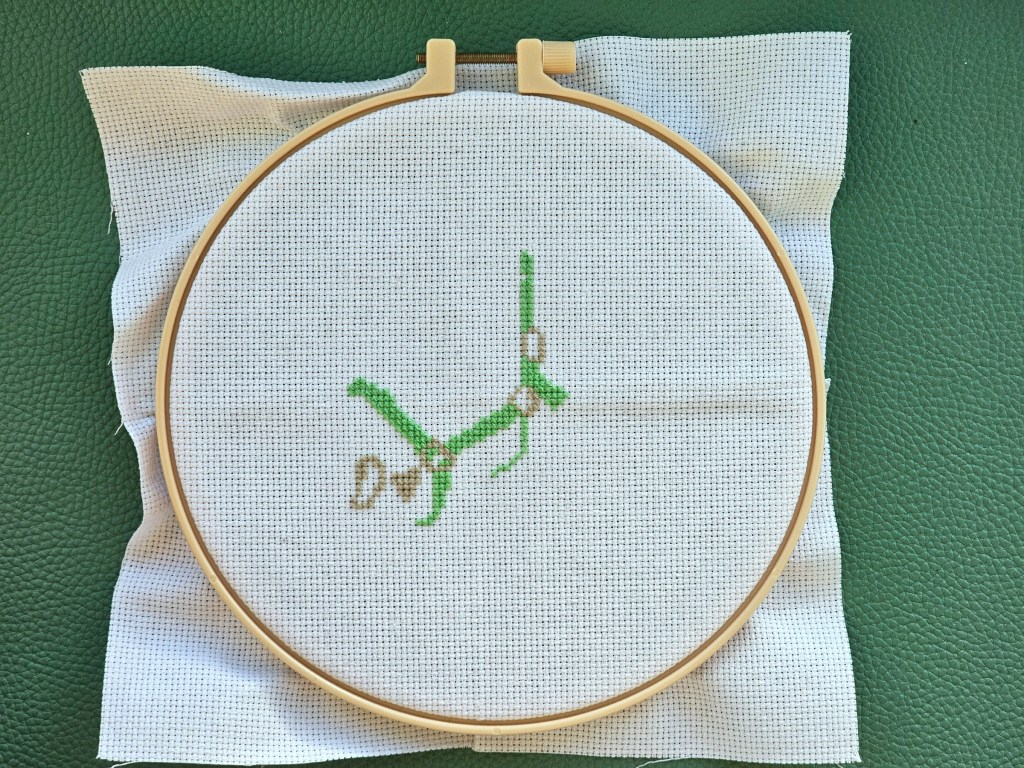
I mounted the canvas on the embroidery hoop and started sewing. I decided to begin with the grey and teal threads, to sew the straps on the horses face (I’m sure they have a name, but I’m not a horse rider). It didn’t take me long to complete the first two colours. Well, I actually messed it up, but I didn’t realise until much later! Part of the design is one row off… but can anyone tell?
Adding colours
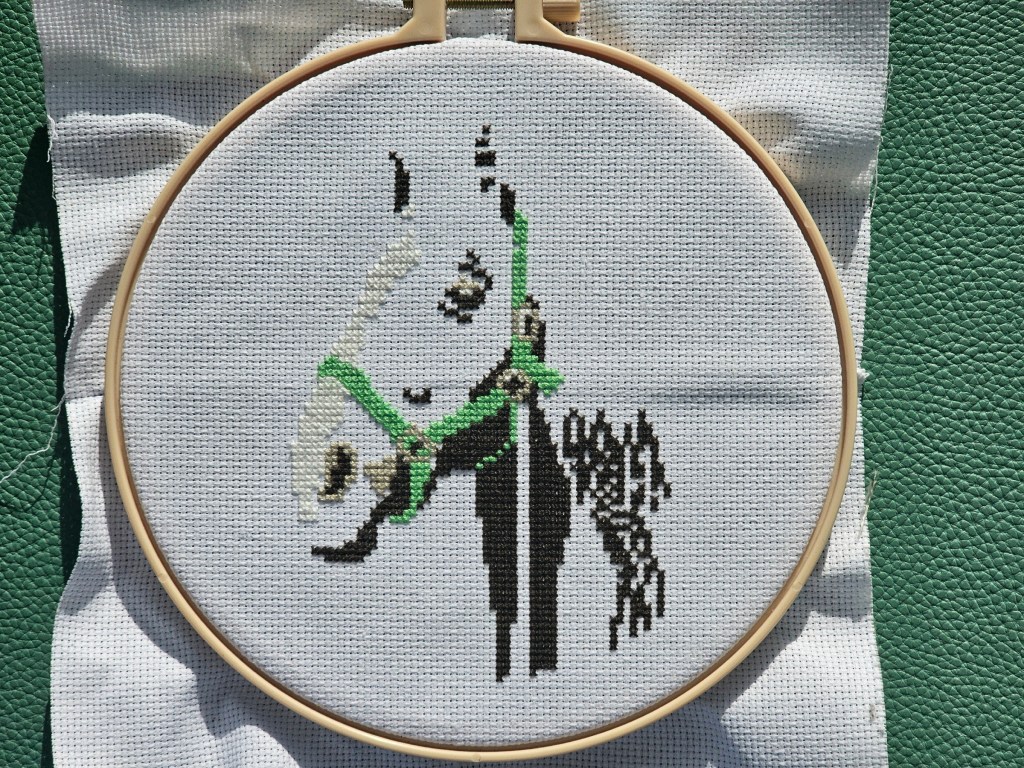
Before it was time to start working on the colours I don’t love (the browns), I sewed the white and grey details around the horse’s face, neck and mane. At that point, I could see the design roughly mapped on the canvas!
Almost there
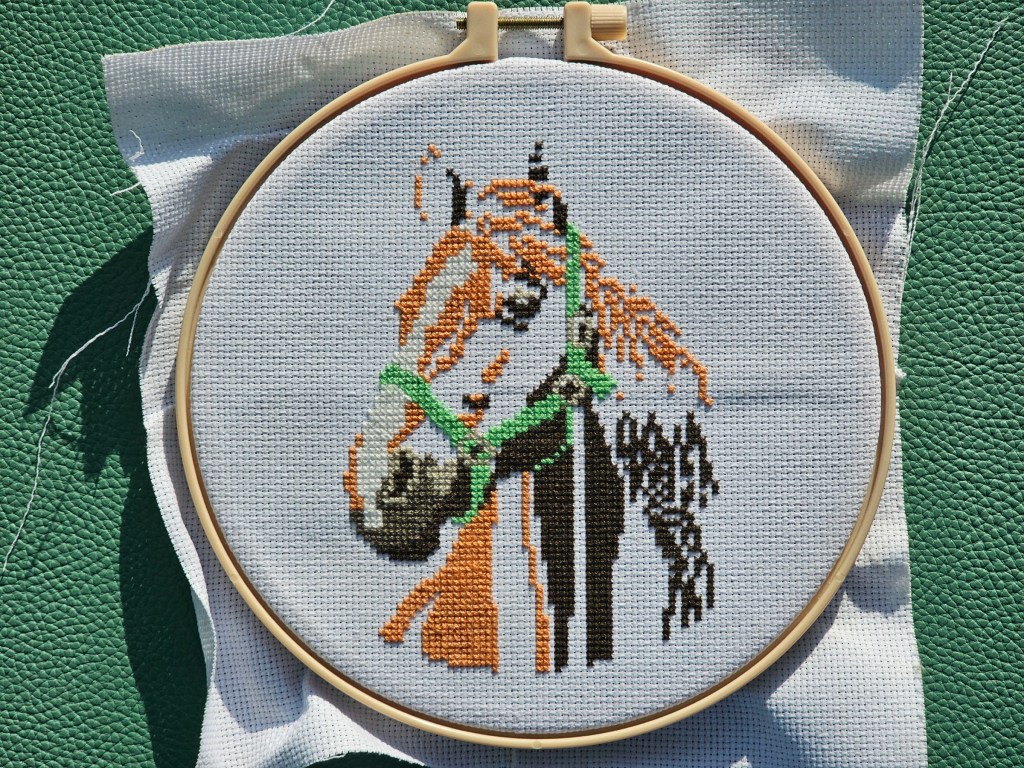
I moved on to sewing the orange highlights of the horse’s hair. I could see that the design was looking quite realistic, which was pretty cool. The mane was the most time consuming part of this stage, as I had to carefully count the placement of the strands, whilst working around a mistake I made before. But eventually, another colour was finished. I also added the beige details on the face.
Another cross stitch project completed
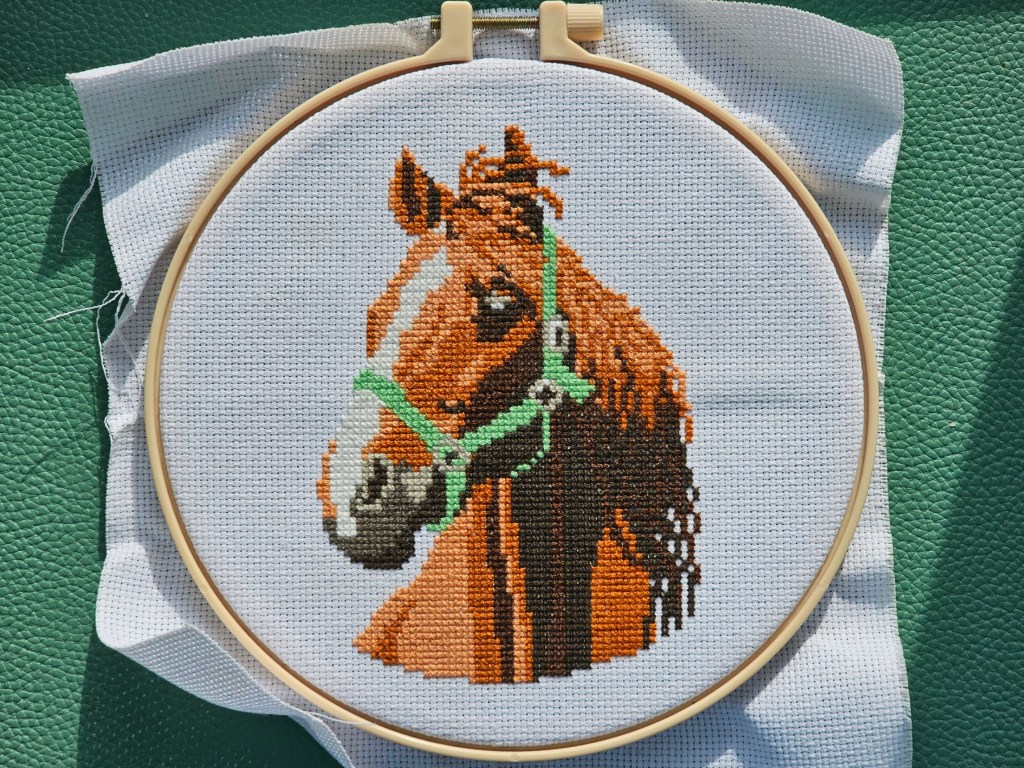
Finally, it was time to add the last two shades of brown. At this point, it was a breeze. Apart from some details near the horse’s mane, it felt like colouring in the gaps with thread. It’s always the most satisfying stage of a cross stitch project! Finally, the cross stitched horse was finished.
Sewing this design took what felt like forever! I prefer those large patterns when they have more fun shapes and colours. Especially when they don’t include brown! That being said, the horse turned out really cute and realistic. I’ve finished a lot of animal-themed cross stitch projects already, I guess I have a bit of a cross stitch zoo! Even though it wasn’t my favourite design in history, at least I made some progress towards my New Year’s Resolutions and used an assorted DIY set that I’ve had for ages.
Also see: