
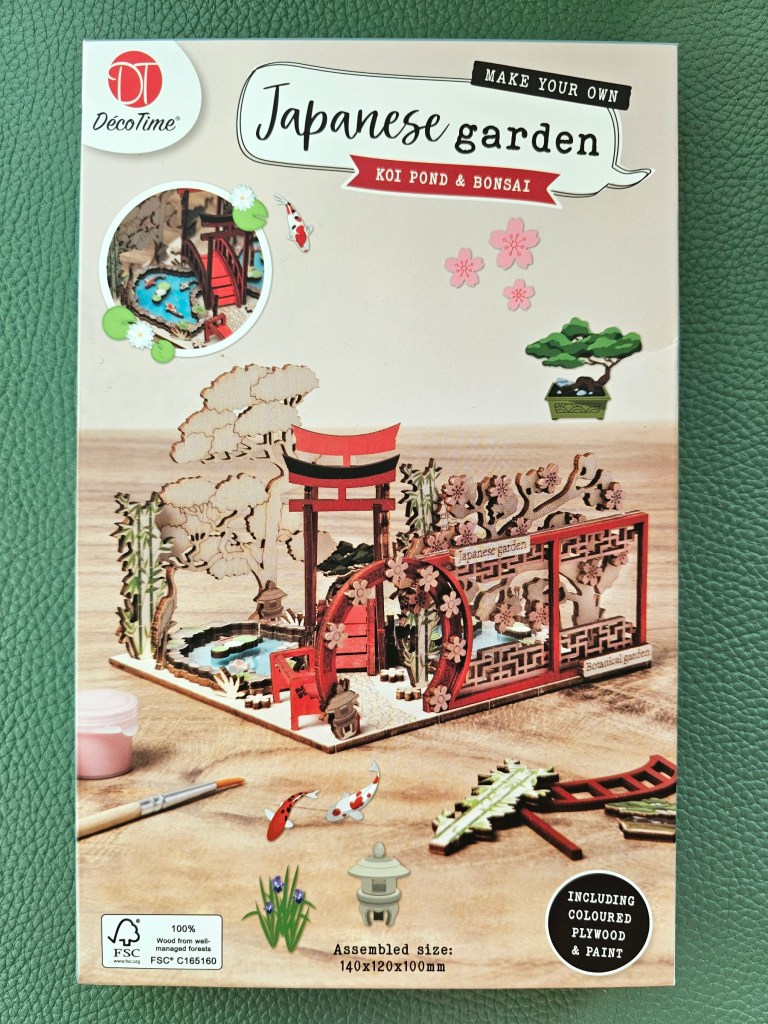
I’ve been thinking about trying out building mini scenes for ages. I’ve seen people creating fairy gardens, meticulously modelling and painting small elements of the scene. The project I’d like to share with you today wasn’t that elaborate, but it felt like a good start! I bought an assorted DIY kit for creating a small Japanese garden and had a lot of fun making it.
Creating a miniature scene using a pre-assorted kit may not be as creative as building one from scratch, but it’s a good way to learn a few things. For example, I assumed that painting elaborate details on the elements of the scene would be a piece of cake, but it actually takes a lot of time to even do the bare minimum!
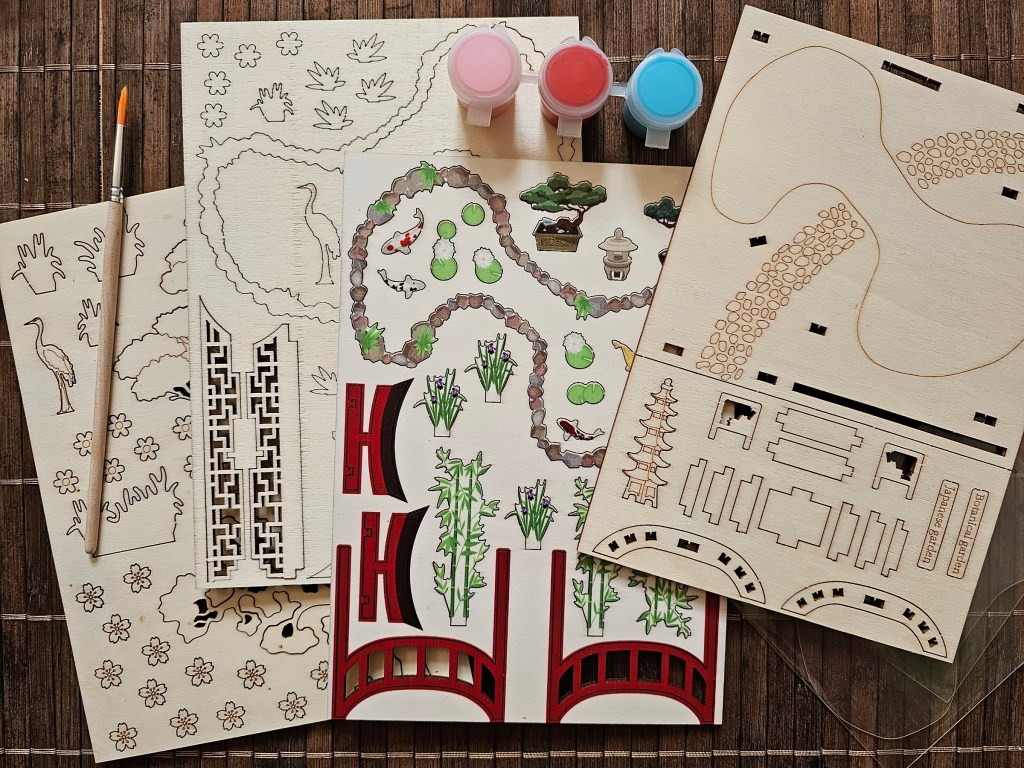
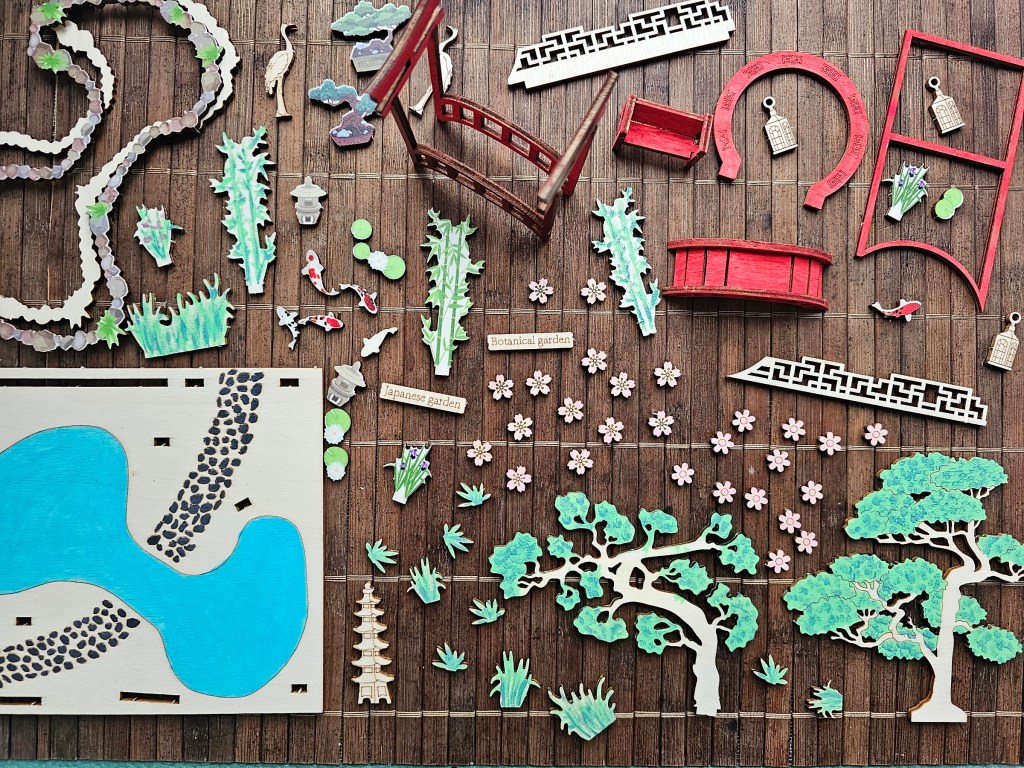
Contents of the Japanese Garden modelling kit
The box included 4 sheets of plywood with pre-cut elements such as an outline of a pond, a couple of herons, grass, bamboo, magnolia trees and more. I originally didn’t realise that some of the elements had painted details on one side. I’m not sure why only one side of one sheet had a print on it, but I suppose it covered some elements that required a lot of colours and patterns, like the koi fish.
The set also included two pre-cut sheets of transparent plastic, three small pots of paint in pink, red and blue (I suspect it was acrylic paint, but the box didn’t specify that) and a small brush.
To my surprise, there were no instructions in the kit.
Pushing out elements
I started pushing out the elements, which was trickier than expected. The elements were quite firmly attached to the sheet, even though most of them were cut all around, except one tiny spot. Pushing the pieces with lots of force simply meant that the plywood separated into layers and the element popped up with a significant chip.
I used a sharp, craft knife with a pointy end to cut through the connection points before pushing out the pieces, and it took me quite a lot of time to get all of them out.
Setting the scene, building the bridge and the bench
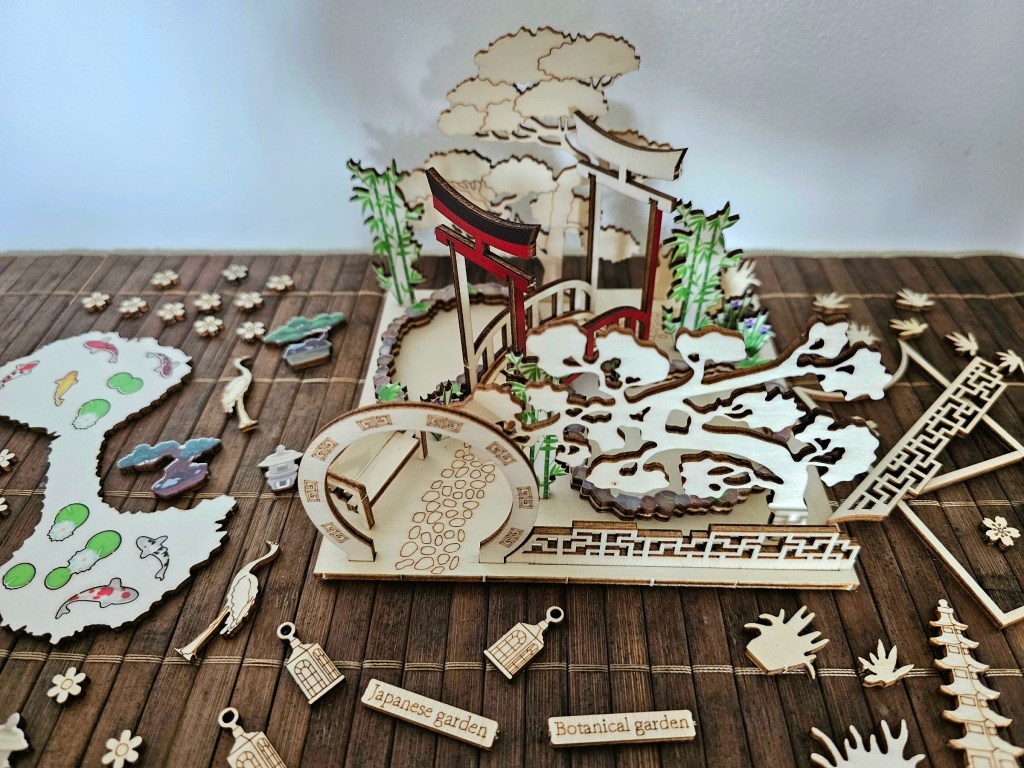
Once all elements had been pushed out, I decided to try to assemble the base of the scene.
With no instructions in the box, it was a bit of a riddle! The only guide I had was the picture on the box, taken from an angle. Half of the scene is obstructed by other elements in that photo, so I knew I had to improvise.
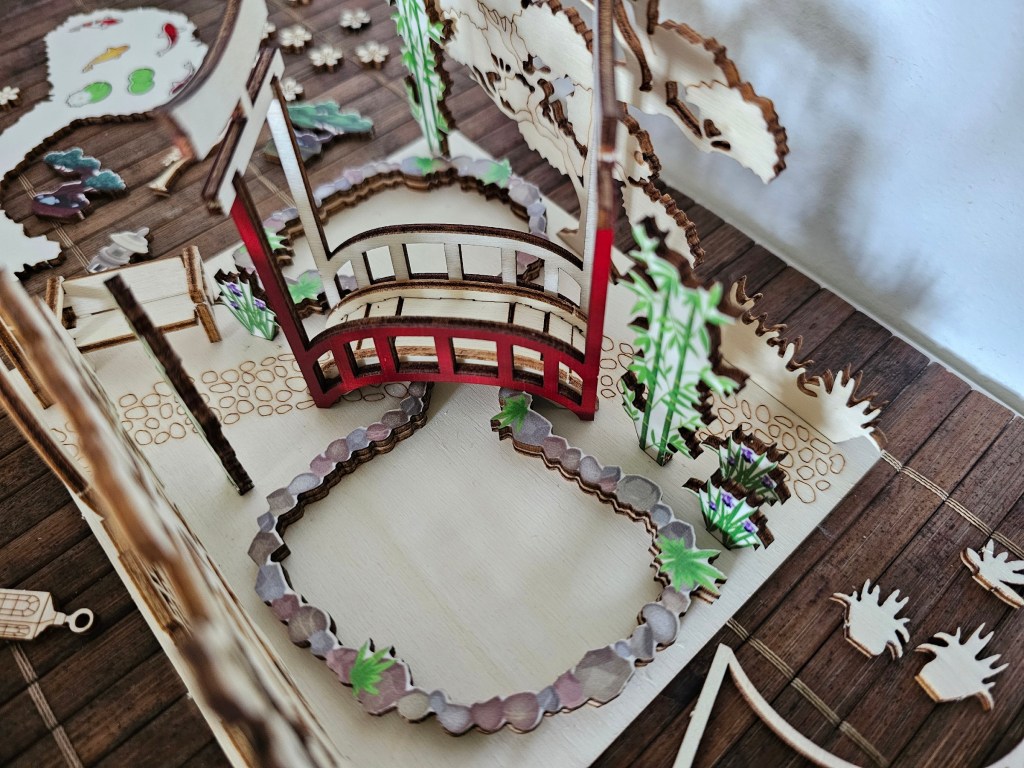
It’s easy to improvise with the placement of flowers and pieces of grass, but building the bridge and the bench required more precision. It took me a bit of time to figure out where the elements were meant to go, but eventually, both the bench and the bridge were assembled.
I placed the main elements on the base sheet to visualise the scene.
Painting time
Next, I moved to painting the elements. I used the red paint from the set to coat the bench and the bridge, and the pink to paint the flowers. I also used the blue paint to colour the pond.
I also reached for my own acrylic paints, as I decided I needed more colours. I painted the trees, the grass, and the pebbles on the pathway.
I made sure to paint the elements on both sides, unless I knew that one side won’t be visible at all.
I didn’t paint everything, I decided to leave some of the pieces intact – including the lanterns, the pagoda and the herons.
Assembling the Japanese garden scene
Finally, I was able to start assembling the scene. There was no glue included in the set, so I reached for PVA glue from my own supplies.
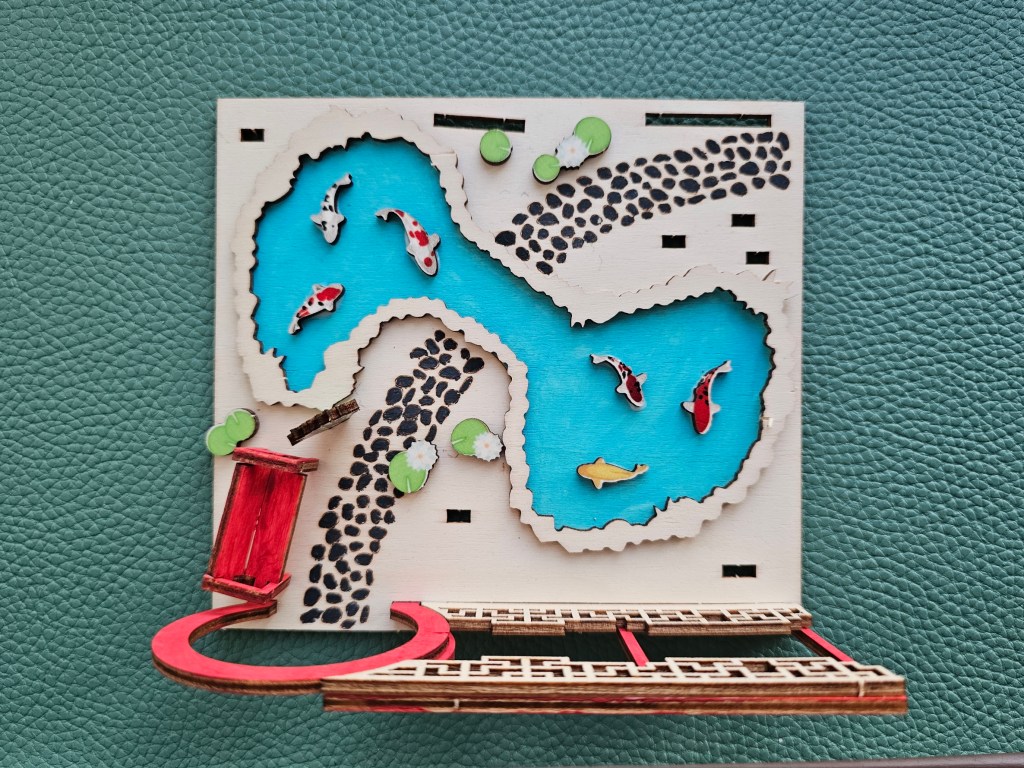
I started with the main elements, visible in the photo on the box. I assembled the entrance gate and the pond. The pond was quite interesting to put together; first, I placed the outer pebbles on the base sheet painted in blue. I also arranged the koi fish on both sides of the pond. Then, I covered the pond with a clear pre-cut plastic sheet included in the set. Next, I added the next layer of outer pebbles and placed the plants on top of the plastic, which acted as the surface of the water. I really like the final result, where you can clearly see that the fish are underwater, and the plants float on the surface.
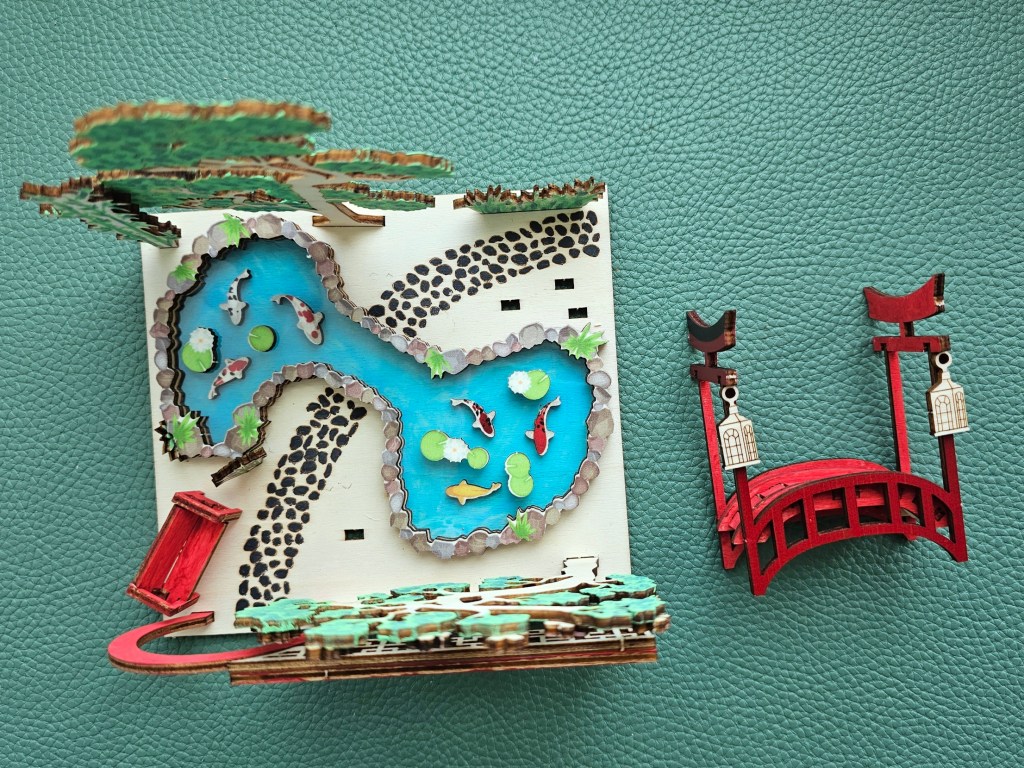
I added other major elements to the scene – the bridge, the bench, and the background pieces that had a dedicated slot in the base sheet.
Then, I added flowers onto the tree and the gate. After the gate was completed, I realised that I had forgotten about the clear pre-cut plastic shape that was meant to act as glass in the windows next to the gate. Oops! It was too late to add it. Luckily, I don’t think the model needed it. If anything, I feel like the plastic would be in the way, obstructing the view.
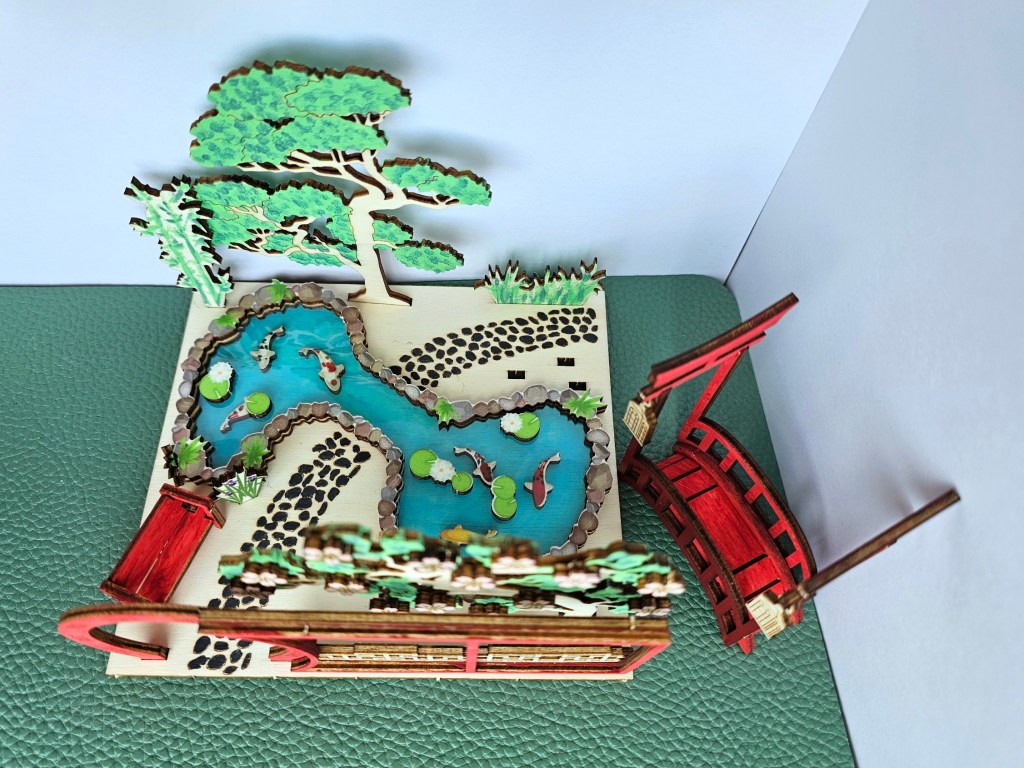
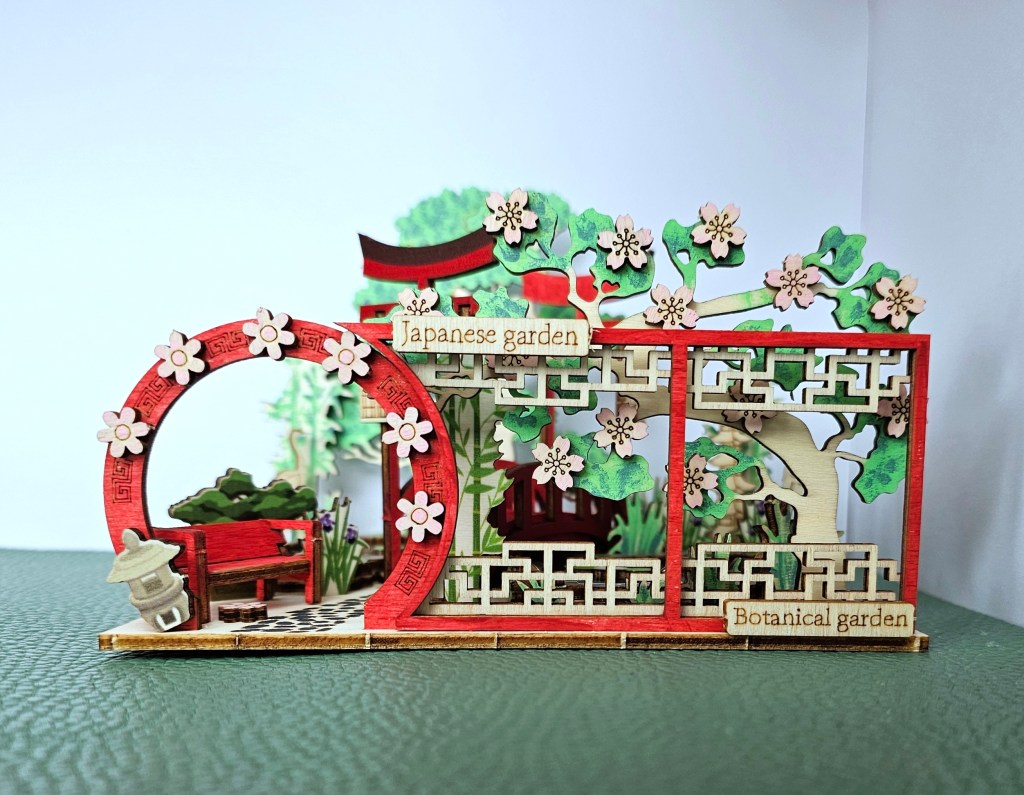
Finally, I improvised with the placement of the smaller elements, and the mini Japanese garden scene was complete!

Final thoughts
It was a fun project to work on for a few evenings, and I would definitely do it again. In fact, I bought another set alongside the Japanese garden – one featuring a small glasshouse.
As always, I can’t recommend assorted DIY kits enough. They’re a great way to discover a new craft or technique, without having to buy a wide array of supplies. The set included everything I needed, except for glue and additional colours of paint, which I could have lived without. I bought this set in Poland, for the equivalent of less than £2.5. Absolute bargain!
Also see:


This is so cute!!
LikeLike