In just a few days, I’ll be enjoying Easter with my family, with all of my favourite seasonal foods. I can’t wait! I’ve been looking forward to this holiday. Family time, great food, and usually nice spring weather, with a sight of summer days on the horizon… what’s not to love? And since I love seasonal crafts too, naturally, I had to find the perfect DIY project for this time of year, and I did. I saw this assorted crochet set, and I had to get it. I’m not sure how chicks became one of the symbols of Easter – perhaps because they come out of eggs? Either way, the set felt suitable for Easter, and I enjoyed working on it!
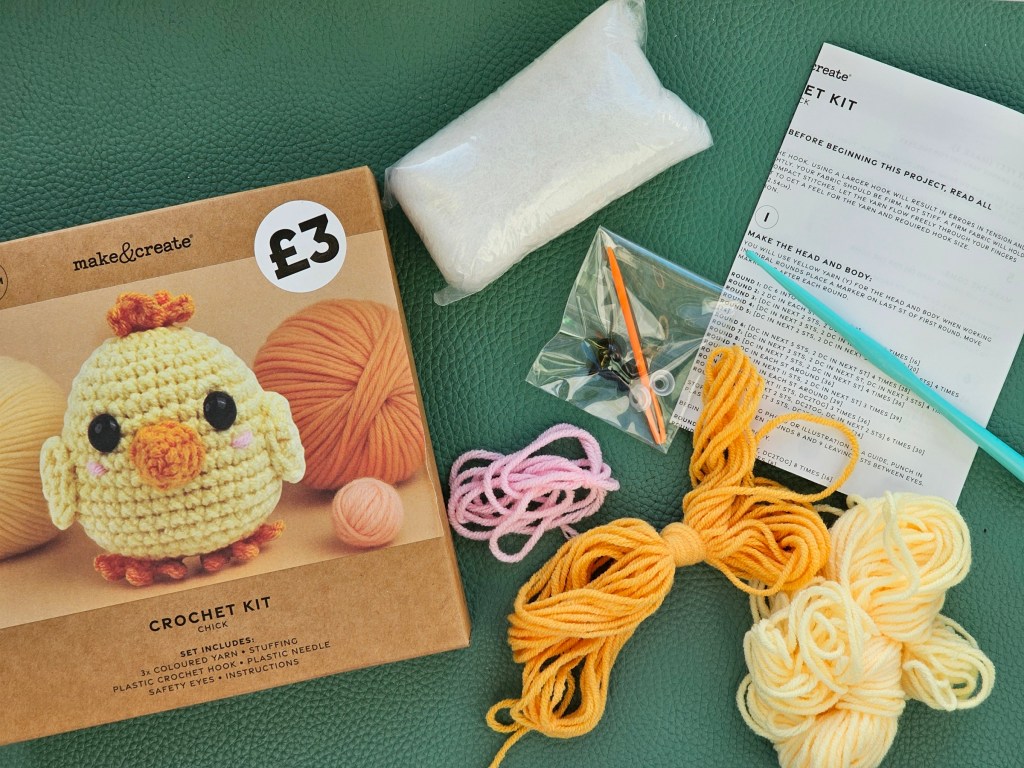
Contents of the kit
I bought this set in the Works – a British chain store with stationery, toys, and arts and crafts supplies. It was only £3 – not bad! It included two balls of yarn: orange and yellow, and a short piece of pink yarn too. It also came with a plastic crochet hook, a plastic needle, a pair of safety eyes, toy stuffing, and a leaflet with instructions.
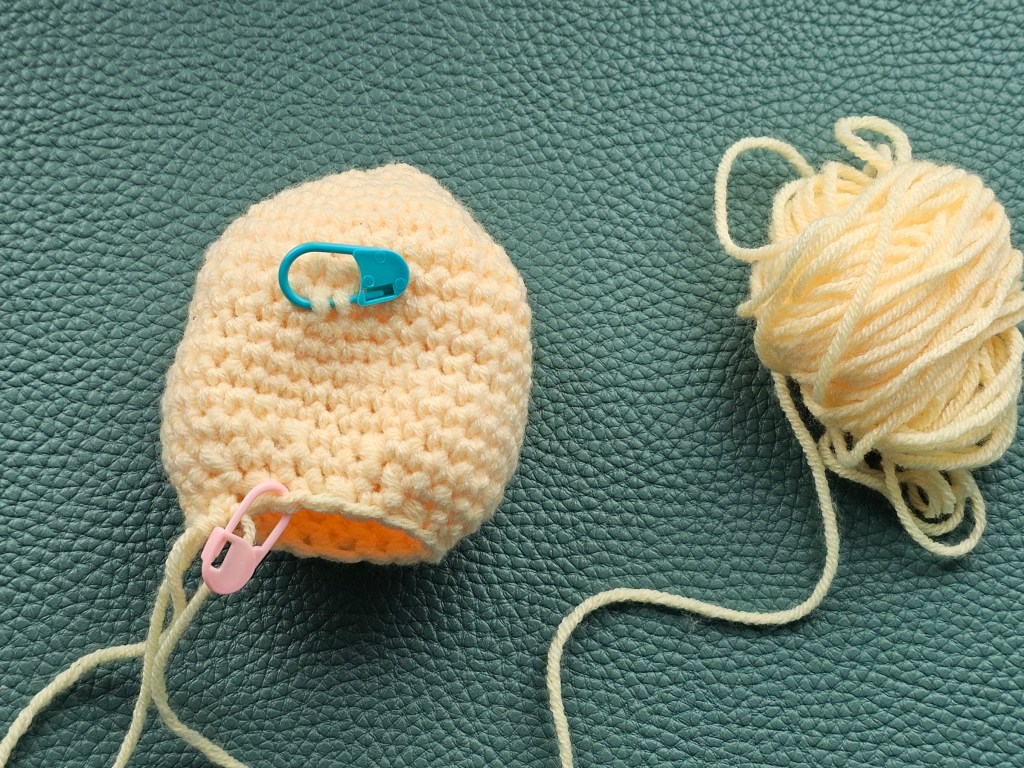
Starting off – crocheting the head and body
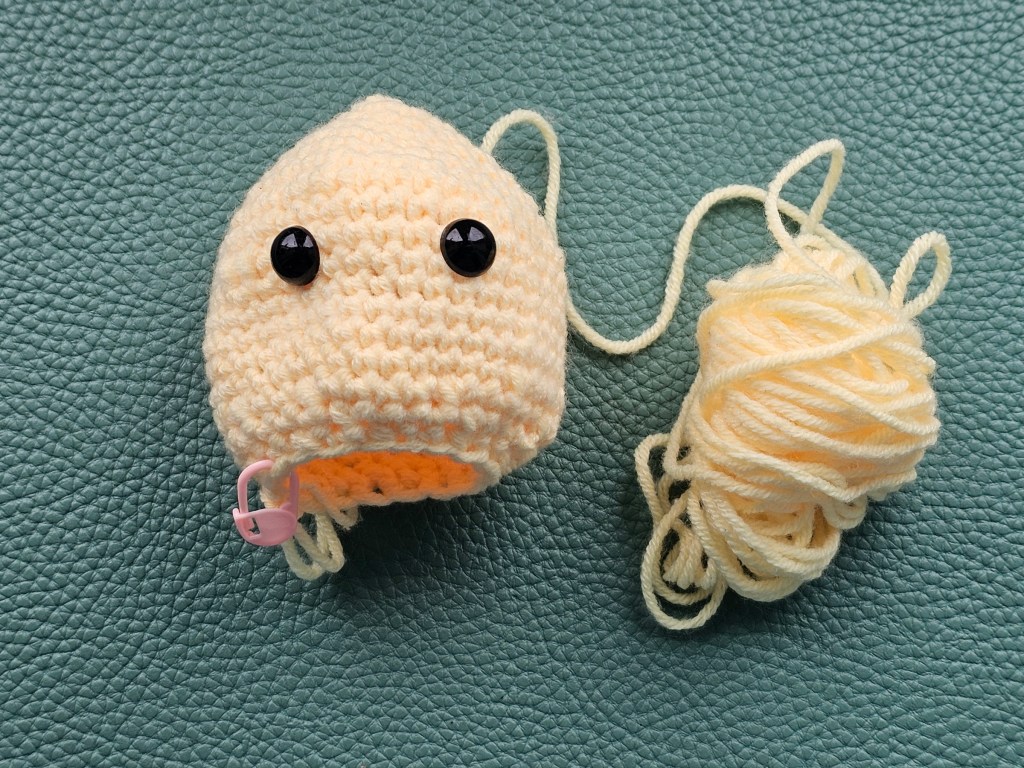
I started by crocheting the biggest element – the chick’s yellow head and body. Since I’m not the best at counting rows on a finished piece, I left a stitch marker where the safety eyes would later go.
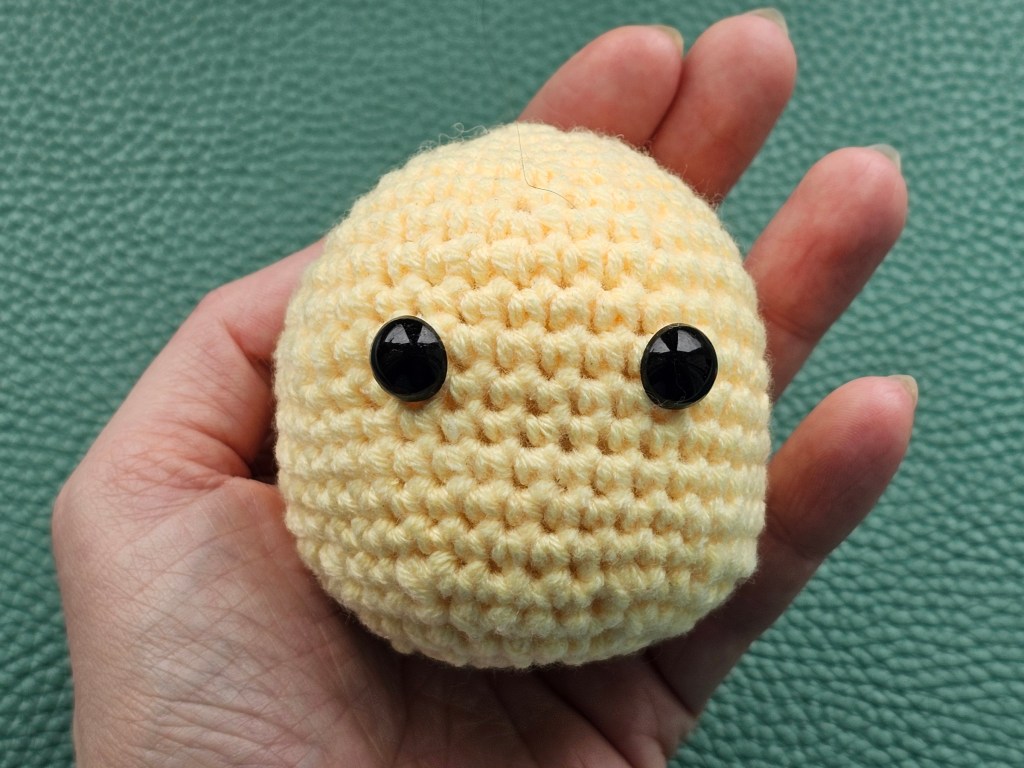
This part only required basic stitches, and I was done in close to no time. I attached the eyes, inserted the stuffing, and then added the final few rounds to complete the piece.
I have to say, I loved the yarn included in this kit! It’s really soft and nice to touch. Typically, when I buy these assorted DIY kits, the yarn feels either natural but rough, or synthetic and plastic-y, like it’s made of plastic bags. But the yarn in this set was velvety smooth, I loved it.
Crocheting the wings
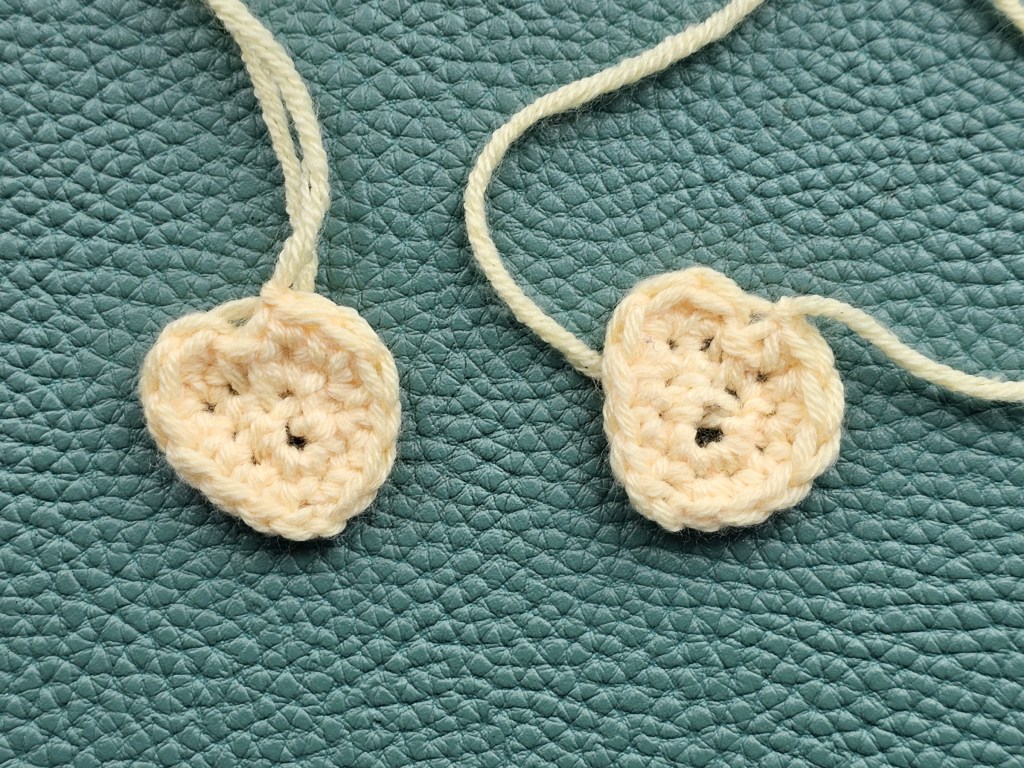
Next, it was time to start crocheting the small additional pieces. I started with the pair of yellow wings. This pattern was a little bit confusing, but the two wings turned out… well, looking like small wings, I guess!
Crocheting the beak
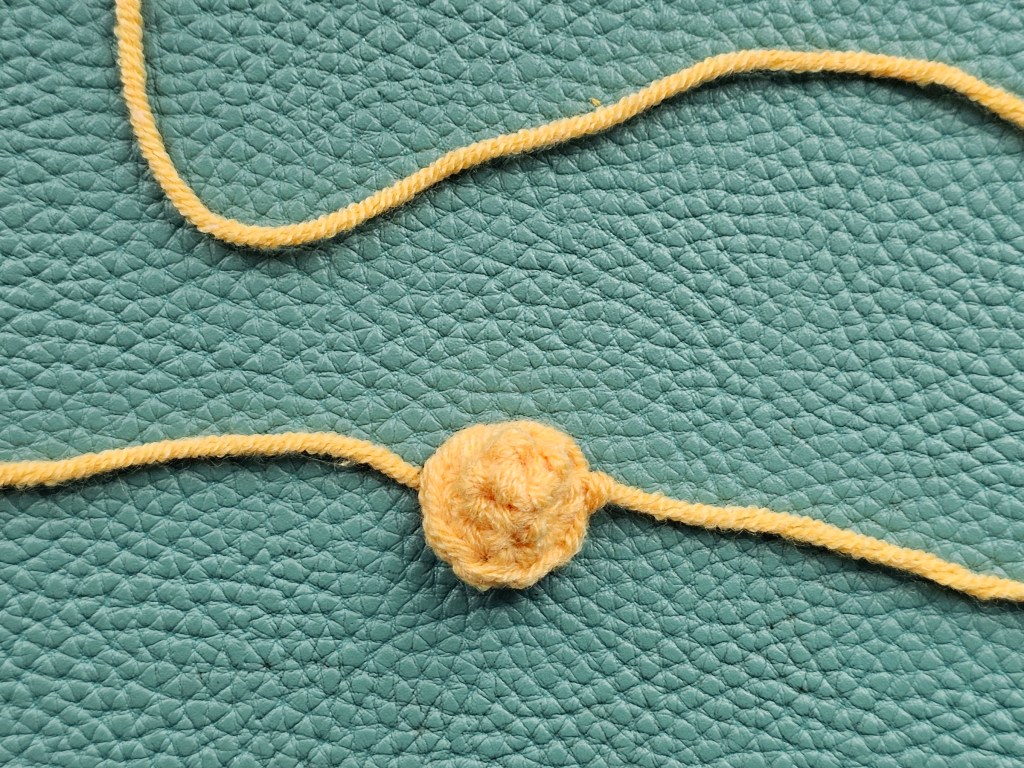
Then, it was time to make the small orange details. First, I crocheted the beak – essentially a couple of rounds of basic stitches in a circle. I left a long tail of yarn for sewing, and proceeded to the next element.
Crocheting the feet
Next in line were the feet. I’m always nervous crocheting things that don’t just start with a magic circle and follow circular rounds. I’m not entirely sure if I executed this pattern for chicken feet perfectly, but I think they did turn out looking like bird feet, so that was a relief! They’re pretty cute, actually.
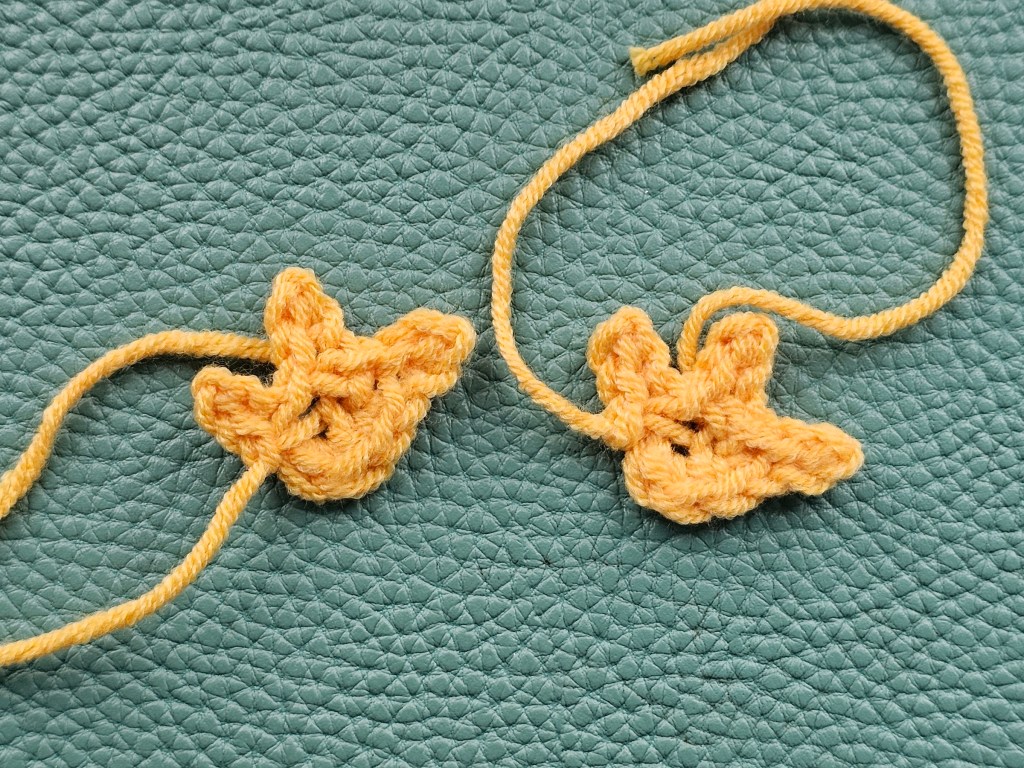
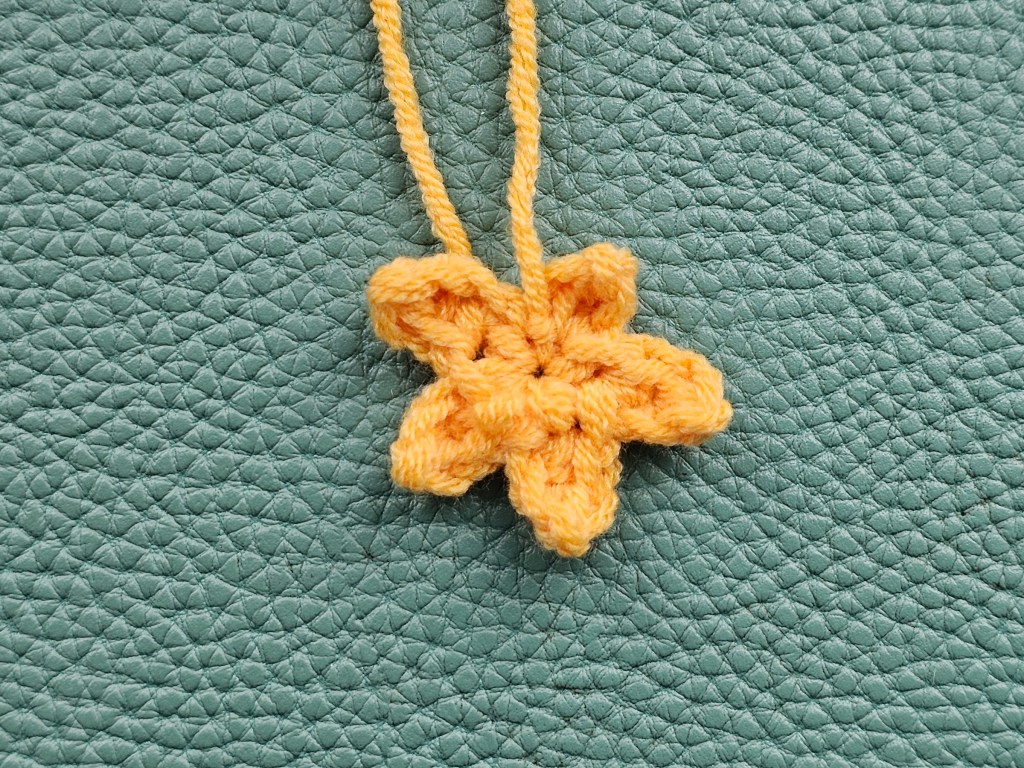
Crocheting the fringe
Then, I had to crochet the fringe that would go on top of the chick’s head. It was essentially like a flower with long, pointy petals. I had no problems completing that piece! Again, I left long tails of yarn for sewing, and moved on to the next step of the project.
Assembling everything together
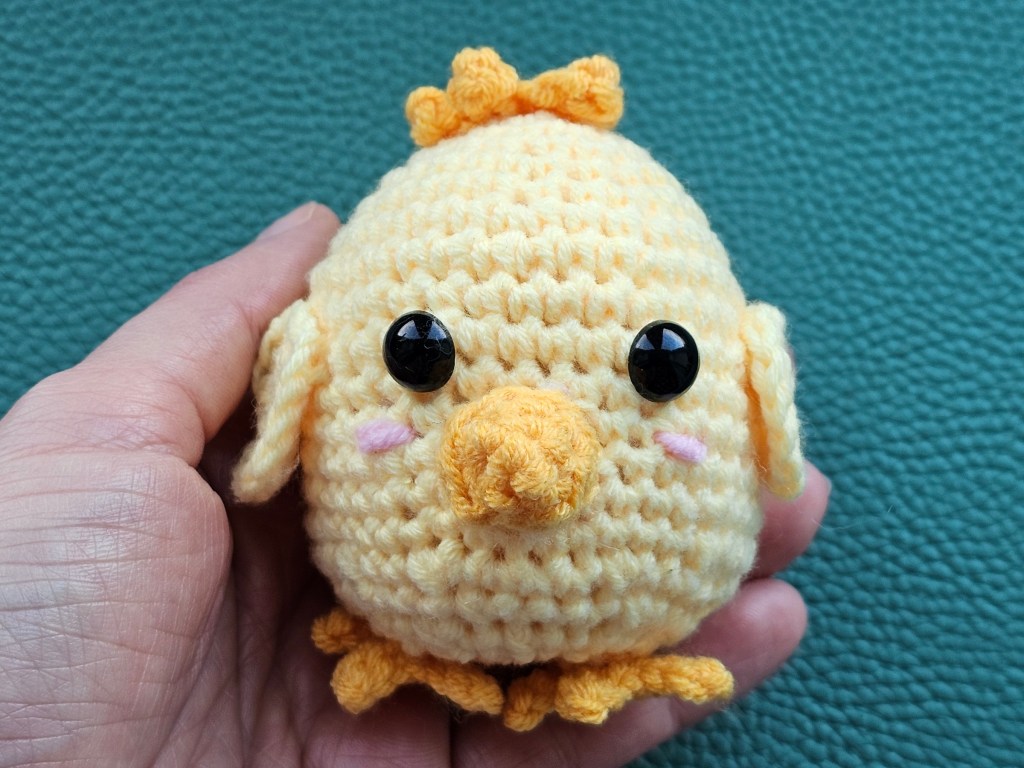
It was time to assemble everything together. I lightly stuffed the beak and attached it to the body of the chick. I also sewed on the feet, the fringe, and the wings.
Finally, I used the pink yarn to add pink, blushy cheeks to the cute face. And just like that, a cute Easter crocheted chick was finished!
Also see: