I love trying out various creative projects all year round, but I enjoy it even more around the holidays – a themed, seasonal project just feels that little bit better. I always check out the seasonal aisles in craft stores, and this year, two similar sets caught my attention: one for making a wooden pumpkin (bought in the Works), and one for making a miniature wooden haunted house (purchased in Hobbycraft). I recently completed both projects – here is how it went!
DIY wooden pumpkin
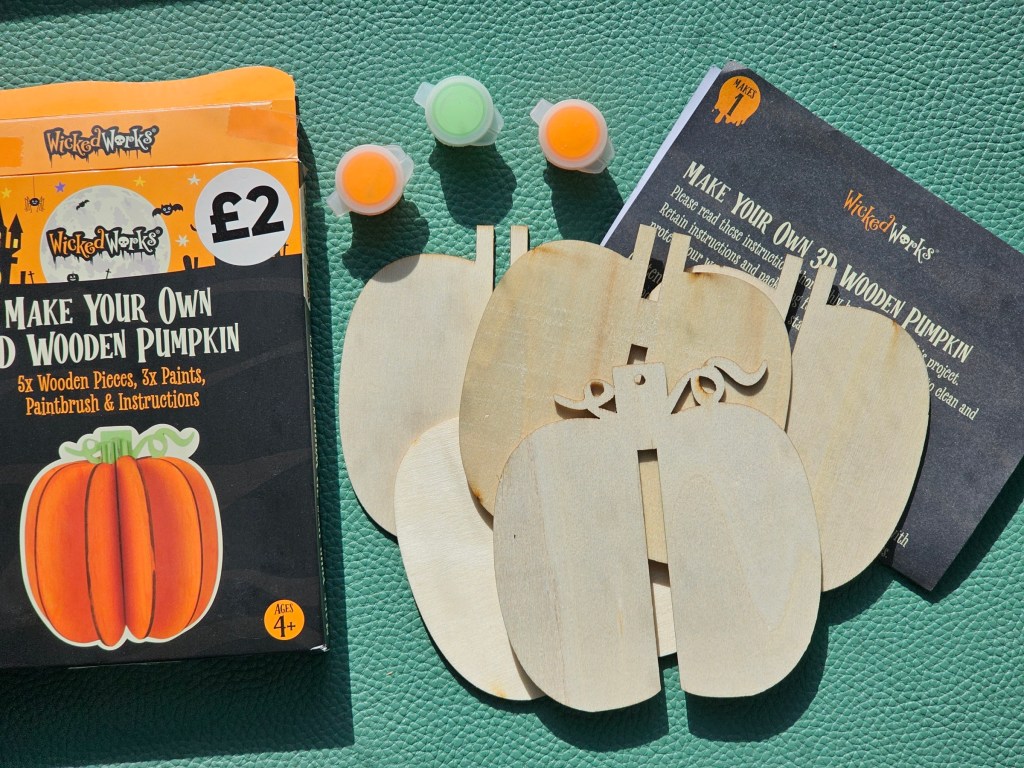
Out of the two craft sets, this one seemed simpler. The kit included 5 cut-out wooden pumpkin plates, 3 small paint pots (acrylic, I imagine), and a small brush, which I misplaced before I took a photo of the contents of the set. Not a problem, though – I have plenty of cheap brushes to choose from.
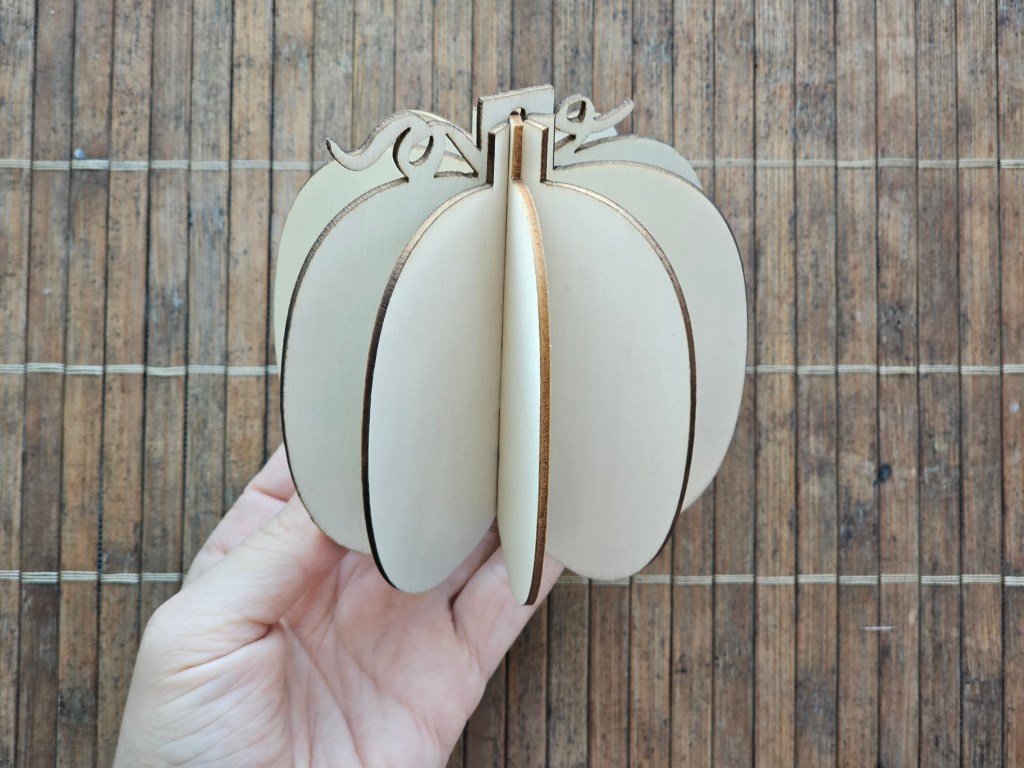
I decided to assemble the pumpkin first, just to make sure all of the pieces fit together.
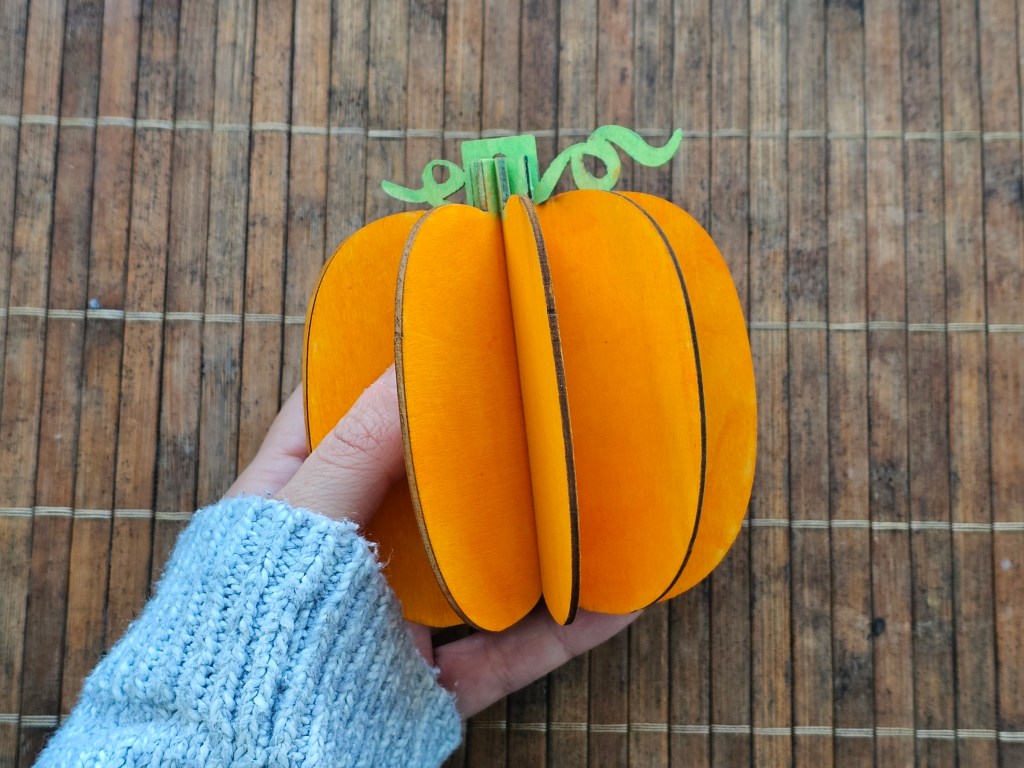
I expected it to go smoothly. After all, it’s just 5 pieces, how hard can it be? Each piece had the middle part cut out differently, in a way where you could stack the pieces. It was easy to figure out the order in which the pieces should be assembled. Stacking the first 4 plates was simple, but adding the final one was really tricky! The elements were designed to fit tightly, which makes sense – cutting out the middle part too much would result in a loose fit, and the assembled pumpkin wouldn’t hold its shape. It took me quite some time to eventually push the final piece into position, but finally, I was left with a cute wooden pumpkin. All of the pieces were firmly in place – you could throw this pumpkin into the air and it wouldn’t fall apart.
Next, it was time to paint the pumpkin. It would be the easier to paint the plates separately and then assemble the pumpkin again, but I didn’t want to disassemble it. I was worried that I wouldn’t be able to put it all back together after painting. So, I took the harder path and decided to paint the assembled pumpkin.
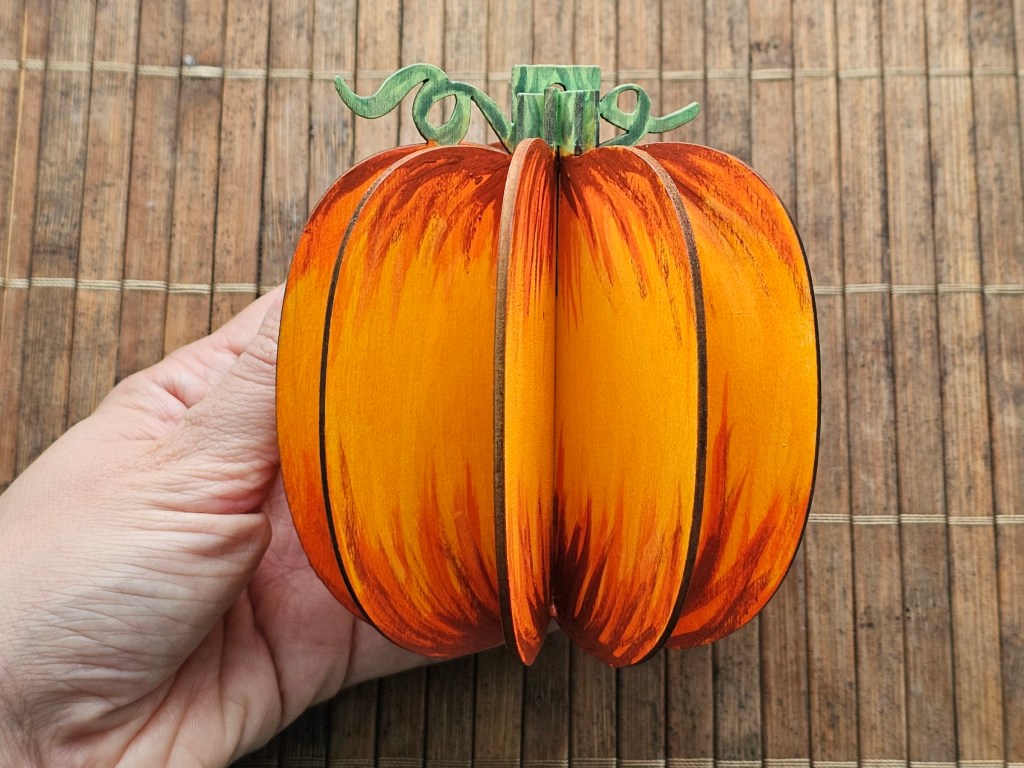
I first used the paints included in the kit. There were two small pots of orange paint and one pot of green paint for the stem. I managed to paint the whole pumpkin, just about. I had to scrape the pots of orange paint to the last drop. The painted pumpkin was cute, but it was missing something.
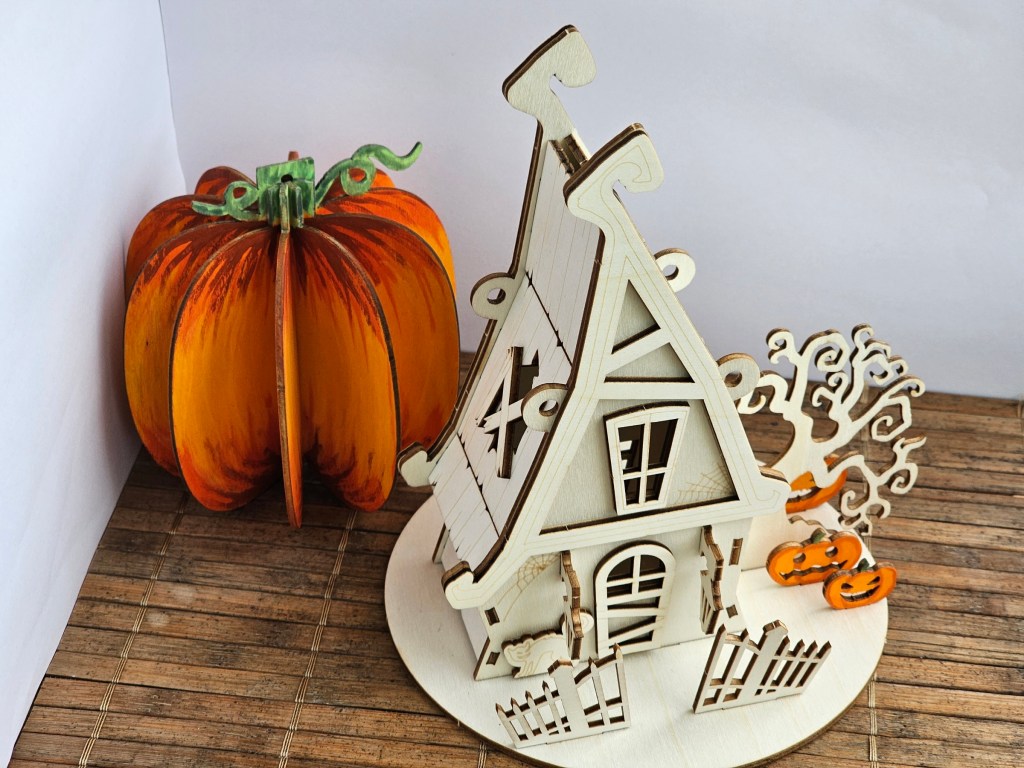
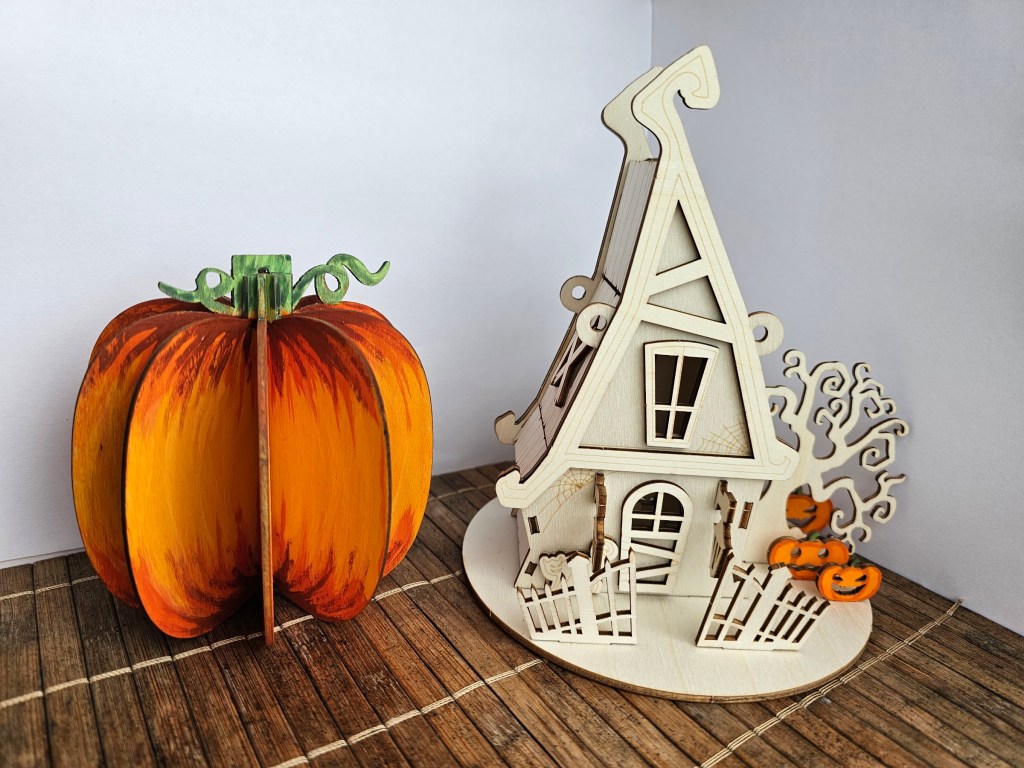
I decided to use some of my own acrylic paints and add an extra dimension to the pumpkin. I tried my best to add some shading. Overall, I’m really happy with how this wooden pumpkin turned out! I can now use this ornament for many years – it feels durable and should last a long time. The first project was a success!

Wooden haunted house
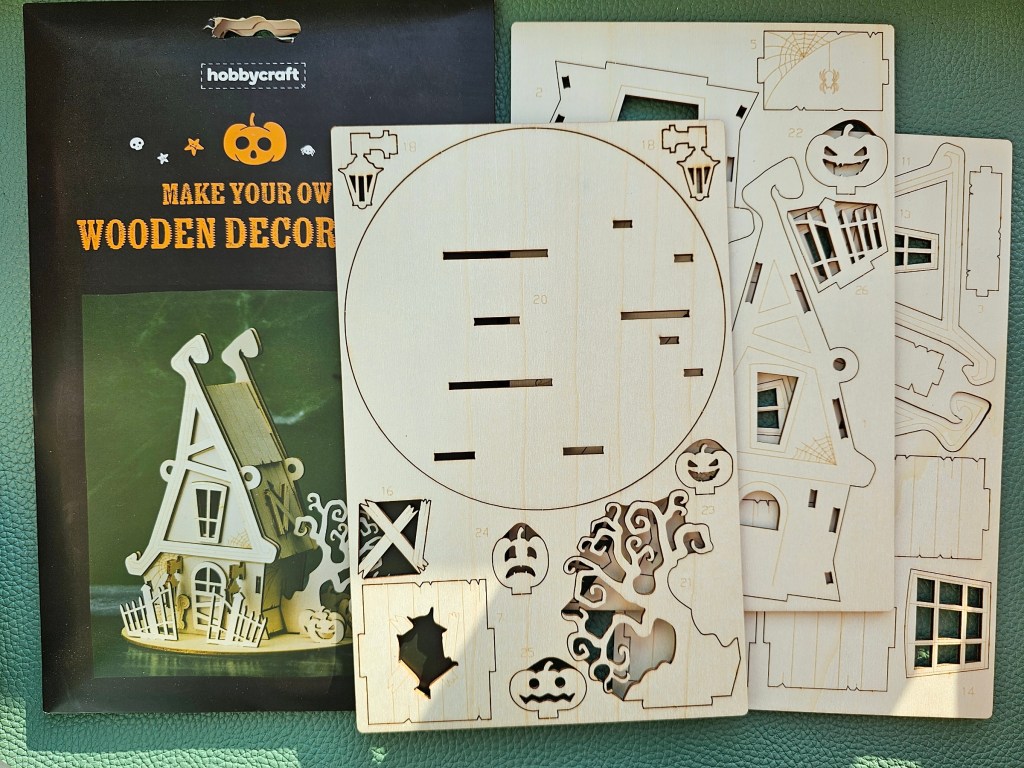
This kit included 3 wooden sheets with pre-cut shapes, only. There were no paints, brushes, or instructions.
I completed a different plywood model a few months ago too, also using an assorted craft kit. The pieces in that set, although pre-cut, were quite tricky to get out.
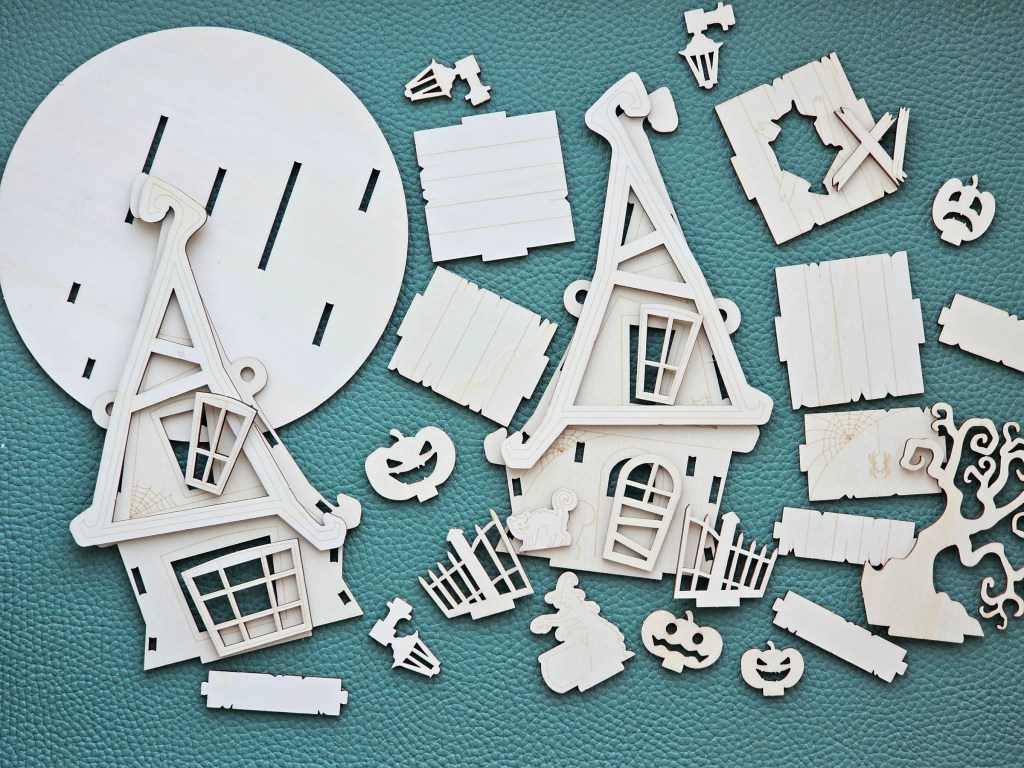
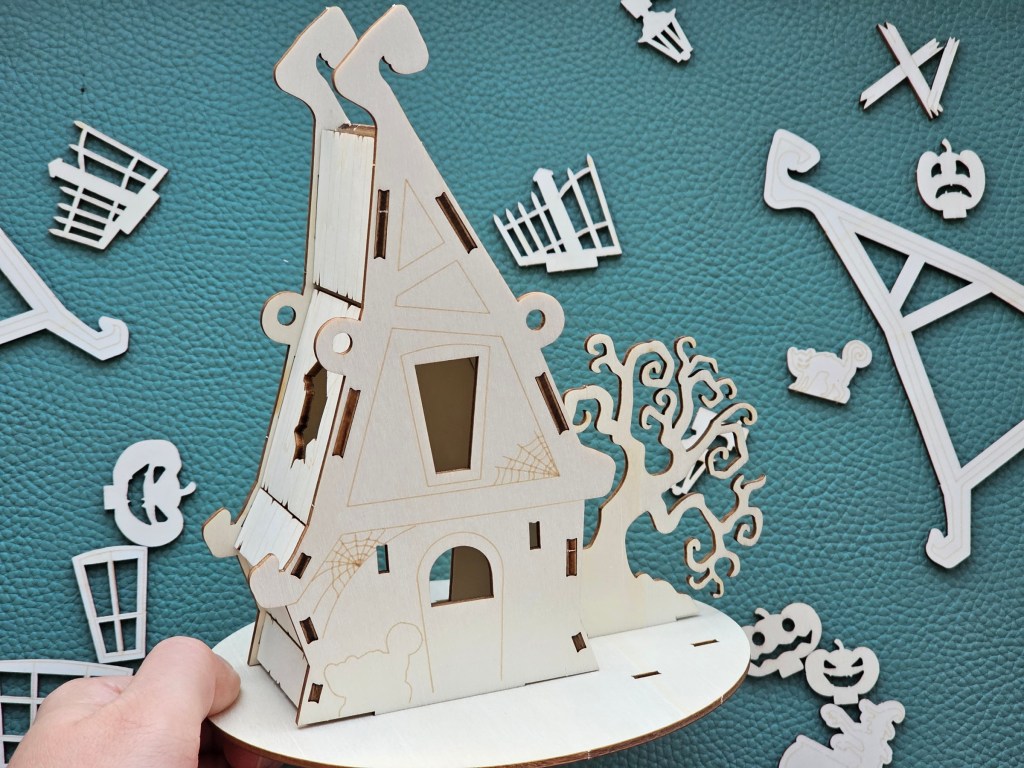
The elements of this haunted Halloween house popped out of the stencils really easily, which was great. A few of them needed a little help, but a couple of small incisions with a craft knife were enough to get them out. Soon, I had all of the pieces out of the sheets.
Next, I started assembling the house. There were no instructions in the box and the pieces weren’t labelled in any way, so I had to figure it out myself. Through trial and error, I managed to connect the main pieces. I had to use a bit of force to push some of the elements into place, but I didn’t need to sand down any of the parts.
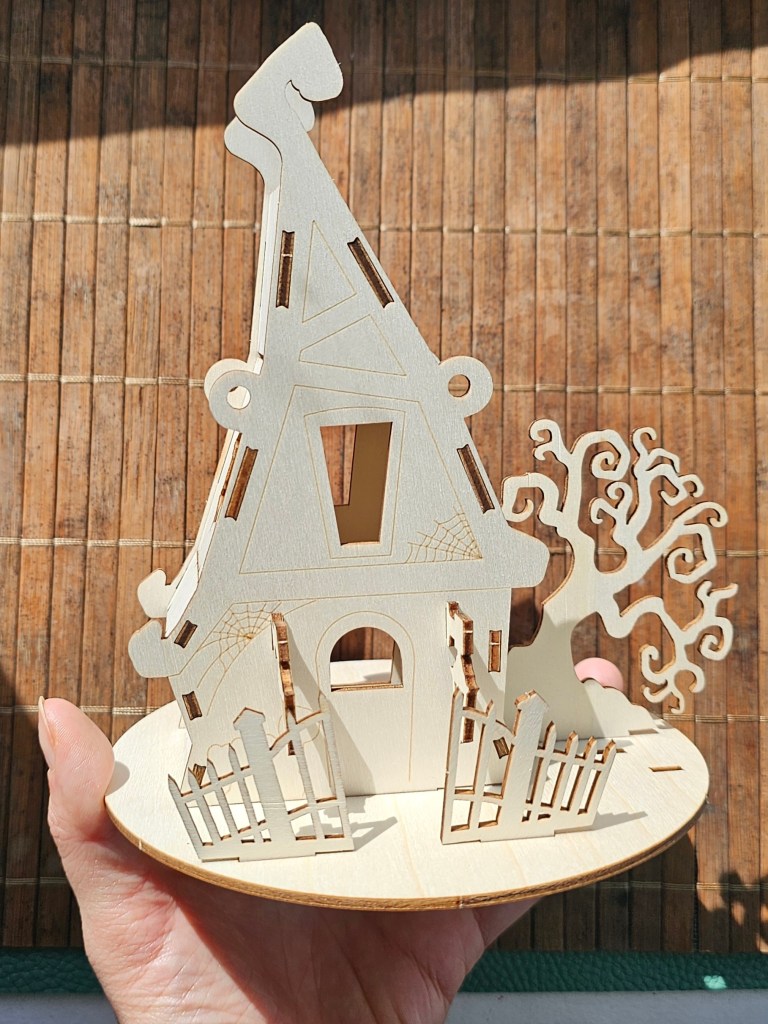
Once I knew where each piece should go and that all of them fit well, I took the house of out the base. It was time to glue on the details: the frames around the doors, the roof and the windows.
Then, it was time to assemble everything back together.
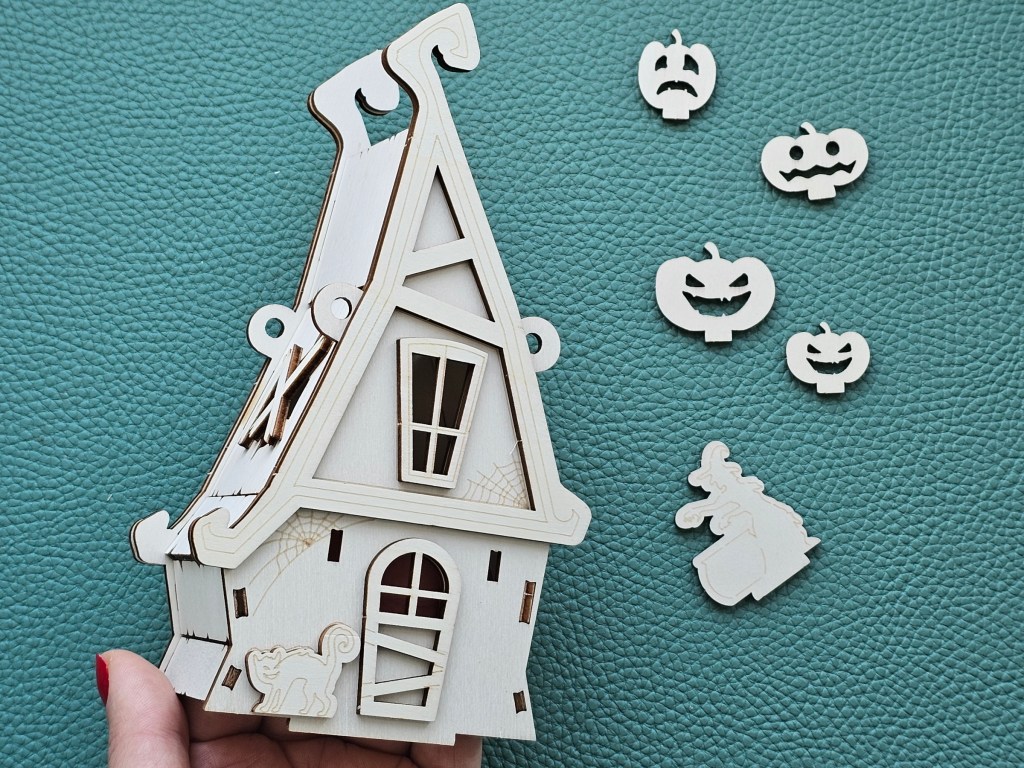
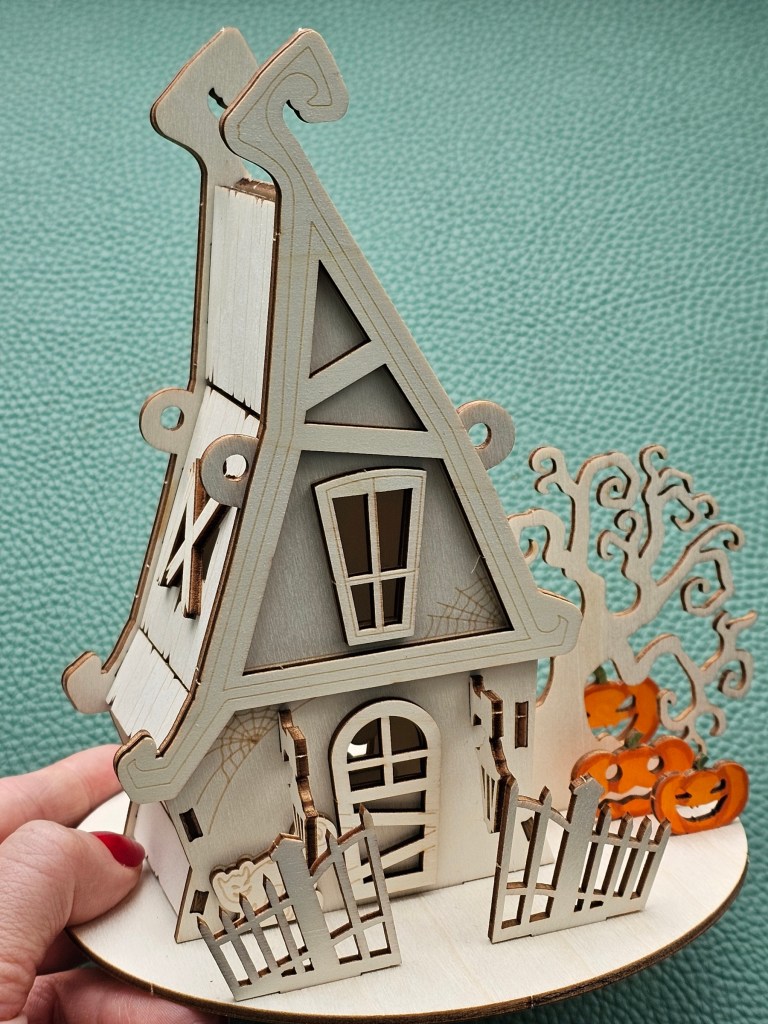
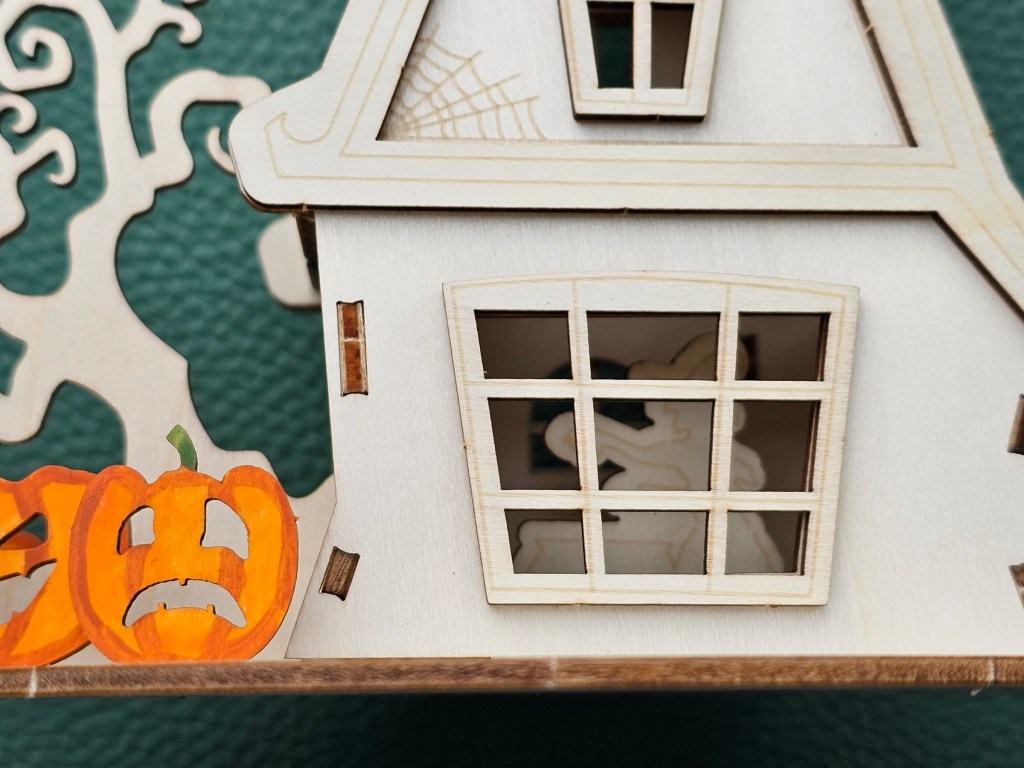
The wooden house had some engraved details: spiderwebs and roof tiles. There were no paints included in the set, but I considered painting the house anyway. However, I didn’t want to paint over the engravings, and I quite liked the raw wooden look of the house. So, I decided to go with a small colour accent instead. I painted the four small pumpkins. I’m really happy with how it turned out!
The set included a cut-out shape of a witch with a cauldron. It’s not visible in the photo on the box, and I wasn’t sure where it was supposed to go. However, I noticed that the base had an extra hole in the middle of the house, and I assumed that the witch should go there. You can somewhat see it through the back window.
Final thoughts
I had a lot of fun working on these Halloween projects! Whilst I know that it would be difficult to replicate them without buying the same sets, I still wanted to share them. Perhaps you can get your hands on the same kits too, or find a similar one? There are plenty of plywood modelling kits available in hobby stores, and they’re great fun! The ones I bought were cheap too – what’s not to love?
Also see: