
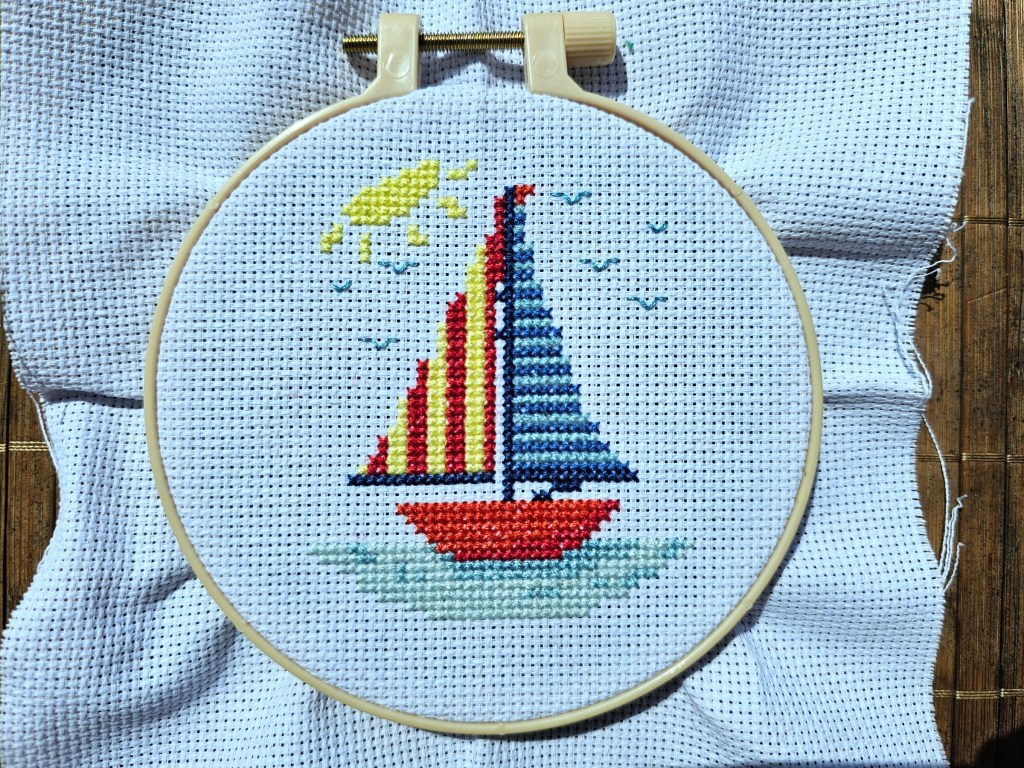
Summer is just around the corner. Can you believe that we’re almost halfway through 2025? The weather here in the UK has been amazing for the last couple of months, and it definitely feels like summer already. So, my most recently completed cross stitch project had to reflect that. From my large stash of cross stitch sets, I chose a small sailboat design. It gave me the ultimate holiday vibes. Despite slight issues with the colours of the thread included in the set – which happens quite often with those assorted sets – I had fun cross stitching this picture. Yet another cross stitch project completed!
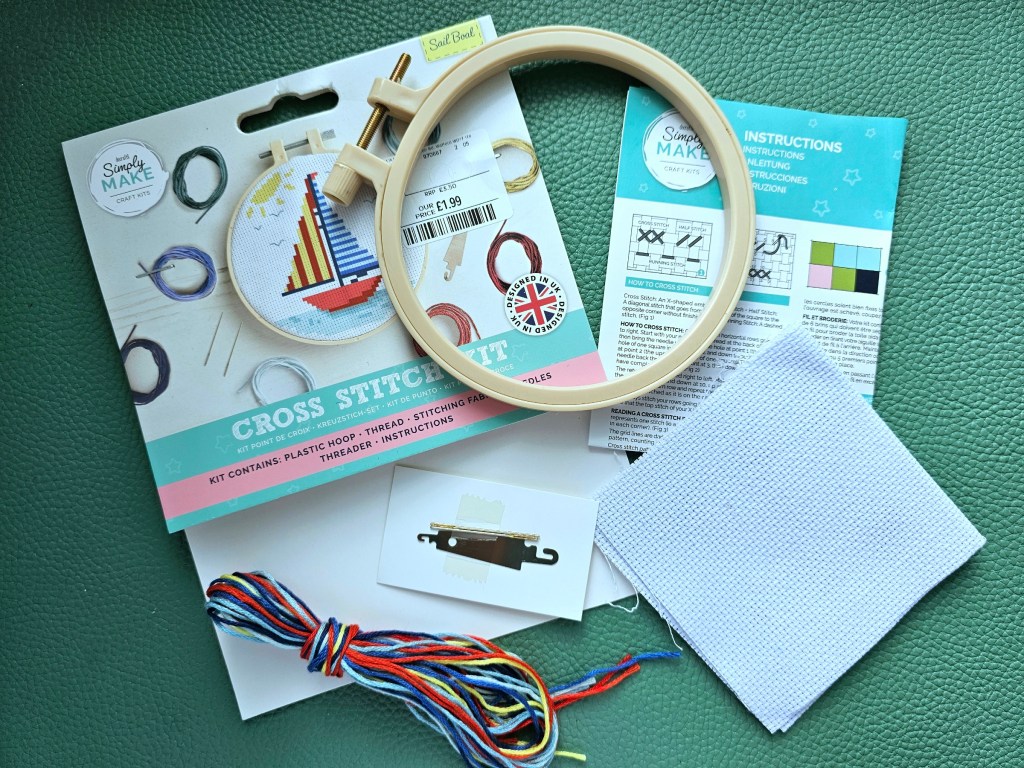
Contents of the kit
The set included a blank aida fabric, a couple of needles, a threader and embroidery thread in assorted colours. It also came with a small plastic embroidery hoop and a leaflet with the diagram.
Starting off
I decided to start with the pale blue horizontal stripes on the right side of the sail. I untangled the threads in order to pick the lightest blue thread. That’s when I realised that the colours included in the set weren’t exactly the same as those in the diagram. Not a surprise, it happens a lot with those kits.
There were three shades of light blue thread included in the set. They were very similar, but I managed to figure out which one was which. I took 2 strands of the pale blue thread and quickly finished half of the sail.
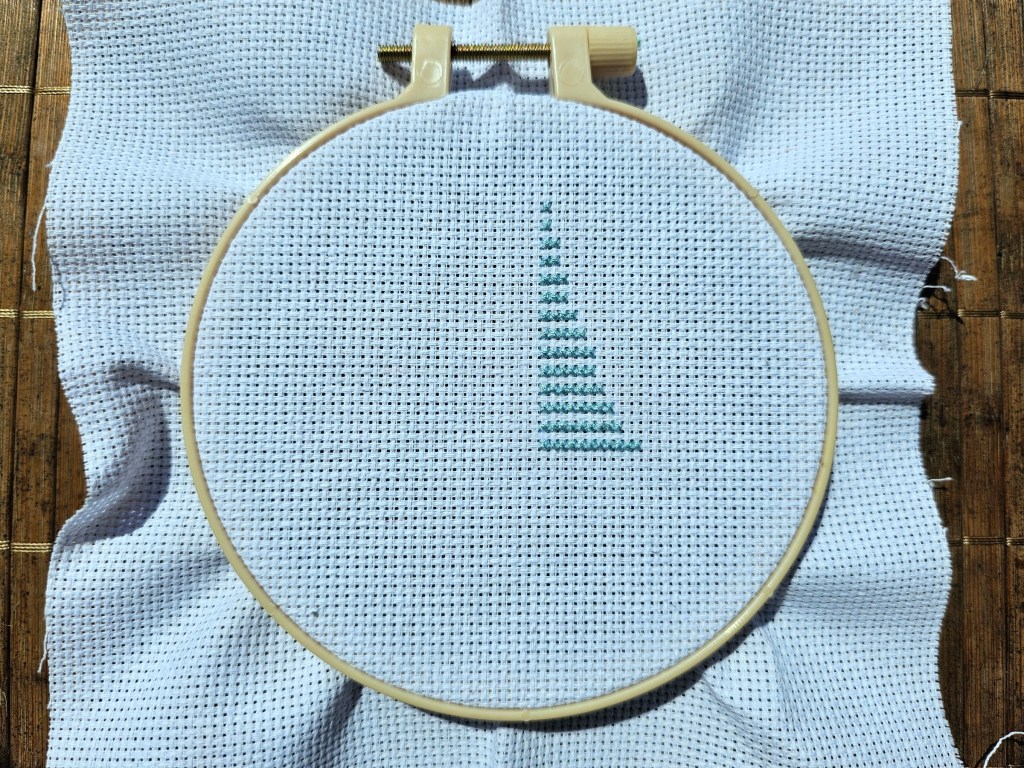
First sail done
Next, I used the lighter of the two navy threads to stitch the remaining stripes. It was quite satisfying to fill those gaps. In no time, half of the sail was finished.
I also used the darker navy thread to sew the mast.

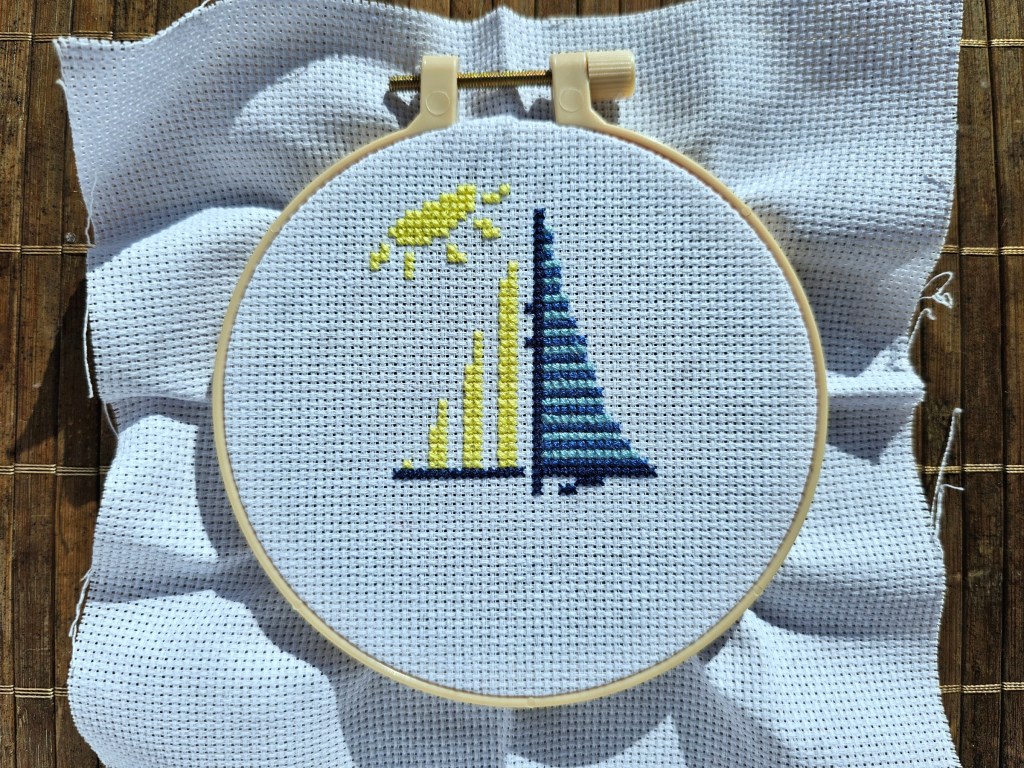
Adding yellow details
Then, I used the yellow thread to stitch the vertical stripes on the left sail, as well as the sun. With only one shade of yellow thread in the set, I had no problem identifying which thread to use.
Red blocks down
Then, I moved on to sewing the red details. That’s when I realised that in the diagram, there are two shades of red, which is clearly visible on the boat. There were two red threads included in the set too, but they looked almost identical. I couldn’t tell which one of them was supposed to be the darker one.
Luckily, after completing so many cross stitch projects, I have a large supply of embroidery thread. I looked through my stash and picked a dark red thread to use.
Having two shades of red thread ready to sew with, I completed the sail and the boat.
Final elements
Finally, it was time to add the last details – the blue water and the birds. Once again, I struggled with the shades of light blue thread. There were 3 included in the set and in the diagram, but two of them look almost identical. Anyway, I managed to figure it out and yet another cross stitch design was completed.
Also see:


