Polymer clay sculpting seems to be one of the most popular simple crafts that people pick up. The amount of polymer clay jewellery making videos I see on social media is insane! I’ve had a couple of attempts at polymer clay sculpting in the past, but they weren’t particularly successful. When I saw an assorted polymer clay DIY kit for just £3, I decided to give the craft another go. This time, I had a stab at making small trinket dishes. Here is how it went!
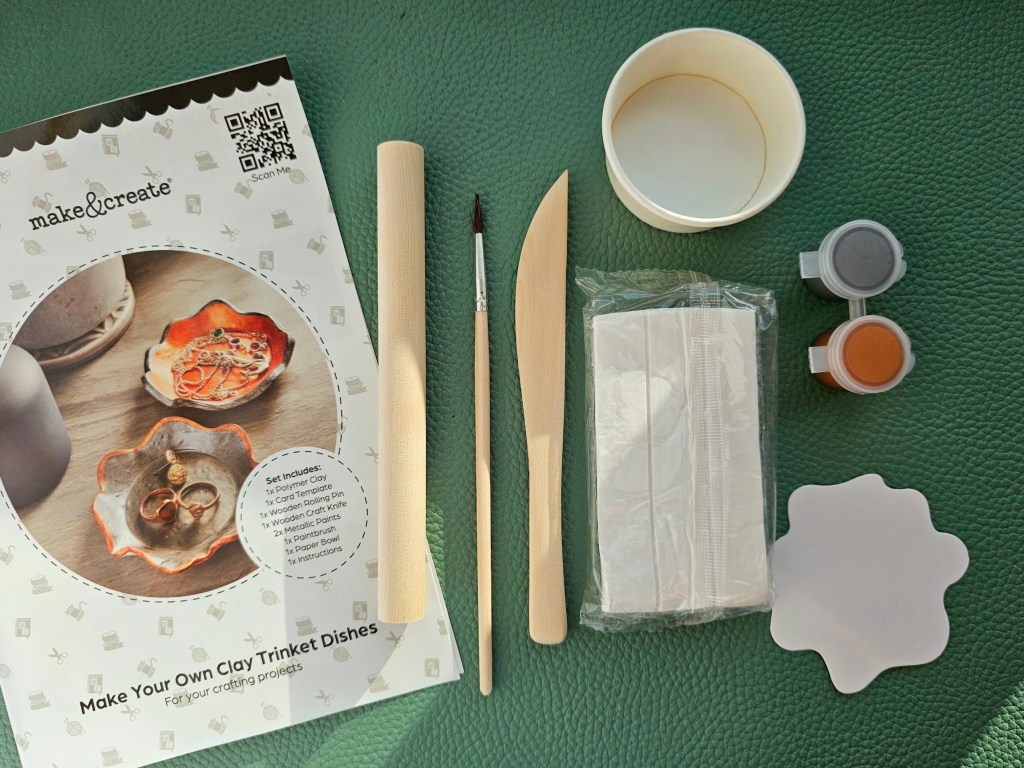
Contents of the set for making polymer clay trinket dishes
The box included supplies and tools for making two small dishes: a block of white polymer clay, a small, wooden rolling pin, a wooden knife, a paintbrush, two small pots of metallic paint in silver and gold, and a leaflet with instructions. There was also a stencil with an abstract shape, and a small paper cup.
I bought the whole set on sale for £3. Not bad! I’m sure I’ll reuse some of the tools in future DIY projects.

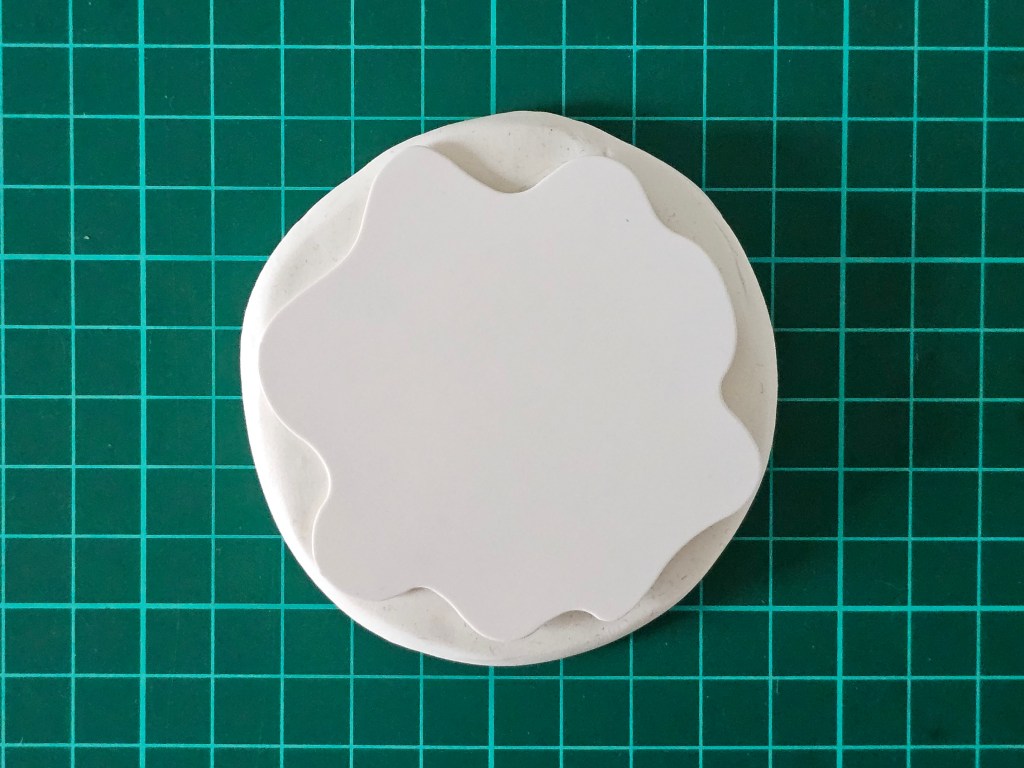
Cutting out the first shape
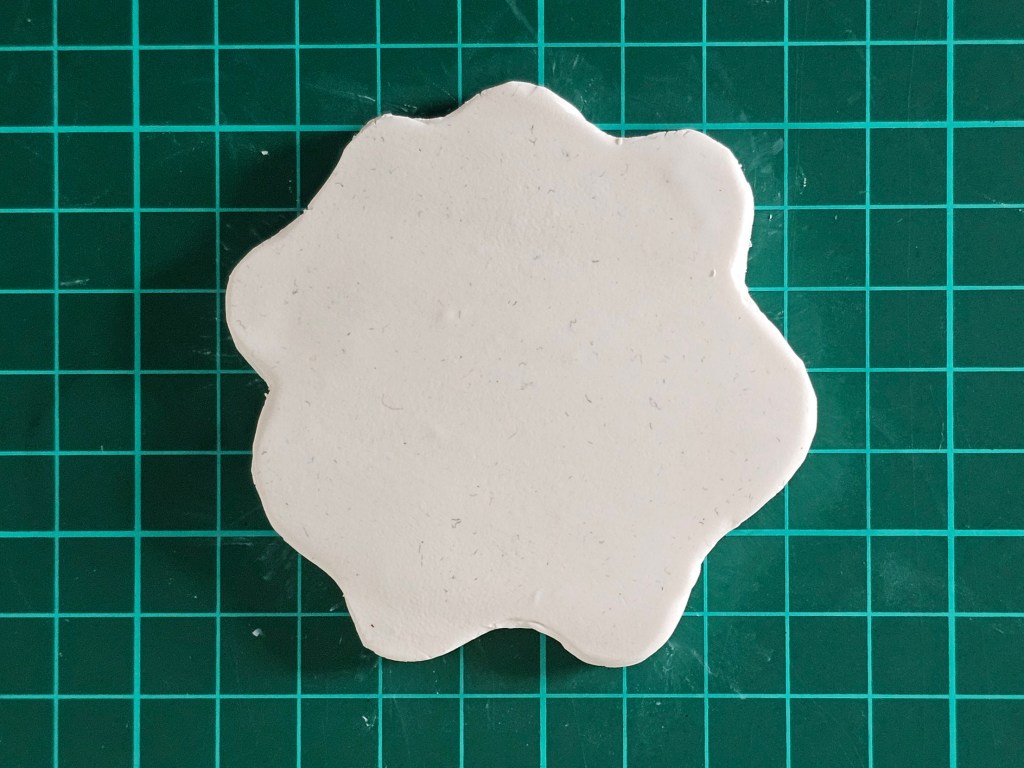
I cut the block of clay included in the kit into two equal pieces. I used the wooden rolling pin to roll one half of the clay into a circle just under 1cm thick. Some of the polymer clay I had used in the past was really hard to knead, but the clay included in the set – by an undisclosed brand – was very soft and pliable. I had no trouble rolling it out.
I placed the stencil on top of the clay and used the wooden knife to cut out the shape. The knife was quite blunt and thick and didn’t make a clean cut. A sharp craft knife would have been a much better tool for that purpose. I tried to smooth the edges with my fingers. Looking back, I should have spent more time on that.

Shaping the dish
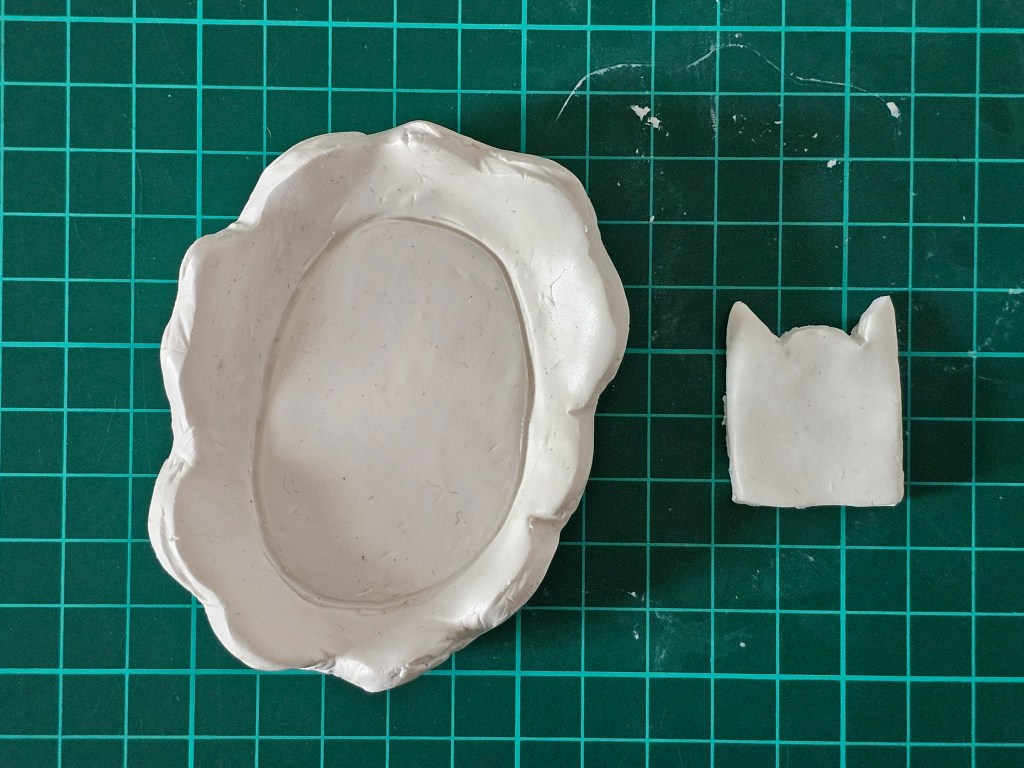
Following the instructions, I used the small paper cup to make an indent in the clay, which would map the bottom of the dish. I pushed the edges of the shape up to create a bowl-like dish.
I feel like the paper cup was too big and the sides ended up too short – way shorter than shown in the picture on the box. Suspicious! A common problem I see when working with those assorted DIY kits is that the instructions don’t fully align with the outcome pictured on the box. It happens very often with cross stitch kits – for example I once worked with a cross stitch set that included insufficient thread for most colours of the design.

Creating the second dish
I used the second half of the polymer clay from the kit to make another dish. This time, I decided to freestyle it instead of using the stencil.
I rolled out the clay into an oval shape and then cut wavy edges, similar to the original stencil. I pushed the edges up to create sides of the dish.
I also used the leftover scraps of polymer clay to form a small cat, because why not. I love cats!
Baking time
I made two rings out of tin foil and placed the dishes inside. In theory, it wasn’t needed, but I was worried that the sides of the dishes would flatten in baking and wanted to give them extra support.
I pre-heated the oven to 135°C (275°F) and placed my polymer clay shapes on a baking tray lined with greaseproof paper. I baked them for 30 minutes, then let them completely cool down.
It’s not my first time attempting to work with polymer clay. I always feel like the final result remains somewhat soft after baking, and it was the same this time. The dishes weren’t pliable as such, but I feel like I could have easily pushed a fingernail into them. I’m not entirely sure if I’m doing something wrong or if it’s a characteristic of polymer clay.
In all honesty, I wasn’t too happy with the edges of the dishes, I should have tidied them up a lot better before baking. They ended up bumpy and rough. There are also a few bumps in the middle of the trays, which weren’t there before baking – I imagine some trapped air bubbles surfaced in the oven.


Painting the polymer clay trinket dishes
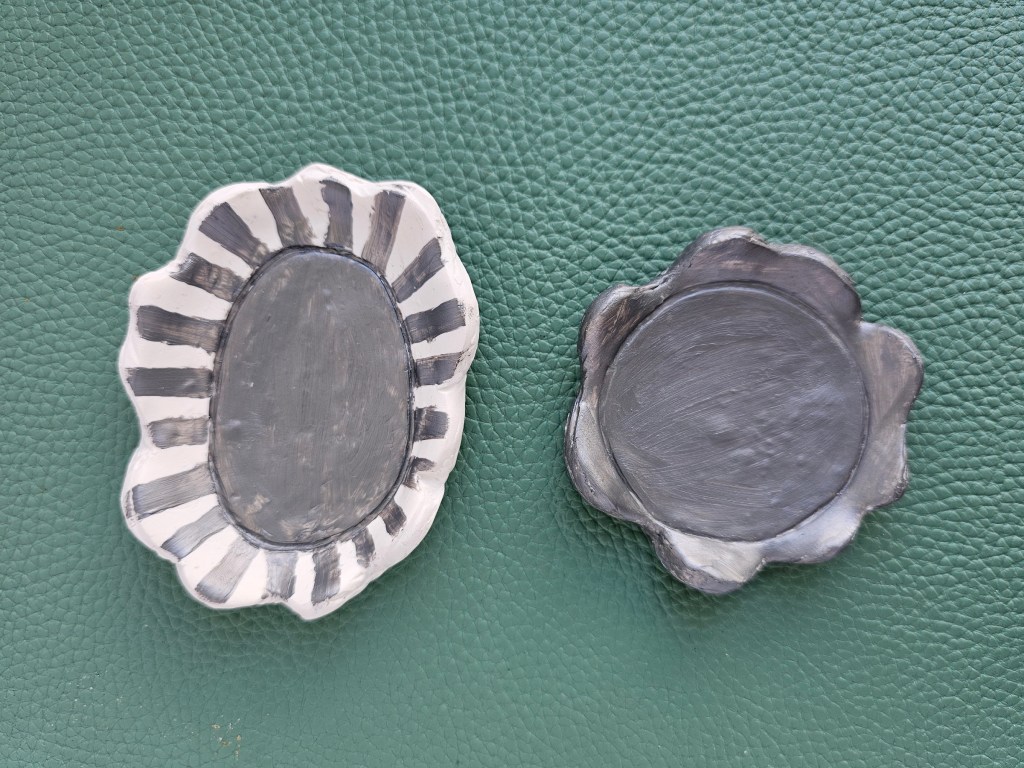
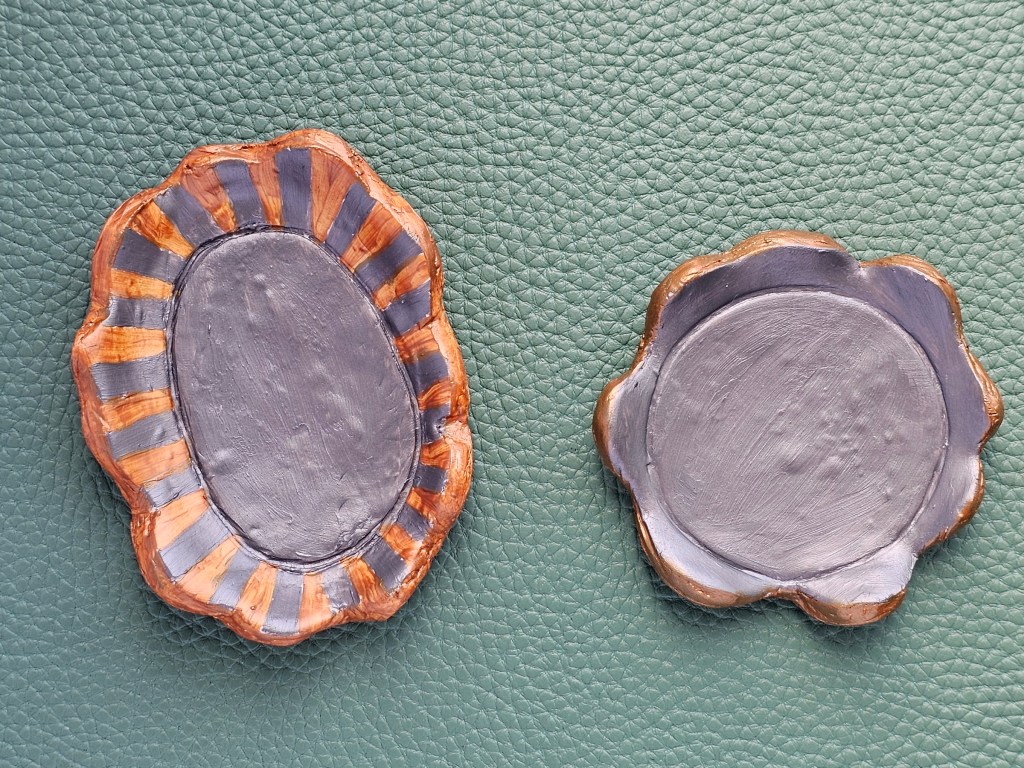
Finally, it was time to paint my polymer clay creations. I used the metallic silver and gold paints included in the kit. I decided to go for two different patterns. The gold and silver weren’t distinct enough in my eyes, and I decided to use black acrylic paint to add more details. I feel like it added some definition to the design.
To be honest, I’m not too happy with the colours of the paint included in the set. They’re not the kind of colour palette I would choose myself, but oh well. Maybe I should have used acrylic paints in my favourite shades instead!
I also used white and black acrylic paint to make the little cat. I think it turned out cute!

Final thoughts
Overall, it was a fun little project to work on. It was the first time I actually completed a project involving polymer clay without giving up in the middle. As always, I highly recommend those assorted DIY kits for trying out new types of crafts. £3 for a full set of supplies is an absolute bargain, and some of the tools can be reused in the future, if I simply buy more clay. If you’re bored and would like to try something new, have a look at some DIY kits – there’s a lot of those.
I still think that polymer clay sculpting is way harder than it seems. I’ve seen people create beautiful, detailed designs and I have no idea how they managed to make them look so neat. My little trinket dishes ended up so uneven! I’d love to learn to create miniature masterpieces with polymer clay, but right now, I’m certainly miles away from that.
Also see: