
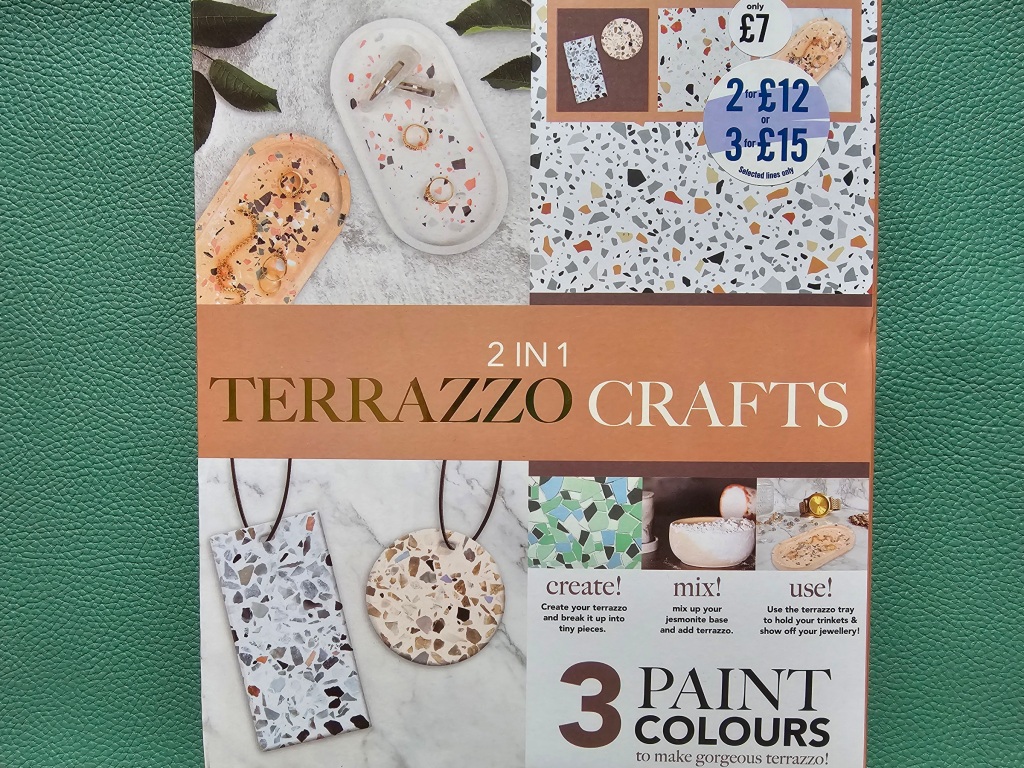
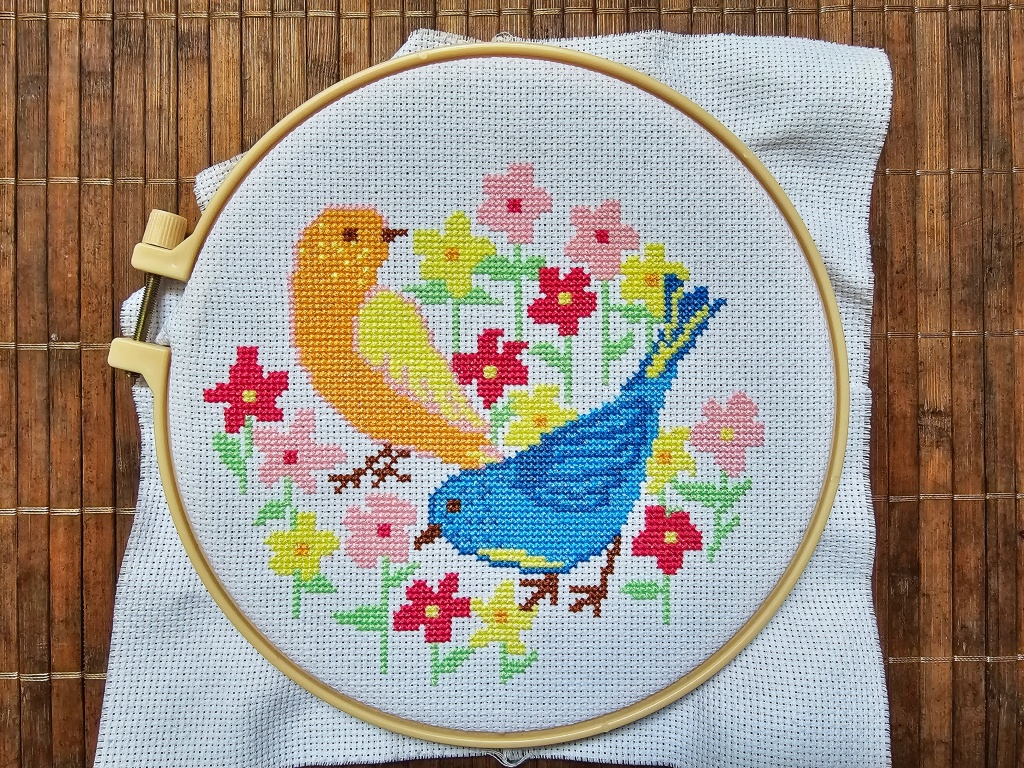
If you’ve been following my blog for a while, you probably know that I love trying out new crafts. I have a fair amount of experience with paper quilling under my belt, I’ve recently been in love with cross stitching, but I have also done loads of drawing, painting, and more. This time, I decided to have a go at working with plaster of Paris, with a Terrazzo Crafts DIY Kit. Come and see how it went.
I bought my kit in the Works – a chain of UK stores with low price stationery and craft supplies. They often have a wide choice of DIY kits, which are a great way of trying out a new craft. This time, I bought a Terrazzo Crafts kit to attempt making some items with plaster of Paris.
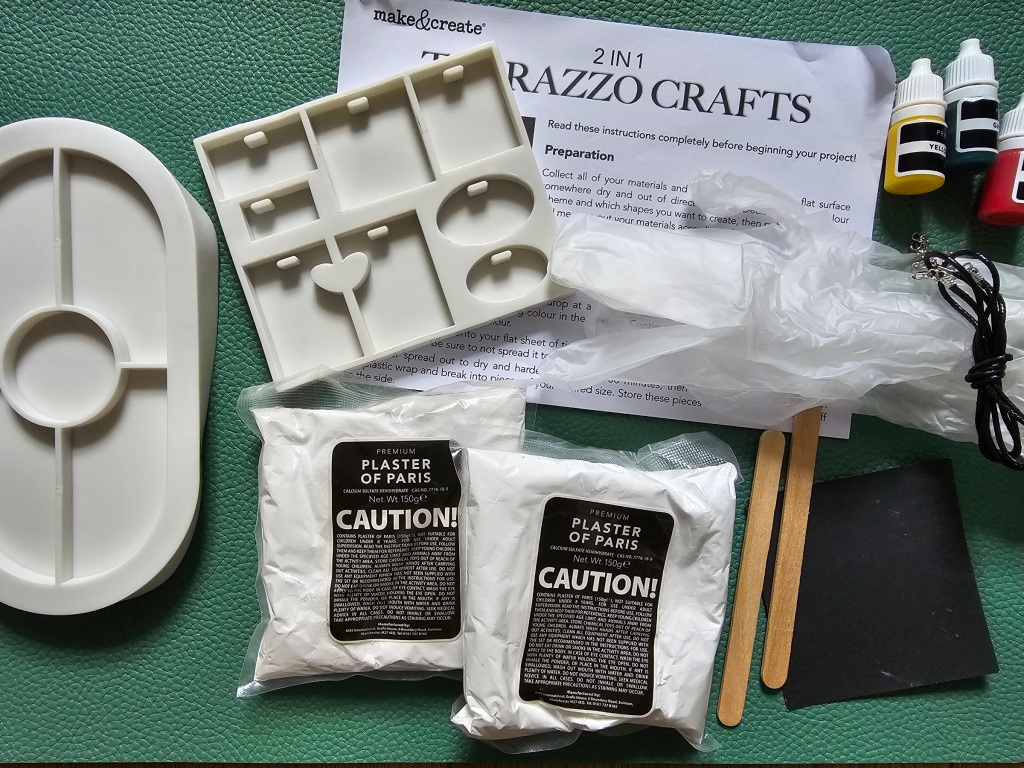
In general, I love those pre-assorted DIY kits. They’re a great way to try out something new, without the need to buy a large amount of tools and supplies. This kit included two small bags of plaster of Paris, three small bottles of dye, two stirring sticks, gloves, two silicon moulds – one for a tray and one for jewellery pieces – as well as sandpaper and necklace strings. And of course – a leaflet with instructions.
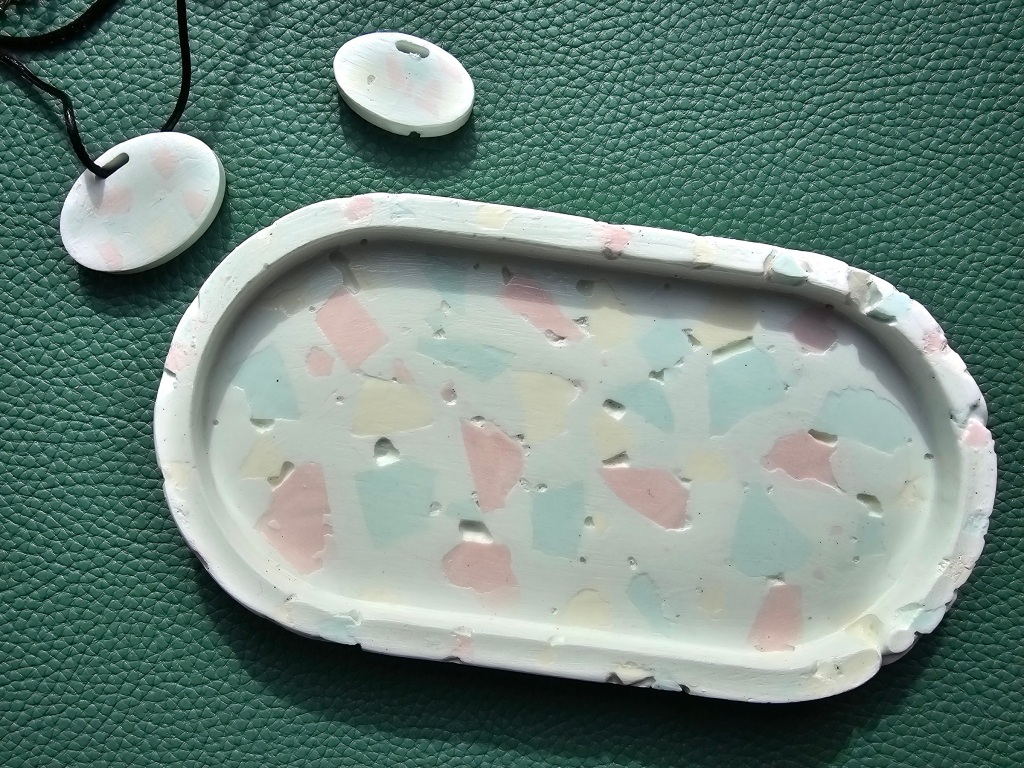
I followed the instructions and attempted to make a terrazzo trinket tray.
Making chips for terrazzo items
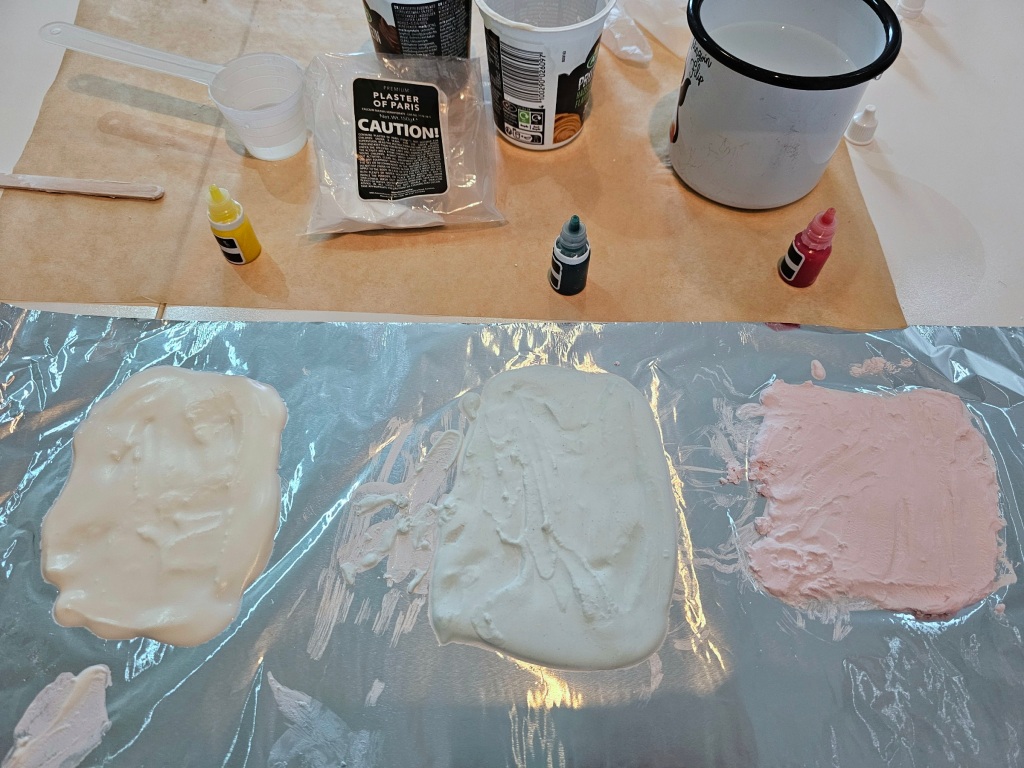
The first step, as listed in the instructions, was making the chips. The instructions said to mix 1 tablespoon of plaster of Paris with 4 tablespoons of water and a few drops of a chosen dye. Straight away, I faced a few issues.
First of all – what is a tablespoon? I feel like perhaps measurements in grams would have been more accurate. However, after mixing the water and plaster of Paris with a 1:4 ratio, the mixture was dry, crumbly and breaking apart. I ended up adding a little bit more water.
The second issue came up when I moved on to adding the dye. I originally assumed that the three colours included in the kit would be yellow, red and blue. Three primary colours, great for mixing any other colour you can think of, right?
Well, for some reason, they included green insted of blue. Why? Why?! My idea for making items in a colour pallette of pale blue, purple and pink went to the bin. Green can be created by mixing yellow and blue. There’s no reason to include a green dye. To all pre-assorted kit makers: go with primary colours, please!
Anyway, I decided to make three colours of chips – pale yellow, pink and green, as per the dyes provided. A few drops of a dye were enough to tint the plaster to a pale colour.
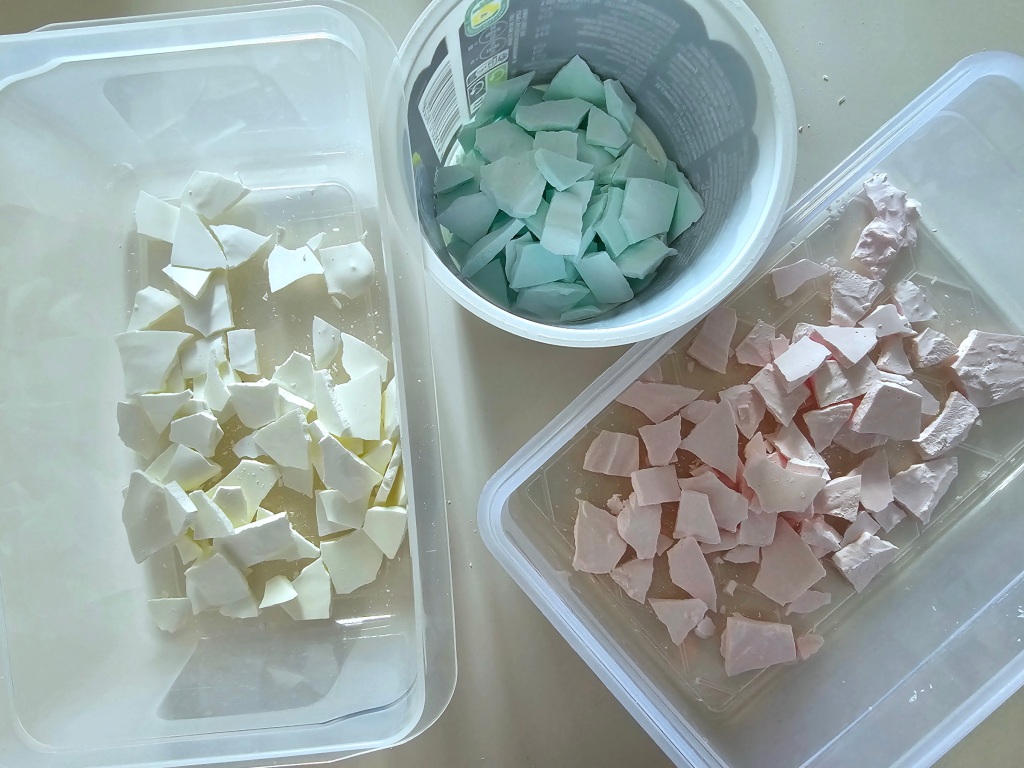
I spread the mixtures on tin foil, in thin layers, and left them to dry for about 45 minutes. After that time, I broke them into smaller pieces and put them aside in individual containers. Set plaster of Paris was surprisingly hardy. I had a difficult time breaking the plaster into pieces in places where it was thicker than 2mm.
Filling the moulds with chips
Once I had my chips ready, I lined the moulds with them. I used bigger pieces for the middle of the tray and smaller ones in the sides. I also filled some of the jewellery moulds with tiny chips, in case I had some leftover plaster base.
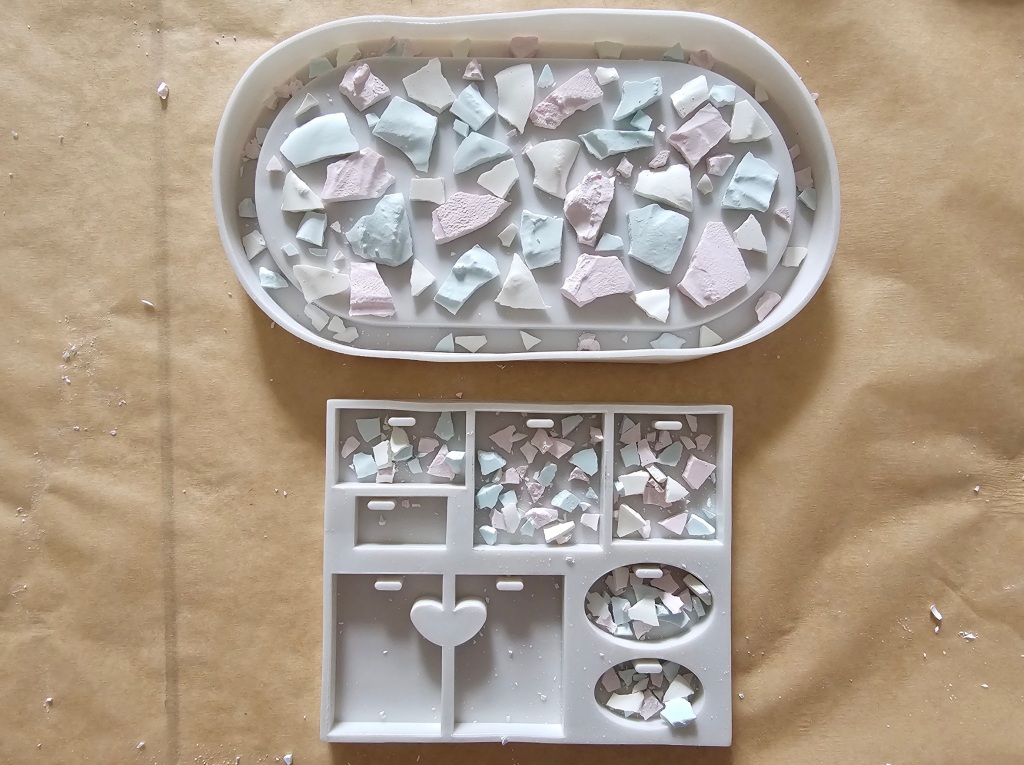
It’s worth noting that I went against the instructions here. They suggested mixing the chips into the plaster base and then pouring everything into the moulds. However, I wanted to make sure I had a nice terrazzo pattern and decided to place the chips in the moulds beforehand.
Making the plaster of Paris base for terrazzo items
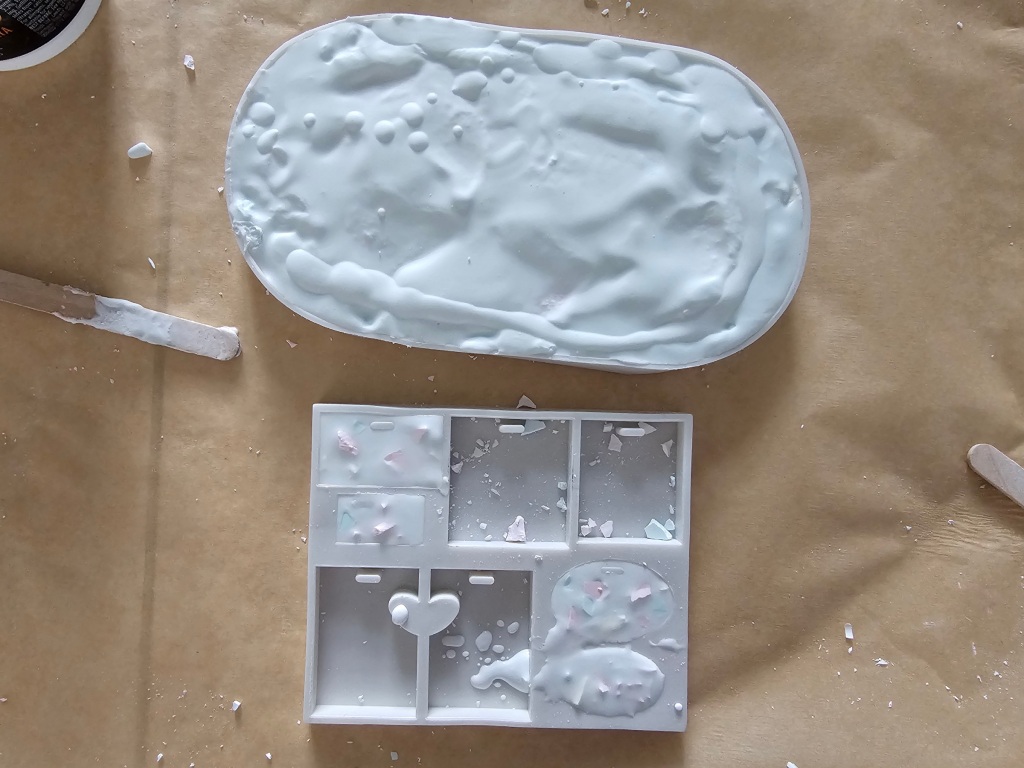
Following the instructions, I mixed 3 tablespoons of plaster of Paris with 10 tablespoons of water and a drop of green dye. I poured it into the tray… and immediately saw that it wasn’t anywhere near enough. I quickly mixed some more – I had to work fast as plaster of Paris sets really quickly – and filled the tray. I ended up using all of the plaster I had left, and filled a few of the jewellery moulds too.
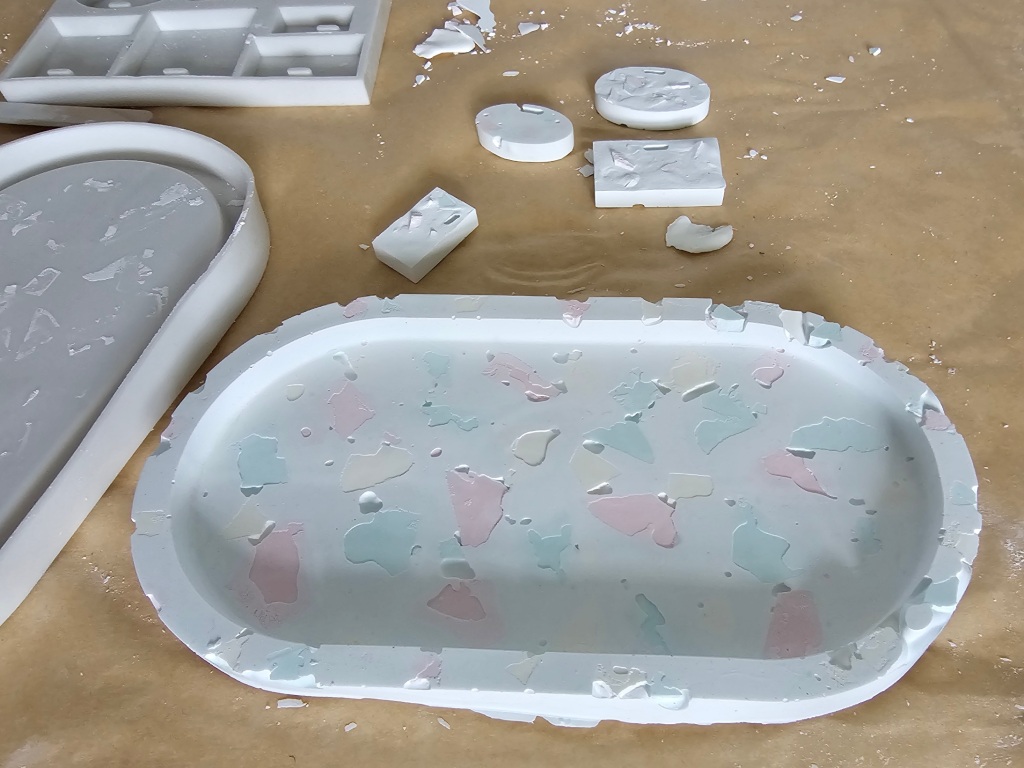
Then, I left everything to set for 45 minutes, then took the items out of the moulds.
Polishing terrazzo plaster of Paris items
At that point, I already saw that the items weren’t looking great (scroll down for my detailed thoughts), but decided to keep going for the sake of getting some experience.
Following the instructions, I dampened the items with a wet paper towel and then used sandpaper to polish the tray and the pendants. I had to put the most effort into smoothing the bottom of the tray which was completely uneven and bumpy.
The kit included a small scrap of P800 sandpaper which would have been enough if I only had minor imperfections to fix. Nowhere near sufficient to deal with the bottom of my tray! Luckily, I have a stash of sandpaper at home and used that.
A long polishing session later, it still wasn’t perfect, but I decided it was good enough.
Sealing and waterproofing plaster of Paris items
Plaster of Paris isn’t waterproof, and – as a porous substance – will absorb additional moisture. However, it’s more waterproof than I expected it to be. I used to think that it would break down and dissolve upon contact with water, so I did an experiment and placed one chip in a cup of water. A few hours later, it seemed unchanged. Moral of the story? Plaster of Paris may not be waterproof, but if you accidentally splash it with a small amount of water, it will be fine. Wipe it off and move on.
Either way, I decided to paint my items with varnish glue to give them a satin glow and mask some of the gaps and imperfections.
My thoughts
So, time for a little debrief.
It’s reasonable to assume that when you try out a new craft for the first time, not everything goes to plan. Working with plaster of Paris leaves no room for errors. Once you’ve mixed it, you need to work fast and there’s limited space for fixing problems.
There are a few things that didn’t go to plan.
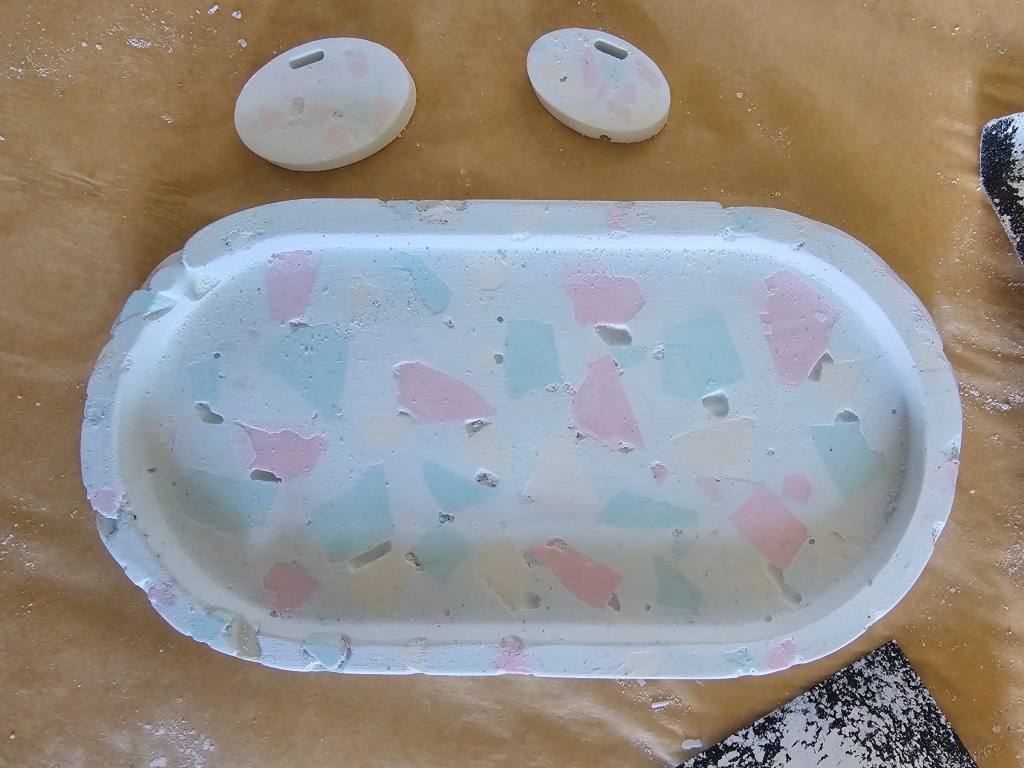
First of all, my choice of colours was terrible. The pale green and pale yellow chips blended with the pale green base and only the pink chips stood out a little bit – but still not enough. I blame it on the poor selection of dyes. I had my colour pallette all thought through and was caught off guard when I realised there was no blue dye.
Second of all, I didn’t make sure to distribute the plaster evenly in the mould and get rid of air pockets. The edges of the tray turned out looking as if they had been chipped. This is mainly due to the fact that I didn’t have enough plaster mixture for the base first time round and needed to quickly mix up some more while the initial batch was already setting in the tray. Perhaps following the instructions would have helped too, as lining the trays with chips contributed to trapping some air underneath.
Finally, I was left with a lot of unused chips, but could have used a bit more plaster of Paris for the base (I used up all the plaster powder that was provided in the kit, and now I’m left with tons of chips).
Was it a success? Probably not. I don’t think the items look great. But, looking at the positives, I got some experience in a new craft. I still have a lot of coloured chips left, as well as dyes and sillicon moulds. If I buy some extra plaster of Paris – which is actually surprisingly cheap – I can have another go at making terrazzo items. Hopefully, with a better effect. So, look out for a new post some day with the part two of my terrazzo adventure – hopefully, with a successful outcome!
Also see:


2 thoughts on “Trying Terrazzo Crafts With Plaster Of Paris”