Learning to crochet was one of my New Year’s Resolutions for 2025. I thought it would be great to be able to turn a ball of yarn into any shape imaginable. Well, I’m still miles from being able to create my own patterns, but I’ve made good progress learning various types of stitches, and successfully completed about 10 small projects in the last few months. This time, I’d like to show you my latest creation – a cute hedgehog, which taught me how to add interesting texture to a crocheted piece. As usually, I got an assorted set in TK Maxx for a bargain price.
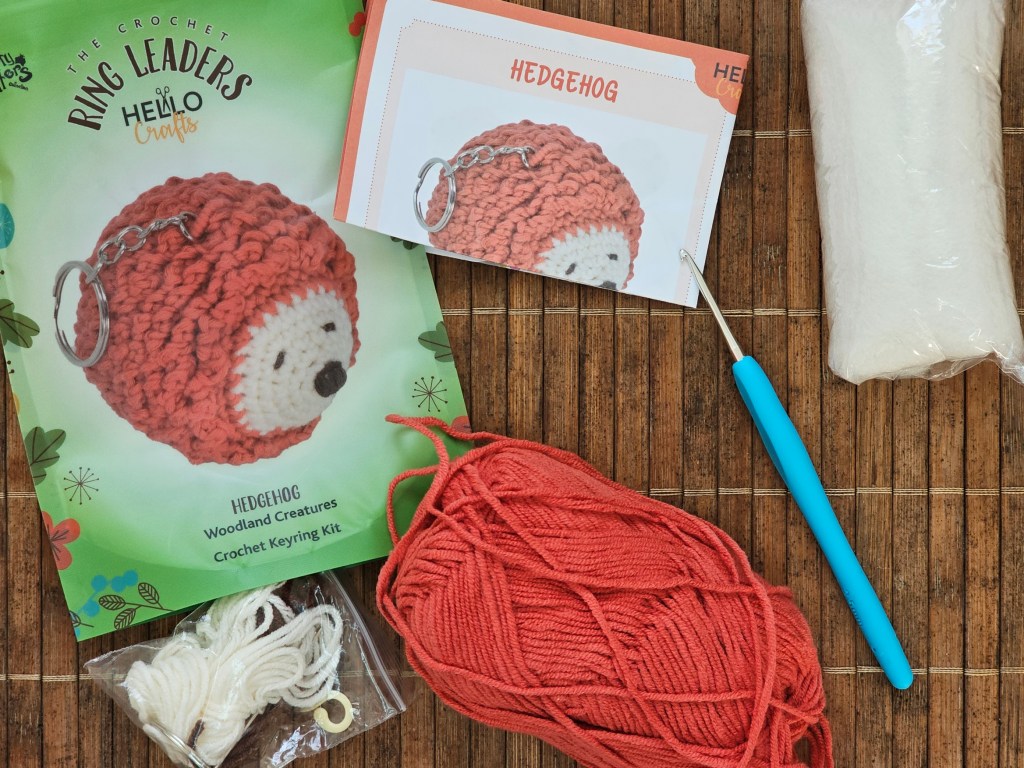
Contents of the kit for making a crocheted hedgehog
The set came with all necessary tools and supplies. It included a ball of orange/brown yarn, shorter pieces of white and black yarn, toy stuffing, a crochet hook, a stitch marker, an empty keyring, and a leaflet with the pattern.
I’ve already completed a few crochet projects by the same brand, and I always really like the metal crochet hooks with a comfortable handle included in the sets. They’re my favourite type of crochet hooks!
I also really liked the yarn included in this crochet set. It was really soft, and seemed perfect for a toy. I later found out that it was also really easy to crochet with!
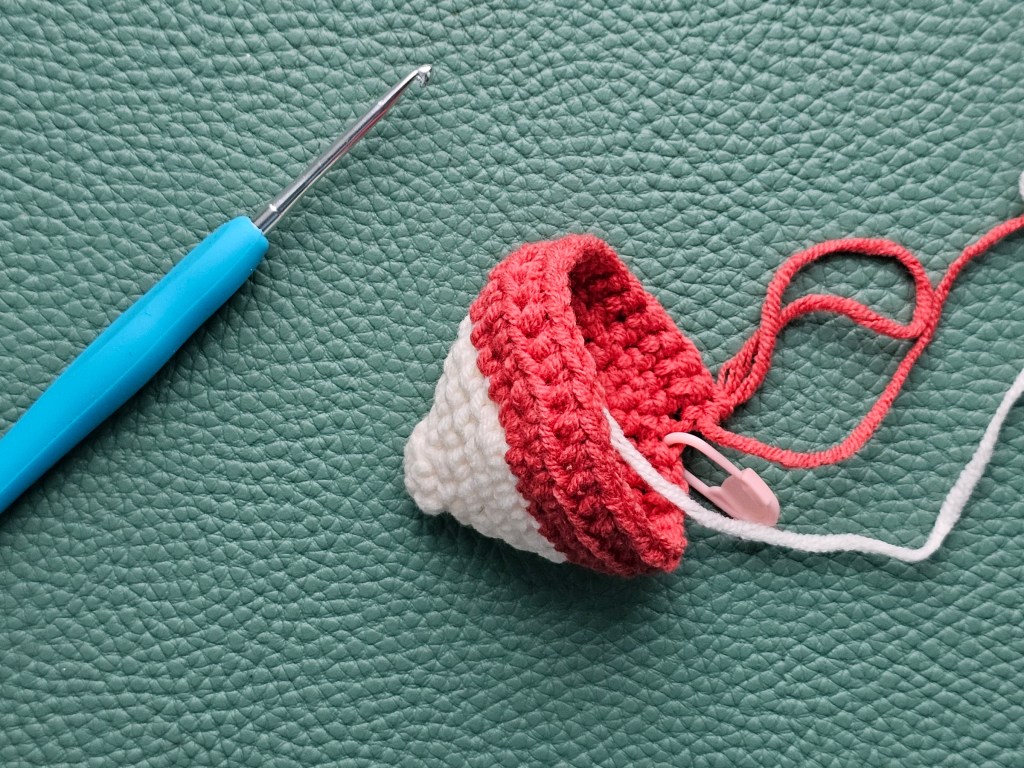
Starting off – white yarn and colour switch – crocheting the hedgehog’s head
First, I started with the head of the hedgehog. The pattern made me crochet a few rounds with white yarn, and then switch to the main orange/brown colour. Soon enough, I had a pointy face of the hedgehog finished.
Making the body of the hedgehog, embroidering the face
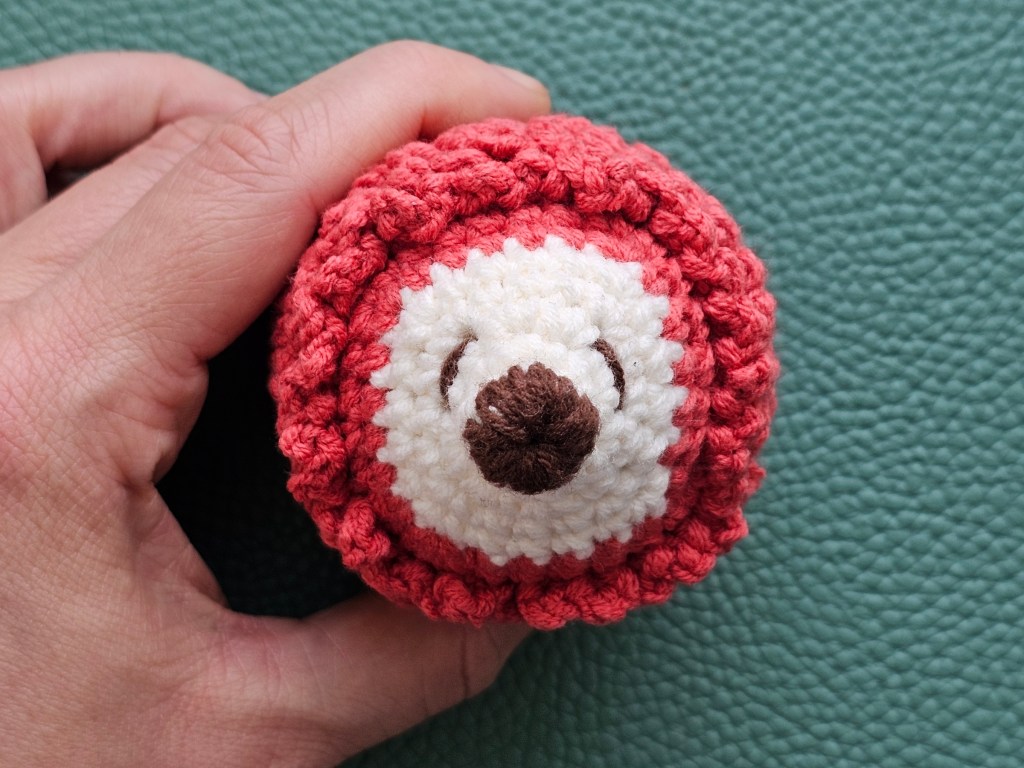
I decided to embroider the nose and eyes of the hedgehog before completing the whole piece. It seemed easier to do on a flat piece, with easy access to both the outside and the inside. Embroidering on crocheted pieces isn’t my strongest skill, and it always comes out a bit wonky. Compared to some of my previous projects, it turned out fairly even and cute!

Finished base of the crocheted hedgehog
I really enjoyed crocheting this pattern. It was really simple, all based on the most basic stitches. The yarn was also great – it smoothly flew through my fingers and didn’t knot, separate, or get caught up in the hook. I wish the brand sold the yarn itself, I’d happily buy it for future projects!

Adding crocheted spikes to the hedgehog
Next, it was time to add the spikes – the part of the project that I was most worried about. Looking at the photo on the packaging of the set, I didn’t recognise the stitches making the spikes, and I was worried I wouldn’t understand how to crochet them. In the end, it was actually super simple!
Most of the body of the hedgehog was crocheted on back loops only, which left the front loops clearly marking the rounds. The spikes themselves were essentially a few chains each, joined to the next loop with a slip stitch. Two most basic crochet stitches that exist! I really enjoyed crocheting the spikes, and it didn’t take me long to complete them all.
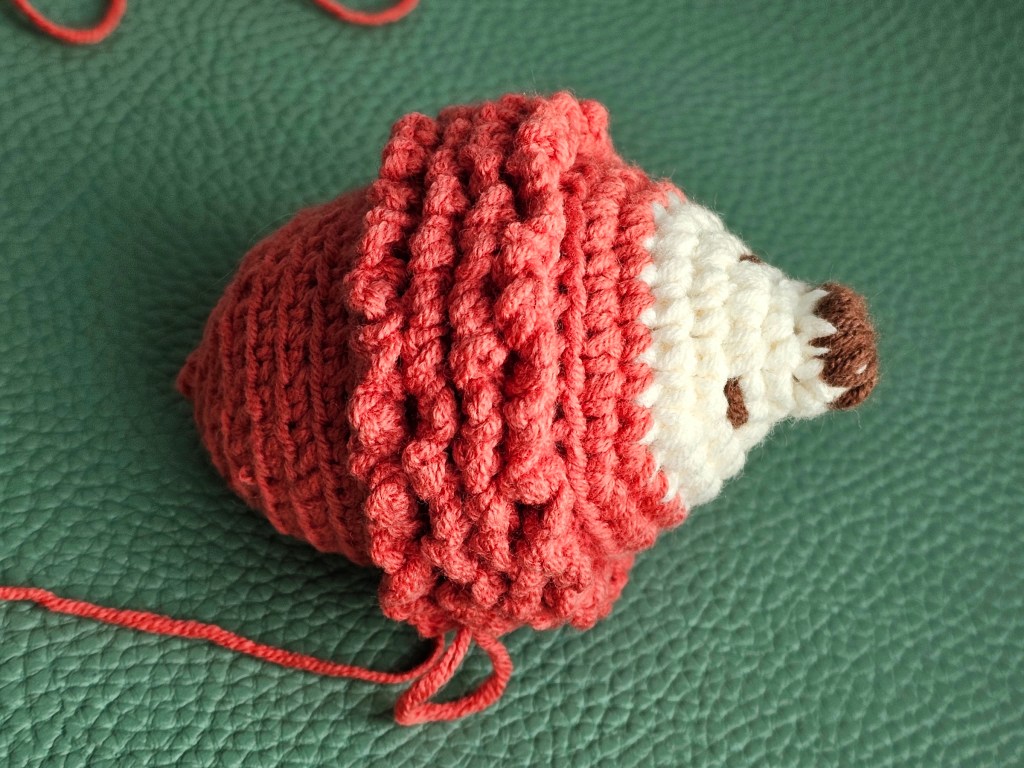

At that point, I decided to add an extra row of spikes near the face. Looking at the reference photo on the packaging of the set, the spikes should start closer to the face. I’m confident I originally started at the right round, according to the pattern – I marked that row when I was crocheting it. The pattern should have instructed to add the spikes one round earlier. When I added them, the hedgehog immediately looked a lot better!

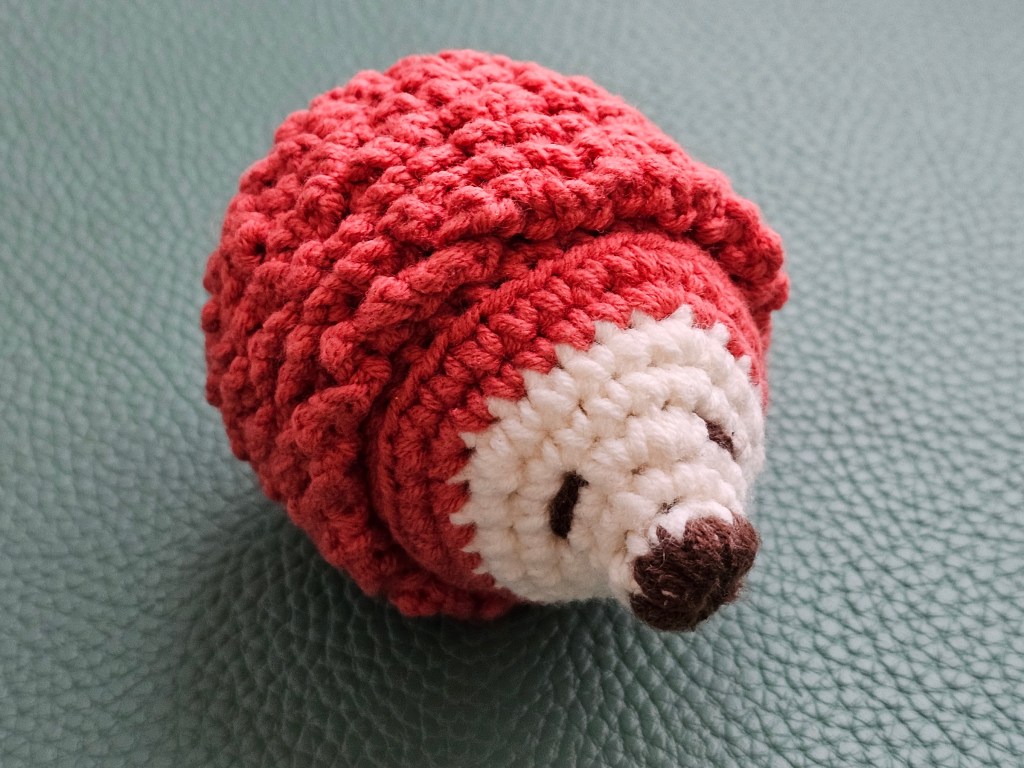
Final result
Technically, this project was supposed to be a keychain – there was a blank keyring included in the set. However, I decided not to attach it. I knew I wouldn’t attach it to anything, and preferred to keep it as a tiny stuffed animal to put on a shelf.
I actually love how this hedgehog turned out! It’s really cute, and even my poor embroidery skills weren’t too bad this time. When I originally bought this set, I expected the spikes to be challenging to crochet. When I read the pattern, I still had major doubts. In the end, though, I ended up learning a new technique, which is actually extremely easy! I feel like this opens a whole world of possibilities for me, and perhaps the day when I’m able to create a crochet pattern from scratch is starting to materialise on the horizon.
I completed this small project in just two evenings. I still remember the day when I decided to learn crocheting for the first time and attempted to make an egg. After several hours, I couldn’t even figure out how to crochet the first round. After another few hours, I had what looked like an egg made of random knots and holes. I’ve now completed maybe 10 tiny crochet projects, but I feel like I’ve come a long way! This is a great motivation to keep learning. Some time soon, a cardigan might be on the cards.
Also see: