When I was still at the very beginning of my crocheting journey, I got carried away buying assorted DIY kits for simple crochet projects. I’m still far from being a crocheting pro, but I’ve learnt a lot since then and can finish simple projects in close to no time, without the need to look at tutorials. I’m still going through the stash of sets I bought a few months ago, and recently, I crocheted a simple watermelon keychain. And although it was a very basic project, it still taught me a lesson. Here’s some crochet inspiration, and a great candidate for a first crochet project!
Contents of the kit
I bought this kit in the Works, a popular UK chain store with stationary and craft supplies. The whole set was originally £3, but I bought it on clearance reduced to £1.5.
In the box, there was yarn in various colours: red, white, and two shades of green. There was also a short piece of black yarn for sewing the details, as well as a keyring base, tapestry needle, toy stuffing, and a plastic crochet hook. And, most importantly, there was a leaflet with the pattern and instructions.

I’m not going to share the exact pattern here for copyright reasons, but if you know the basics of crocheting, you should be able to replicate it quite easily. Essentially, to make a crocheted watermelon, you just need to make a circle, switching the colours every couple of rounds.
Starting off with red yarn
As I mentioned, this project essentially called for making a circle. It started with a magic ring. I remember how confused I was when I started crocheting and encountered a magic ring for the first time. Now, I can make them any time of day!
The process was really simple here. After making a few rounds of basic stitches, it was time to switch colours.
In hindsight, I think I should have joined rounds as I went. When crocheting circles, I naturally lean towards continuous rounds, as that’s the method I learnt first. But when you switch colours, continuous rounds make a visible step, which isn’t ideal.

Adding white yarn
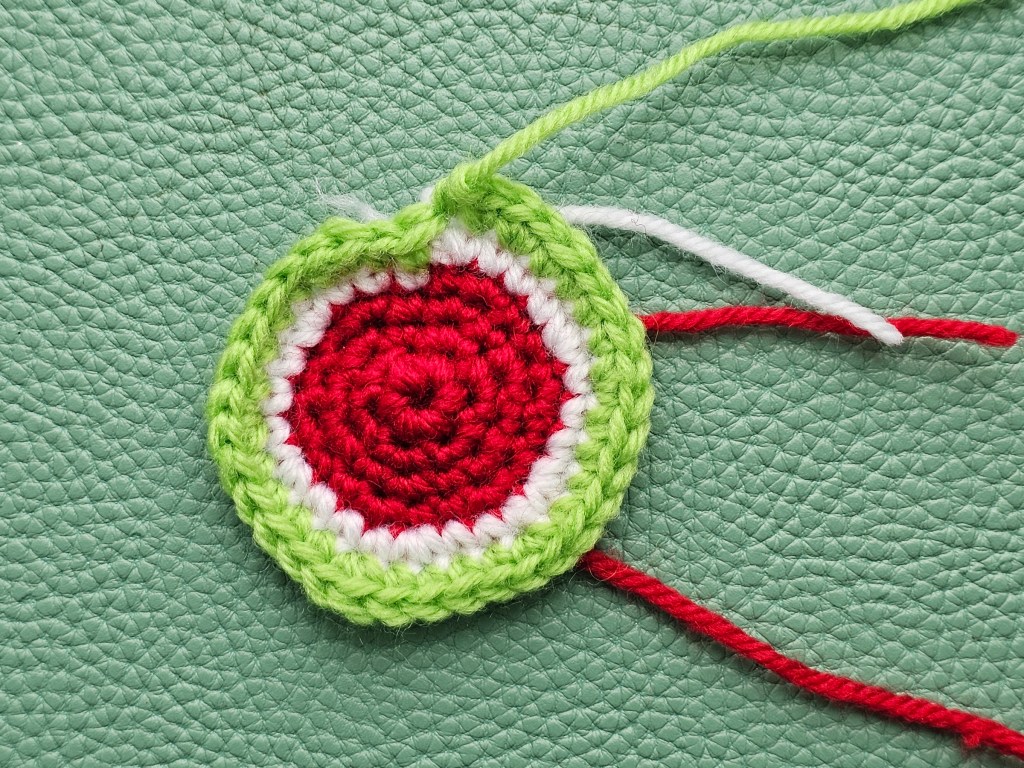
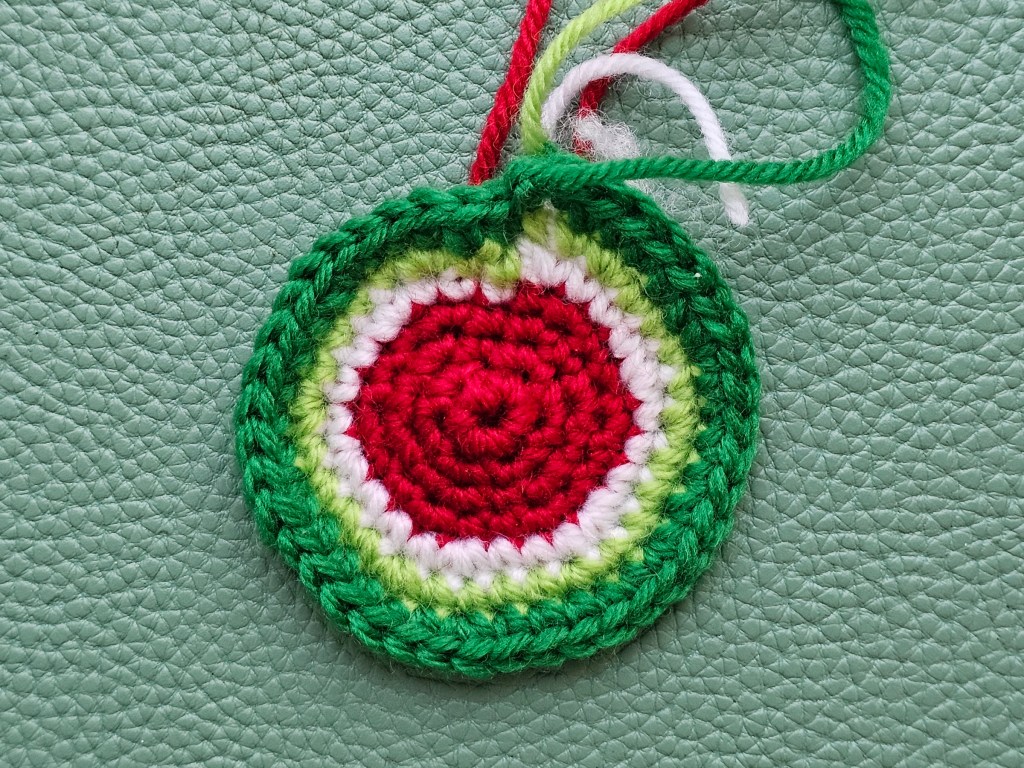
From this point onwards, it went really smoothly. Each of the remaining colours only required one round of stitches. I added the white round and my miniature watermelon was slowly coming to life.

Finishing the watermelon with green yarn
Finally, it was time to add the two shades of green: first light, then dark. After crocheting one round with each, the base of the watermelon was complete. I really wish I had joined the rounds instead of working in a spiral, but oh well. The watermelon circle was going to be folded in half anyway, and my plan was to hide the step on the fold.
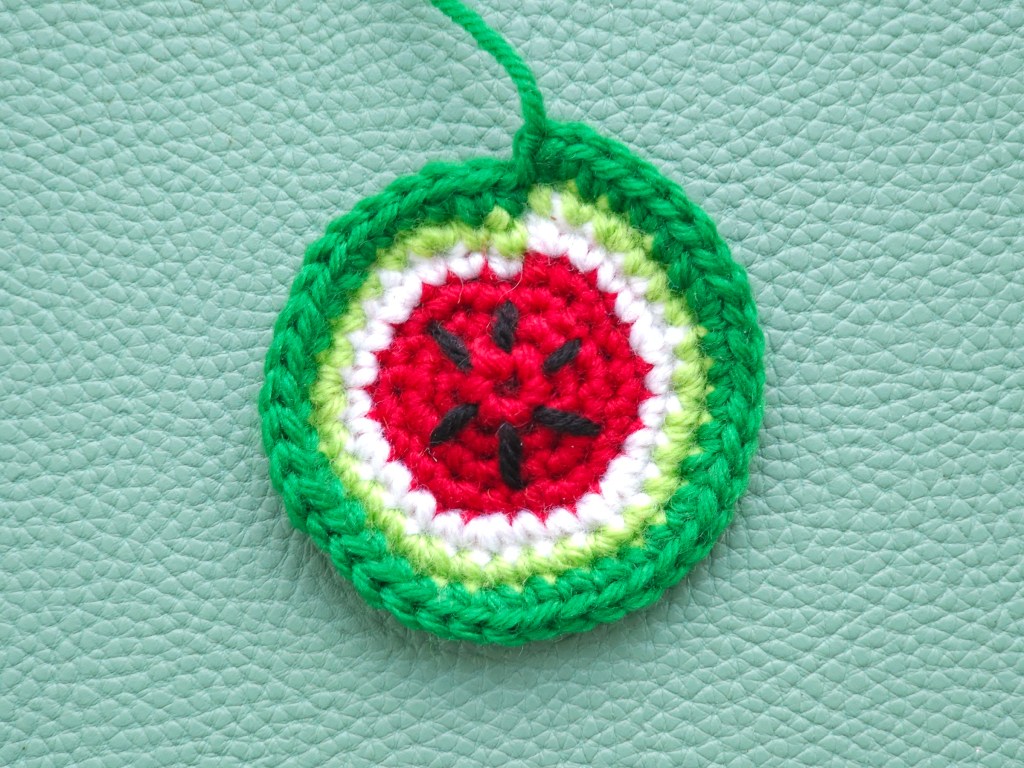
Sewing the details onto the crocheted watermelon
Next, it was time to embroider some seeds on the watermelon with black yarn. Embroidery on crocheted items isn’t one of my strengths, but luckily, this project didn’t require perfect accuracy and symmetry. Plus, embroidery on flat pieces is much easier than embroidering on stuffed, 3D items. It took me little time to give the watermelon a few seeds.
At that point, I also did one of every crocheter’s least favourite things: I weaved in all of the yarn tail ends.
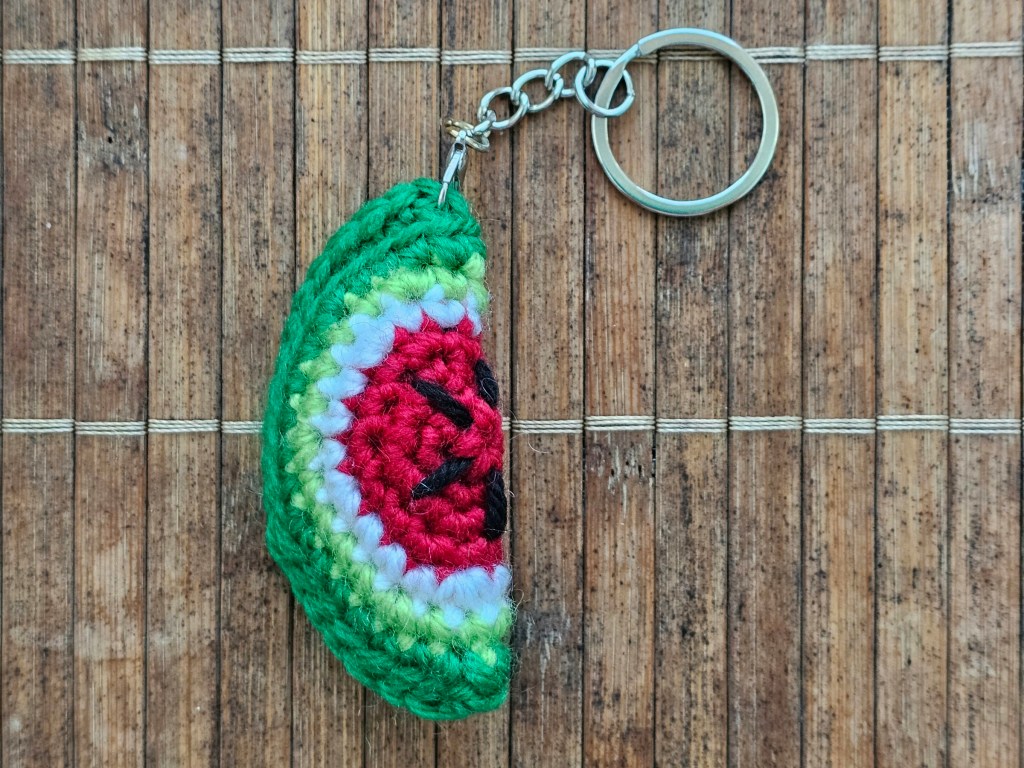
Assembling the crocheted watermelon keychain
Finally, it was time to assemble the final piece. I folded the watermelon circle in half and started sewing together the edges, stuffing the keychain in the process. The instructions said to use the tapestry needle to connect the edges, but I decided to crochet them together for a neater result.
I made sure to attach the keyring to the top of the watermelon slice too, and just like that, the project was successfully completed!
Final thoughts
Overall, the final result is cute, but the project was definitely too easy for my current skills and learning path! I only picked up crocheting a few months ago, but I feel like I’ve learnt a lot with each project. Making a plain circle isn’t much of a challenge anymore.
Yet, the project certainly reminded me to think about crocheting in joined or continuous rounds. Each of them has a purpose and should be a conscious decision. In this case, I made the wrong one! I was able to conceal it, but it wasn’t ideal.
By the way – I just realised that this design would make a great coaster! It would have to be a bit bigger, obviously, but that’s not a problem at all – just add more red rounds in the centre! I think it might be my first ever original crochet pattern – I’m sure I can figure out the numbers of stitches in the additional rounds. Who knows, maybe I’ll bring you a crochet pattern for a watermelon coaster soon.
And finally, as always – I want to remind you that assorted DIY kits are great gift idea for a crafty friend. Christmas is coming, and if you’re struggling with gift ideas, maybe consider craft kits? Perhaps a cross stitch kit, an air drying clay sculpting set, or a bath bomb making one? There are endless possibilities!
Also see: