Happy Halloween, almost! The spooky day is tomorrow, and what could be a better way to celebrate it than completing a themed, Halloween DIY project. This time, I had just the perfect one – I completed a cross stitch design featuring a classic Jack-o’-lantern. The final result looks cute, but cross stitching it wasn’t plain sailing. It turned out to be yet another assorted cross stitch kit with insufficient supplies. Luckily, I managed to figure out a solution.
Contents of the kit
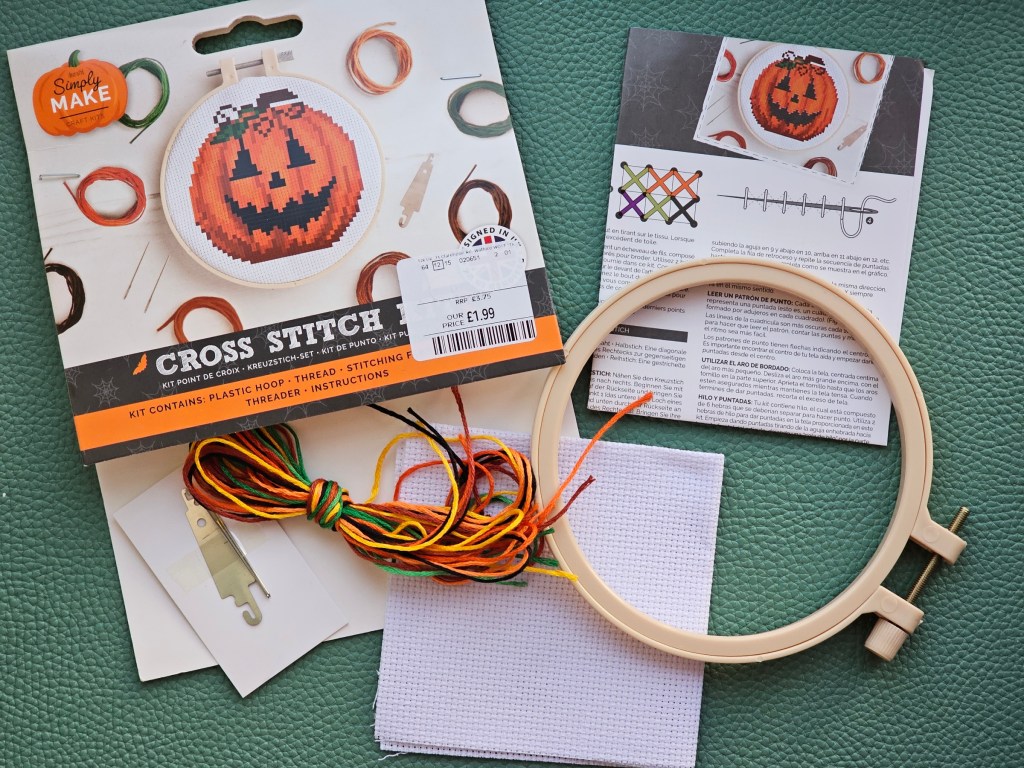
As always, let’s start by having a look at the contents of the set. It included a plastic embroidery hoop, yarn in assorted colours, a couple of needles, a threader, a blank aida and a leaflet with the pattern.
First details down
By the way, if you’re looking to start cross stitching yourself, I recently wrote a comprehensive guide to cross stitching. It includes everything I wish I knew when I bought the first cross stitch set, all in one post. Check it out here!
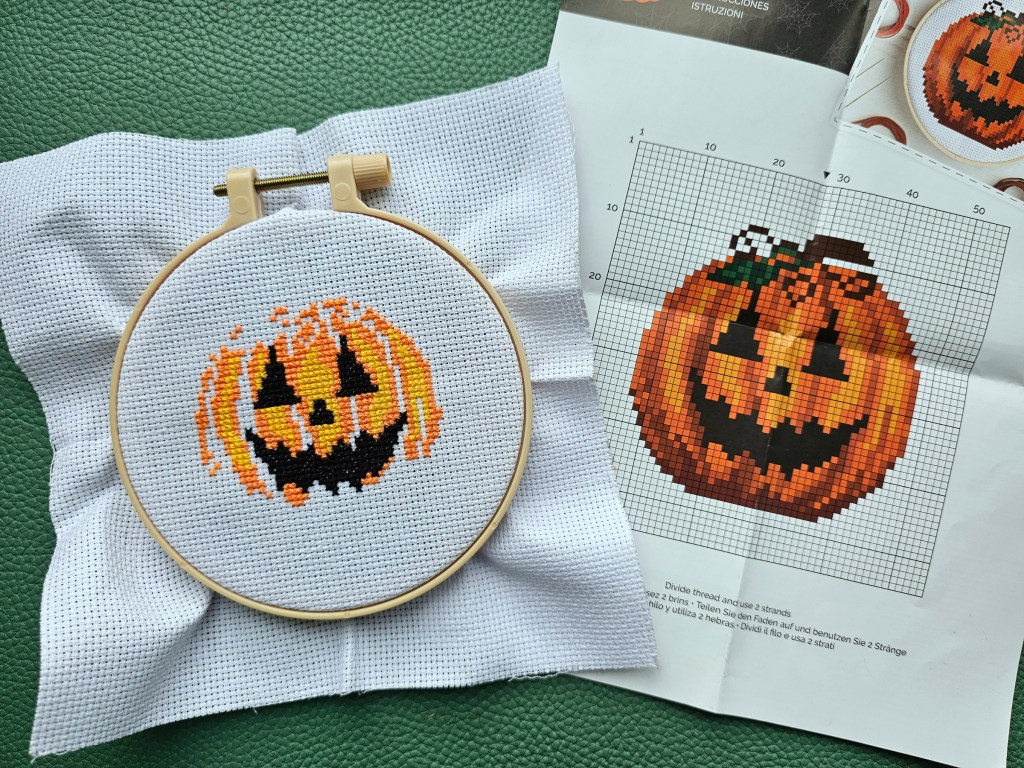
I decided to start with the black thread and sew the face of the Jack-o’-lantern. The nose was pretty much in the centre of the design, so I was able to easily map the pattern onto the aida. Soon, the first part of this cross stitch design was finished, and you could already tell what the picture would be.

First orange blocks done… with major issues
Now, it was time to start sewing the orange blocks. I started with the lightest, yellowy-orange thread, and finished the highlights. Then, I moved to the light orange thread. It wasn’t long until I started to feel like trouble was around the corner. Unfortunately, I was right. There wasn’t enough orange thread included in the set. It only came with one length of that colour, and I ran out before I had a chance to sew the bottom part of the pumpkin. It’s not that I wasted some yarn and ended up missing thread for a few final squares. I always make sure not to waste yarn, and yet I ran out with a large area still left to sew.
Oh well… I’ve encountered similar issues with cross stitch sets by this brands several times. For example, one Christmas set had insufficient yarn in most colours! At that point, I hoped that there would be enough yarn in darker shades of orange to backfill the remaining squares.
Getting there!
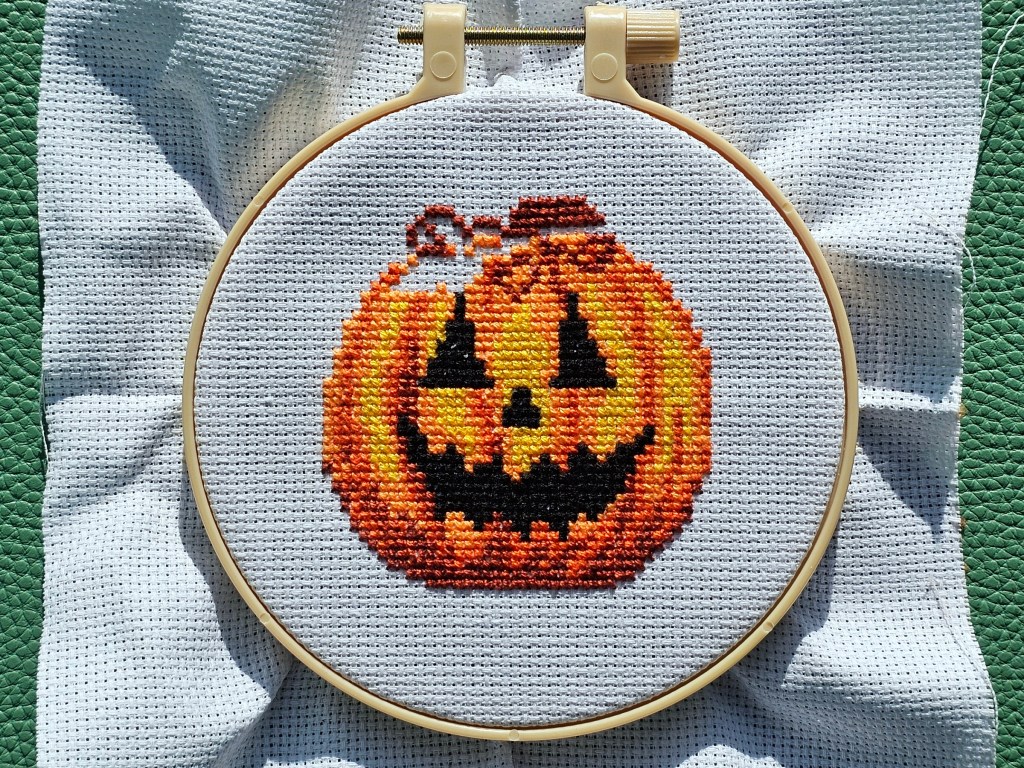
So, I moved to cross stitching the darker orange details. Luckily, there was enough thread to complete all of the squares in that colour, but also backfill some of the squares that were supposed to be sewn with the lighter thread that I ran out of. I wish this set had all supplies in sufficient amounts, because the design itself and its shading are actually gorgeous.
Nearly done
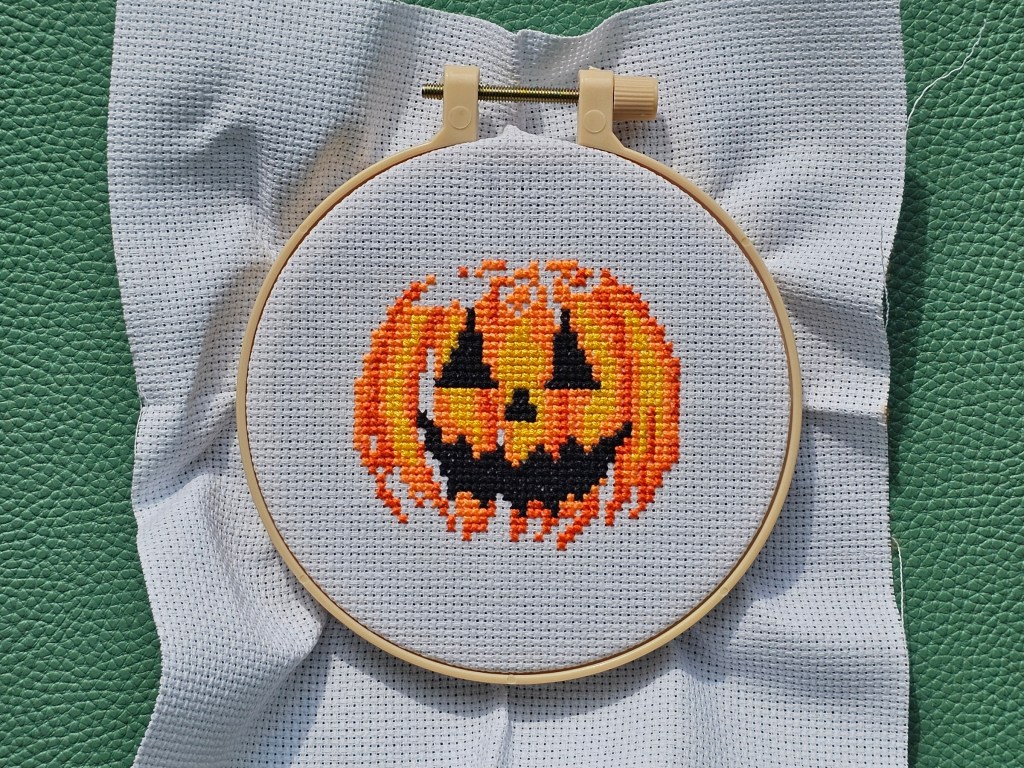
Then, I proceeded to sew the brown shadows and the stem of the pumpkin. I was able to cover the final missing squares at the bottom – luckily, there was enough brown thread included in the kit. Once the brown elements were done, the cross stitched pumpkin was nearly ready.
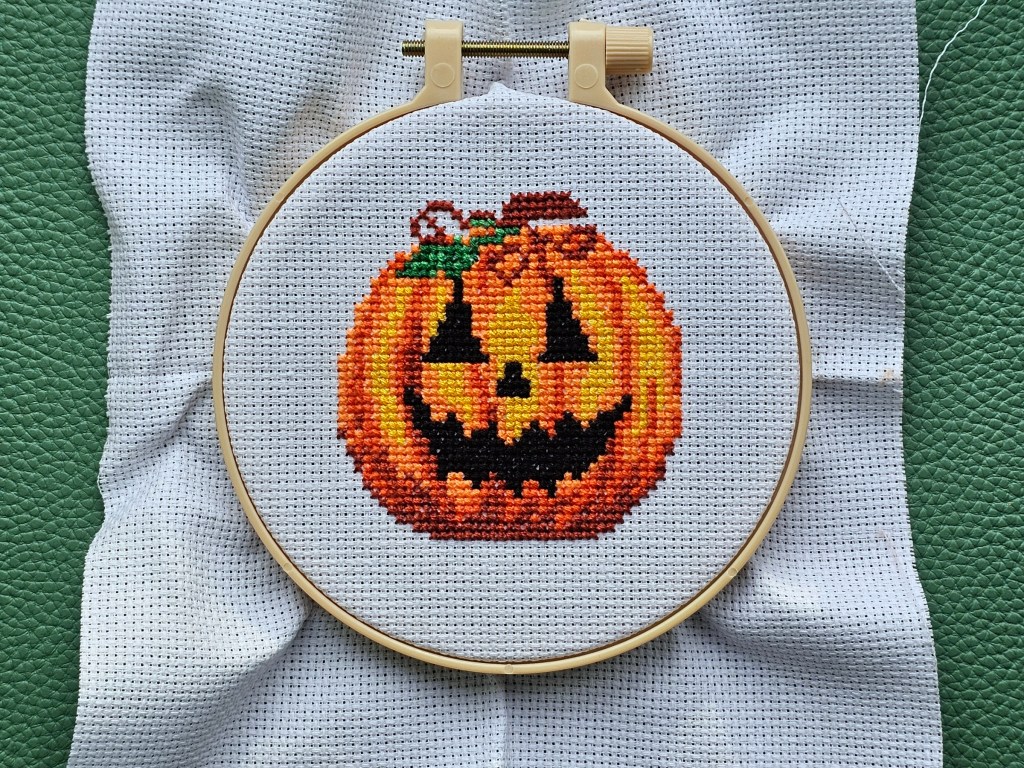
Final touches
At that point, the cross stitched Jack-o’-lantern was nearly completed. All it was missing were the green leaves by the stem, which I quickly sewed. Finally, despite all the troubles, the cross stitched pumpkin was finished. The set itself wasn’t the best quality, but at least the final result is cute. Happy Halloween!
Final thoughts
I do love assorted craft sets, and the majority of them are perfectly fine. However, every once in a while, a set I buy doesn’t have enough supplies. It’s disappointing, and it clearly shows that sometimes, the makers of the kits don’t actually try to complete them themselves. Luckily, in most cases, I’m able to turn it around – either by using other colours from the set, or by reaching to my stash of spare yarn. I really like the final result of this project – the pumpkin is super cute and vibrant. I just wish there weren’t any issues with the thread in this set!
Also see: