
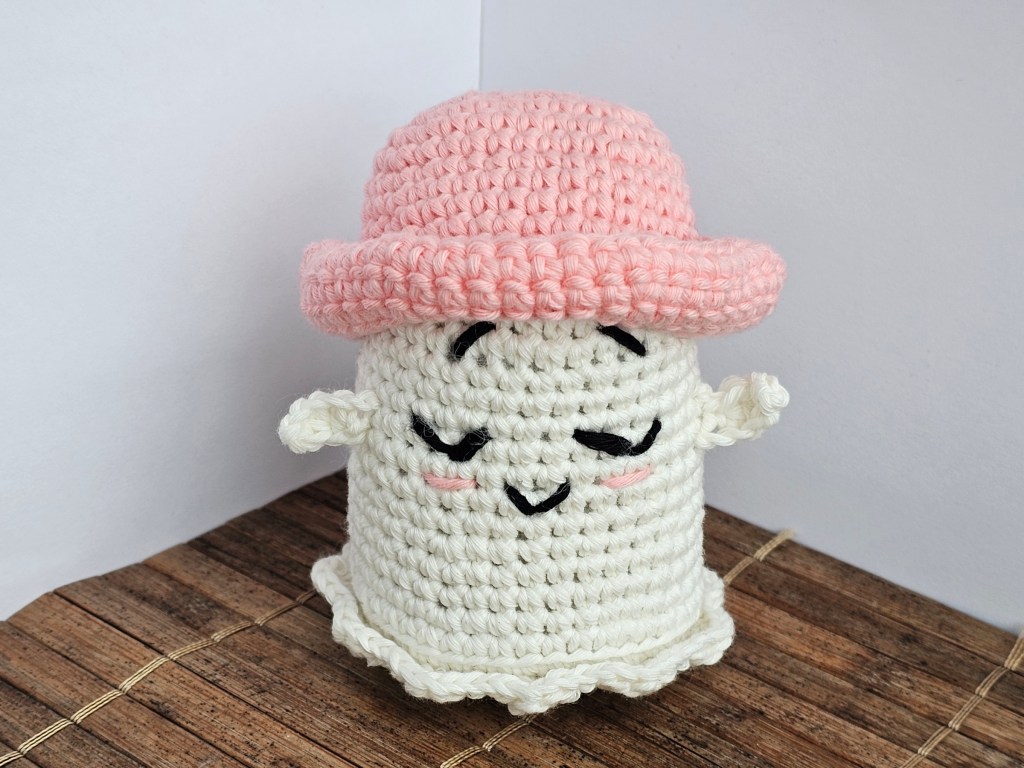
Happy Halloween week! Today, I’m coming with my most recently completed crochet project – a cute ghost with a pink bowler hat. One of my New Year’s Resolutions for 2025 was to learn to crochet, and I think it’s going well. I bought an assorted DIY set with the pattern and all supplies, so it’s not my original design. But, if you’re a seasoned crocheter, I’m sure you can still take inspiration from this design. It definitely put my beginner skills to test, but overall, I think it was a success!
Contents of the kit
I bought this set in TkMaxx for £4.99. It included two balls of yarn, in pink and white, a 2.5mm crochet hook, a stitch marker, a tapestry needle, a short piece of black yarn, and a leaflet with the pattern. There was also toy stuffing in the kit.

Starting with the hat
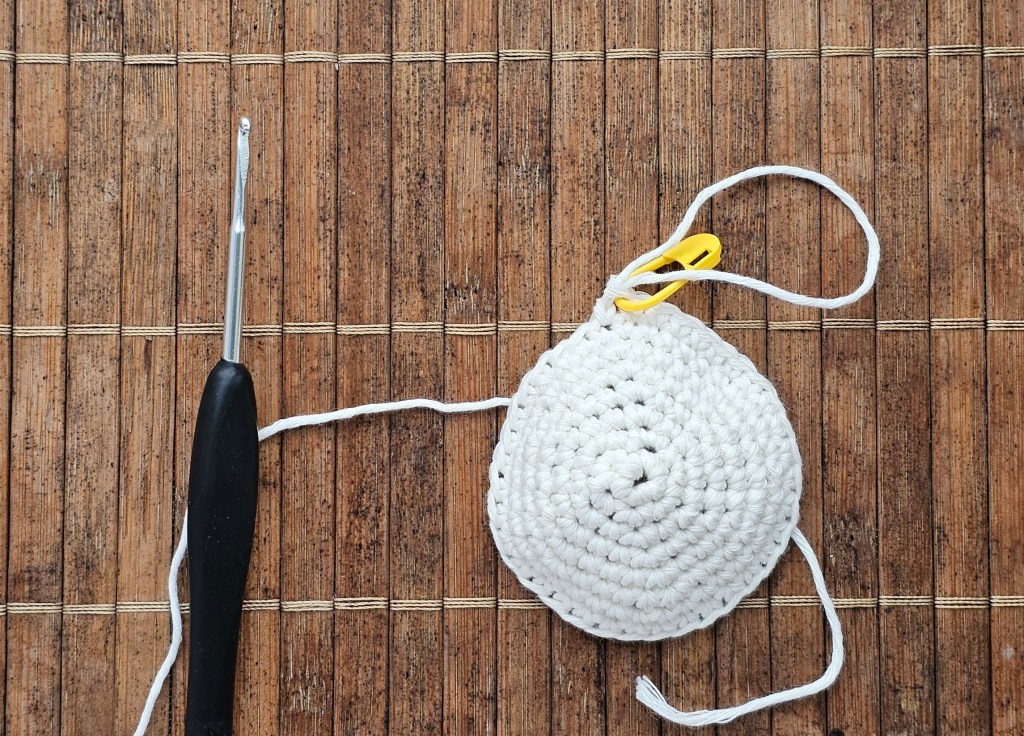
I decided to start with the hat, as it seemed to be the simpler piece. However, it was actually the most difficult for me! Instead of starting with a magic circle, the pattern called for making a chain and crocheting on both sides – typical for amigurumi crocheting. I’ve done it a few times before, for other projects, but I still find it difficult. Crocheting around a magic ring is a lot easier for me.
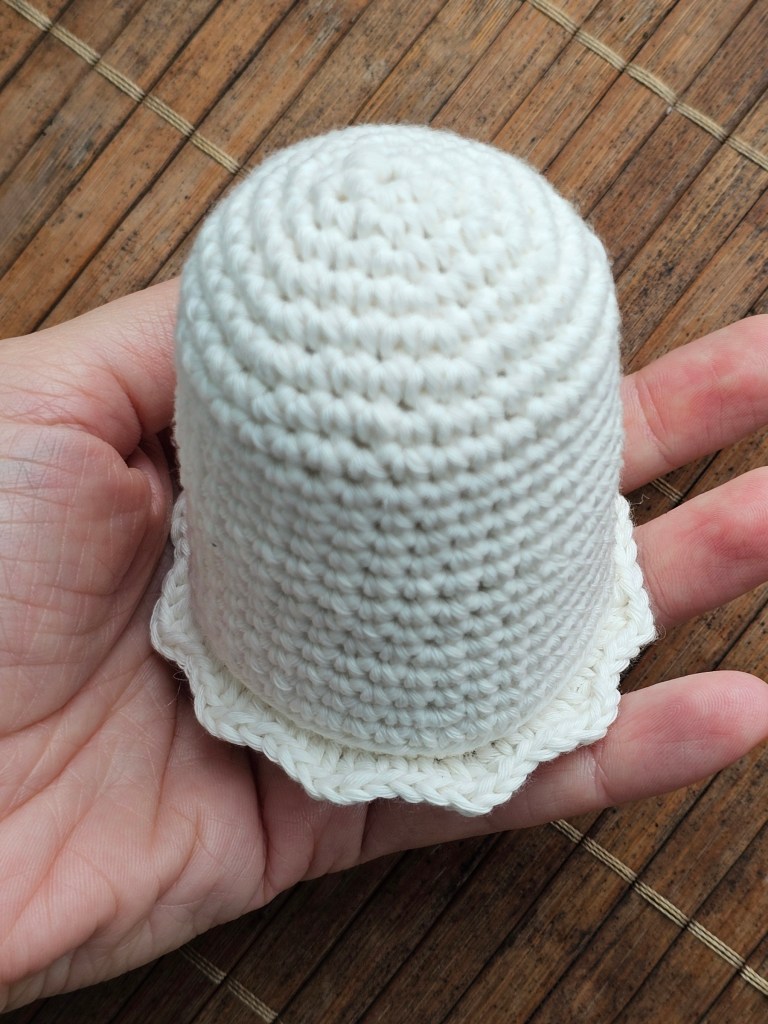
After a bit of confusion and careful stitch counting, I managed to complete the first round, with the expected number of stitches. Phew! From that point onwards, it was easy. The rest of the hat required simple single crochet stitches, with a few increases. It was a breeze, and the hat was soon finished. I rolled the rim of the hat up to make a bowler hat look, to match the photo on the box of the set. It looked really cute!

Crocheting the ghost
Next, I moved on to crocheting the body of the ghost. This time, the pattern called for starting with a magic ring, which was music to my ears. The whole pattern only used basic stitches, and after a longer while, I managed to complete the body of the ghost, without major issues. I stuffed it before fastening off the final round of stitches.
I noticed that the pattern mentioned to later add extra details on specific rows. I’m not good at counting rounds on a finished piece, so I decided to use some stitch markers to mark those rows in the process of crocheting.

Next, it was time to add a simple frill on one of the marked rounds. I have no idea if there’s a correct way of attaching yarn to a finished piece, so I improvised. I made a slip stitch on the white yarn, and pulled it through one of the loops on the appropriate round. Then, I followed the loops on that round and managed to crochet the frill, which consisted of single crochets, half double crochets, and double crochets. I had little faith in my skills here, but the final result seems perfect!

Final touches
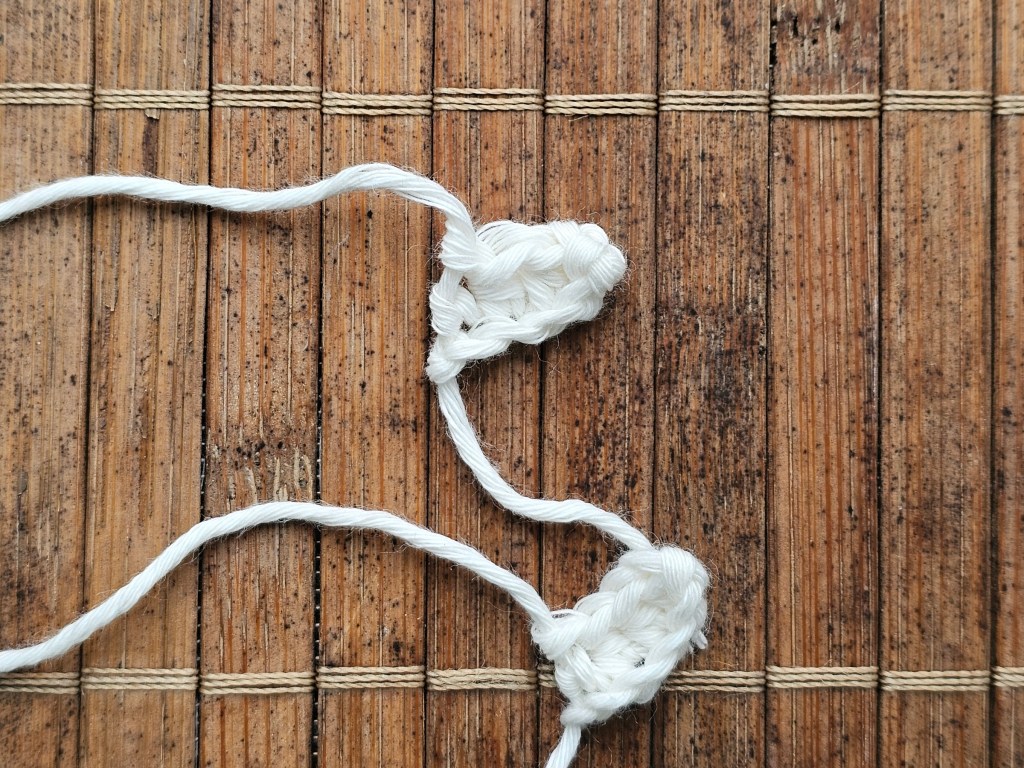
My cute crocheted ghost was only missing some final details at that point. First, I crocheted the tiny arms. It was a bit tricky to manoeuvre around such small piece – the arms started with just 5 chains, and called for crocheting on both sides. It was fiddly, but I managed.
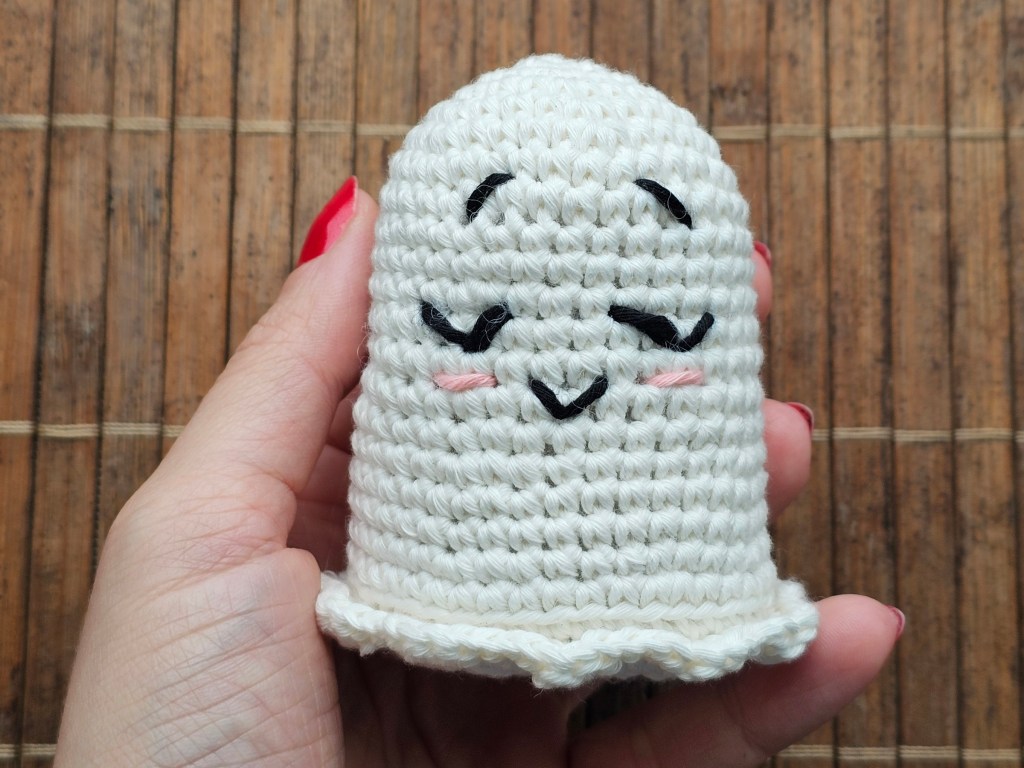
I also embroidered a cute face onto the ghost, which I always find difficult. I don’t know how people manage to make it look so neat and cute! However, of all my projects where I needed to embroider something on top of a crocheted piece, I think this one turned out the best so far. I actually think the ghost is looking pretty good!
Success!
Finally, it was time to put everything together. I sewed the tiny arms onto the ghost, and put the pink hat on the ghost’s head. I didn’t attach the hat to the ghost, I decided to keep it removable. The crocheted ghost was completed, and I love how cute it turned out!
Also see:


So cute!
LikeLike