
My cross stitching journey continues, with no end in sight. Who would have thought that a tiny cross stitch kit that I bought a couple of years ago – and found immensely confusing at the start – would turn into a huge hobby of mine? Despite dozens of completed projects, I still enjoy cross stitching. I find it relaxing, and love seeing the designs come to life. This time, I finished a small design featuring a colourful peacock. The pattern and all of the supplies came from an assorted cross stitch kit, and the project was a success.
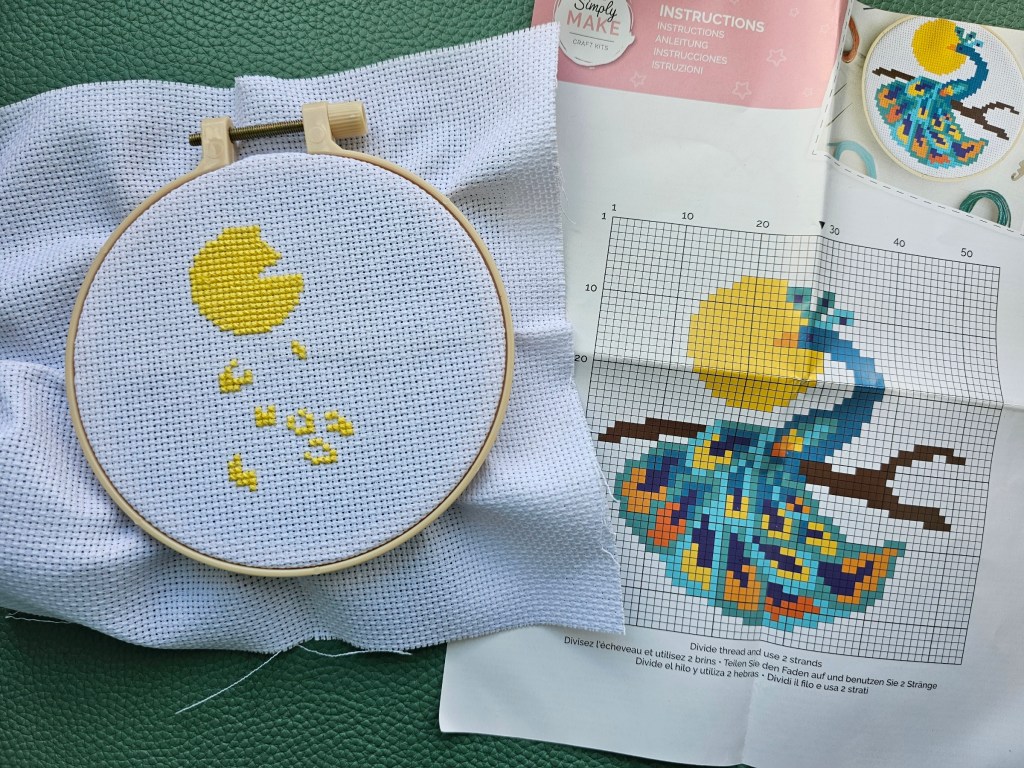
Contents of the kit
The cross stitch kit included a plastic embroidery hoop, a blank aida, threads in assorted colours, a needle, and a threader. There was also a leaflet with cross stitching instructions and a pattern for making the peacock design. I bought this set in TKMaxx for £1.99.

Starting off with the yellow thread
I decided to start with the large sun behind the peacock, to get the main colour out of the way. After I finished sewing the sun, I also cross stitched the remaining yellow blocks, on the peacock’s tail. I tried to make sure to count the squares between the blocks correctly, double- or triple-checking each of them.
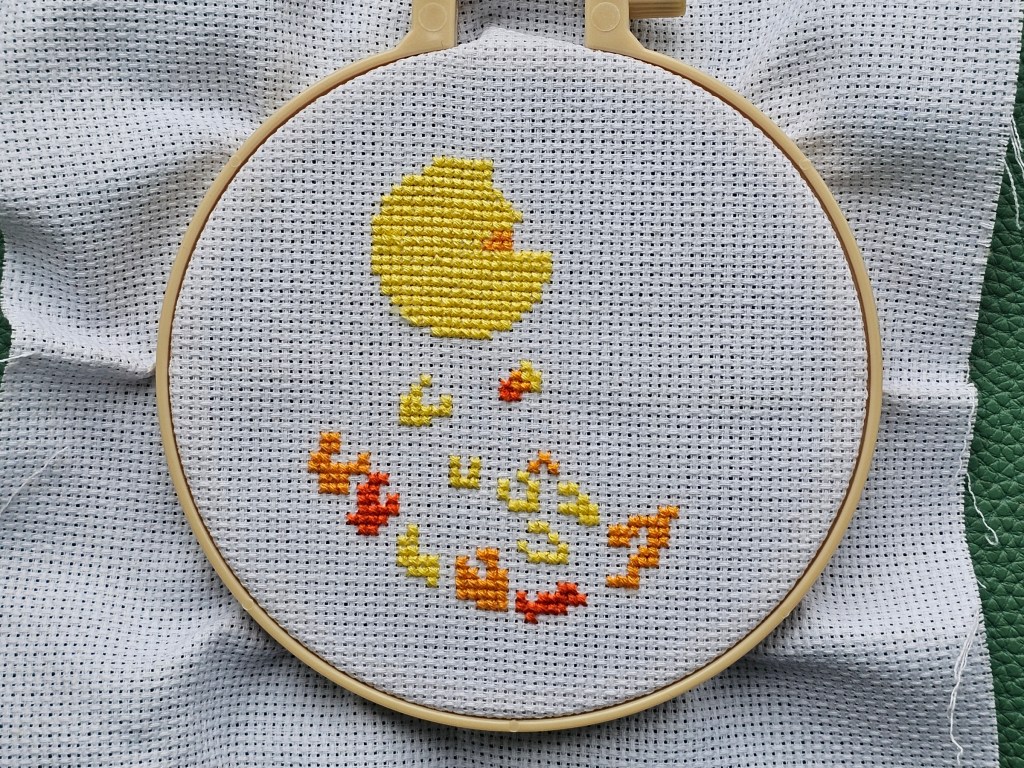
Adding orange details
Next, I moved to sewing the small orange elements in two shades of thread. Placing all of the orange blocks mapped the design on the aida and made the next colours easier to sew, with less squares to count.
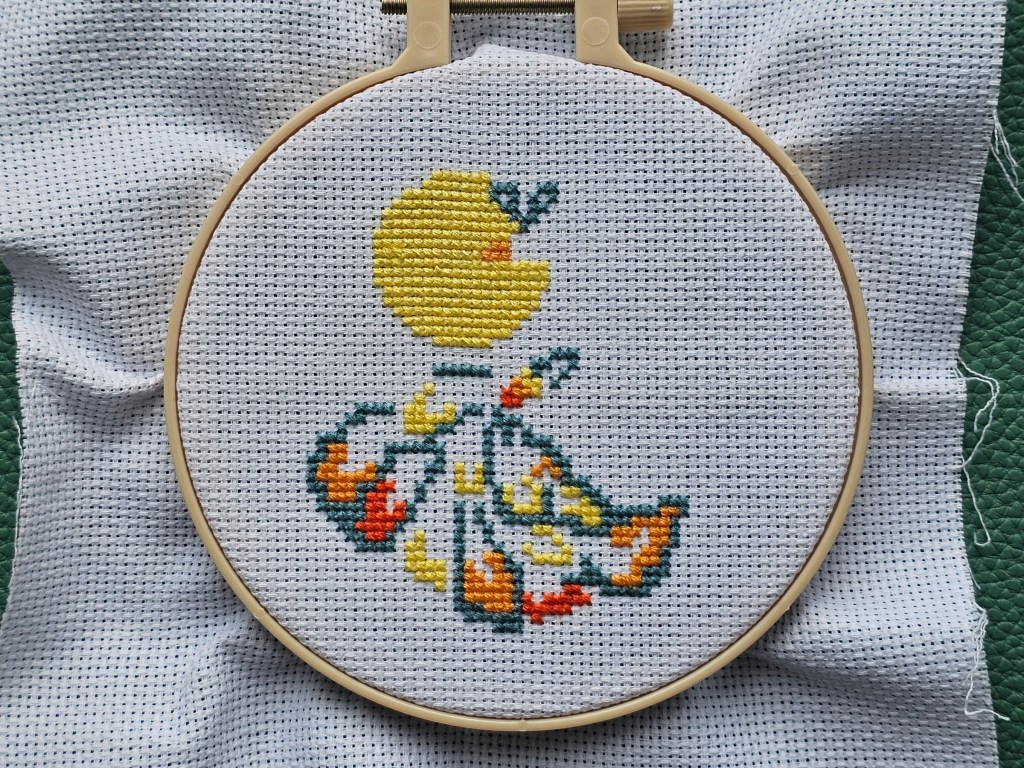
First blue blocks down
Some of the blue threads were very similar in colour, and I needed to spend a couple of minutes figuring out which of them corresponded to which colour on the diagram. Once I was confident about my decision, I started sewing the first blue blocks. I could finally see the outline of the tail, and the design was starting to come to life.
Adding the rest of the blue elements
I then added elements in two other shades of blue thread, completing the peacock’s neck and tail. The cross stitch peacock was nearly finished, there were only the final details left.
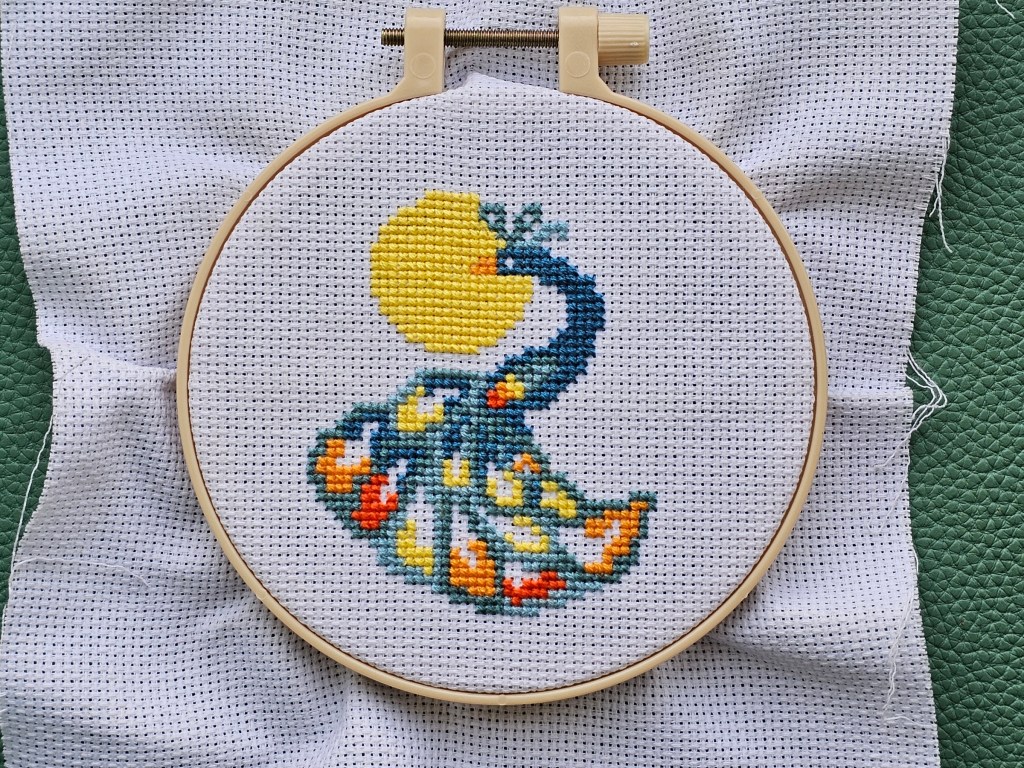
Final details
Finally, I added the purple blocks, which finished the peacock’s tail. I feel like the purple eye doesn’t stand out enough and the contrast could be a bit stronger, but overall, the design is quite cute! To finish the project, I added the branch that the peacock is sitting on, and another cross stitch project was completed.

Final thoughts
Overall, this assorted cross stitch set was fun to work on. It didn’t take me long to complete, and there was sufficient thread included in the kit – something that might seem obvious, but unfortunately cross stitch sets by this brand sometimes don’t provide enough thread in all colours. The peacock design came out cute, though the colours look more vibrant on the diagram than they do in real life. But ultimately, an assorted cross stitch kit for less than £2 is always great! If you’re looking for fun, crafty projects for the upcoming winter evenings, consider getting a few of the cross stitch kits.
Also see:


