
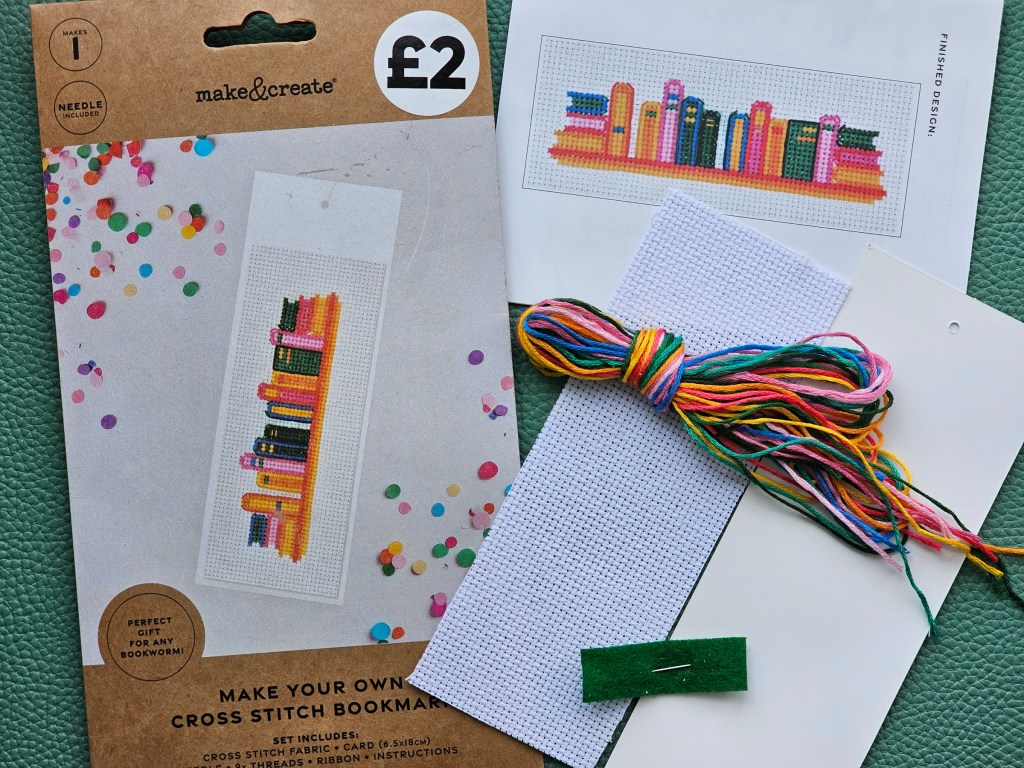
Over the past nearly two years, I’ve completed numerous cross stitch projects. Today, I’d like to share with you the most recent one – a cute bookmark! This vibrant design was fun and easy to sew. Usually, my completed cross stitch projects end up in a storage box, but this time, I made a functional item that I can actually use. I followed a pattern from an assorted DIY kit, but you can use this idea to inspire your own cross stitched bookmark.
Contents of the kit
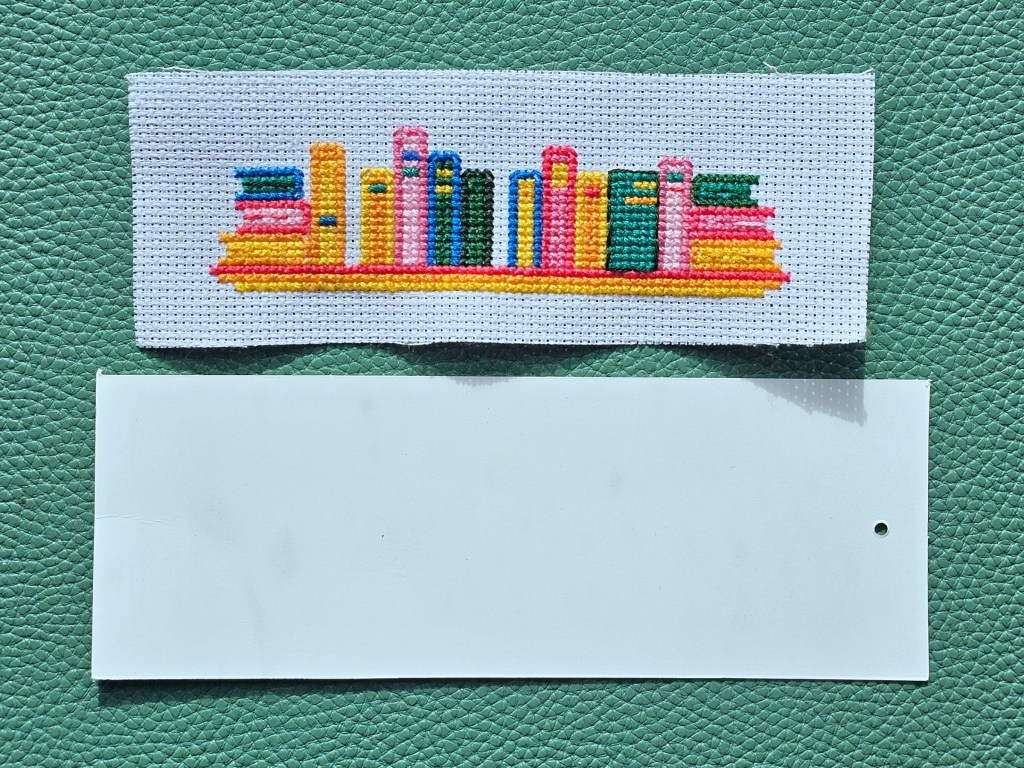
This set included a blank, white base for the bookmark, a small piece of blank cross stitching fabric, cut to size, and embroidery threads in assorted colours. There was also a needle and a leaflet with the pattern and instructions.
Starting off
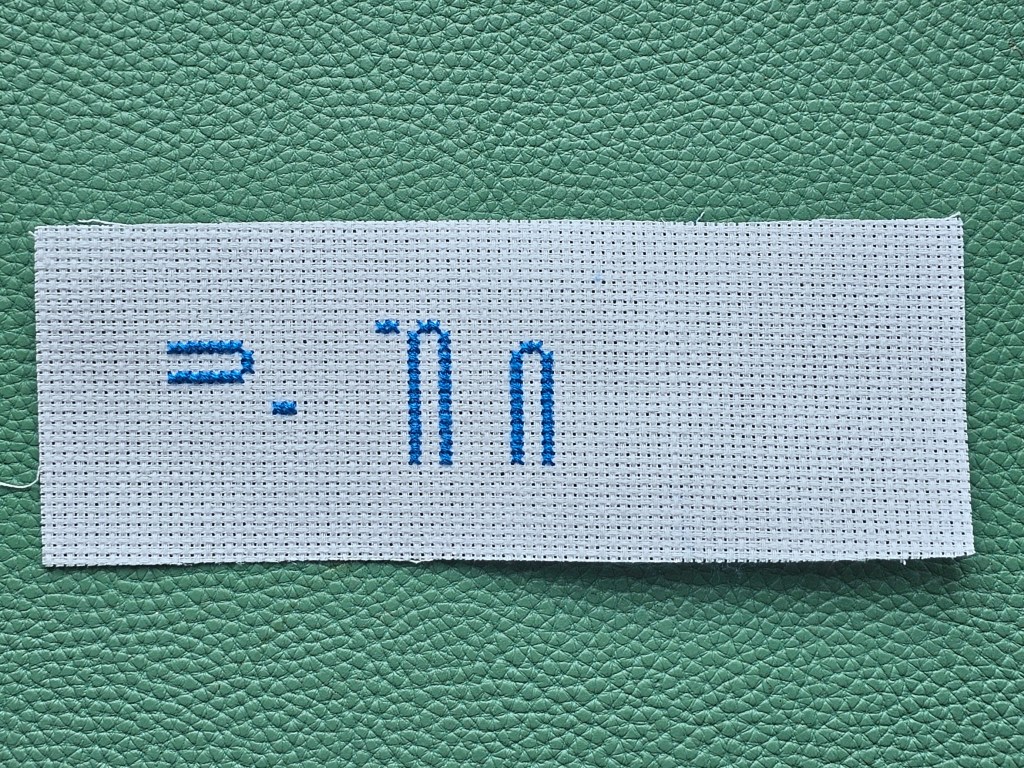
Usually, when I cross stitch, I like to move colour by colour – I try to sew all blocks of one colour before moving to the next one. This time, I started with the blue thread. One of the blue books was in the middle of the pattern, so it made sense to start there. That way, I could make sure that the design would be perfectly centered on the aida.
I stitched the cover of the book in the middle, and then carefully counted the squares to add all remaining blue crosses in the right places.
Adding colours
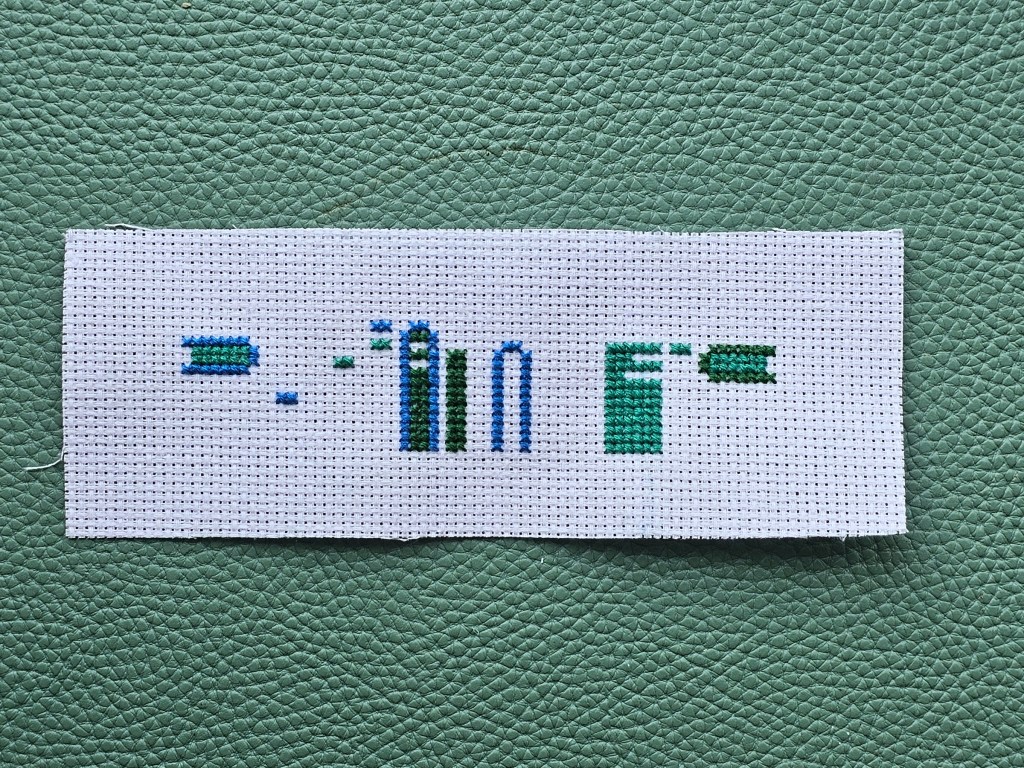
Next, I decided to move to the medium and light green threads (there were three shades of green included in the set). Again, I had to be careful when counting the stitches – mistakes at this point can be costly!
Soon, the design started to come to life and I could see outlines of a few books.
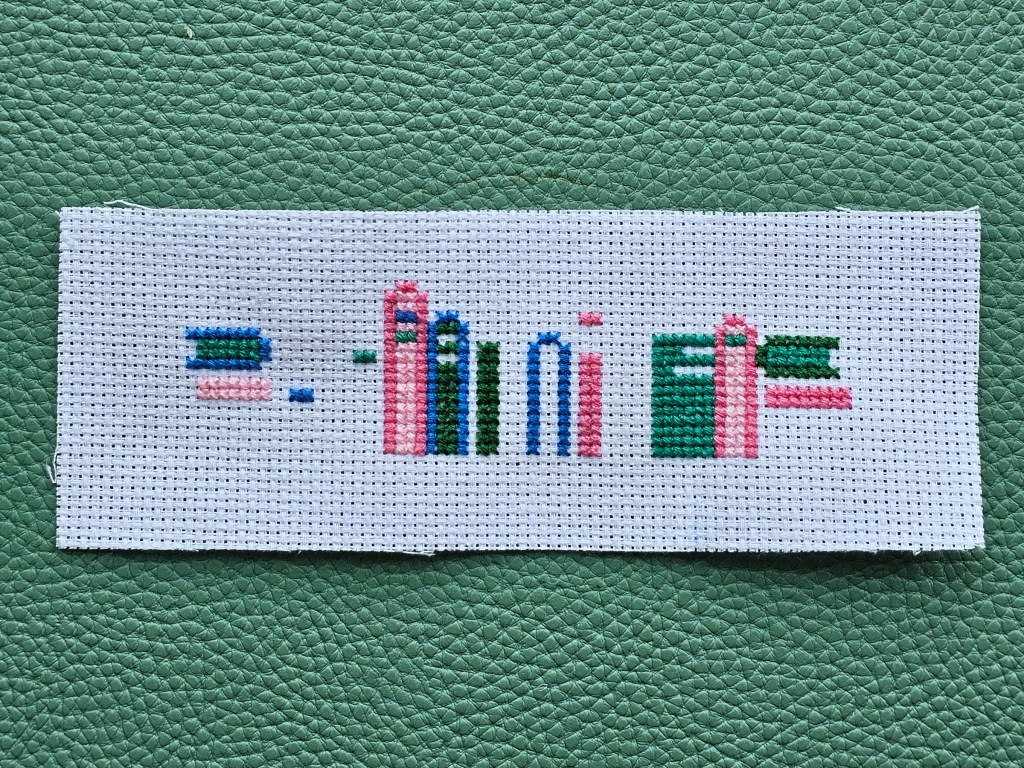
Then, it was time to add the two lightest shades of pink. The design instantly looked better with the touch of vibrant colours.
Almost done
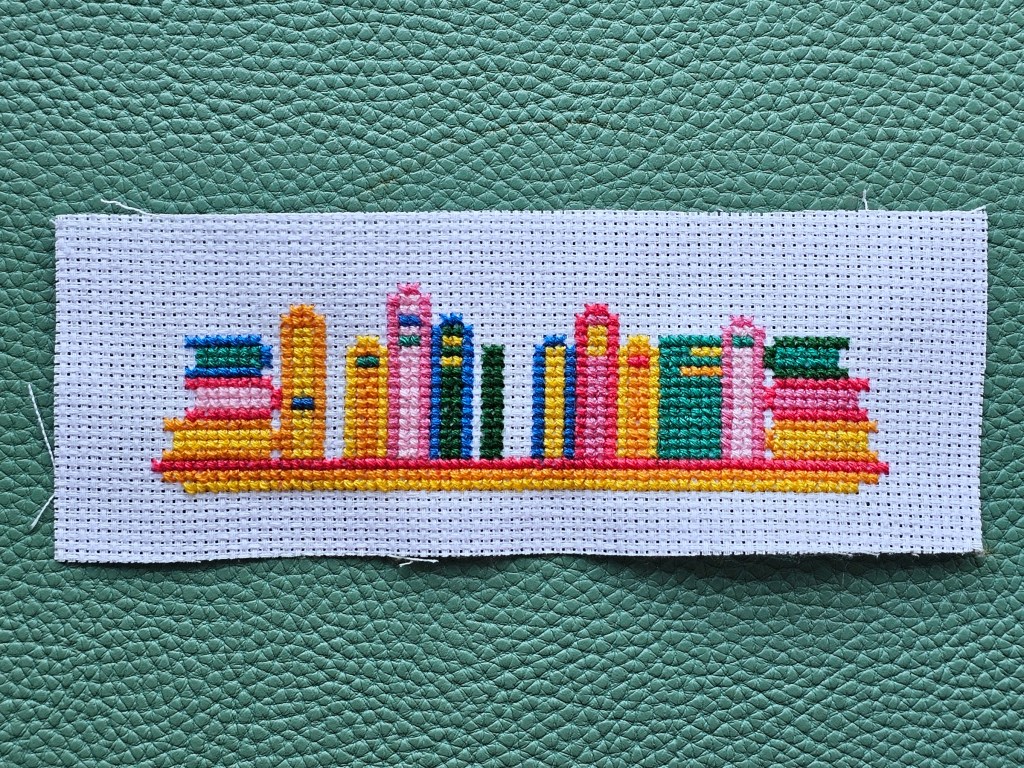
Next, I moved on to sewing the dark pink and orange blocks, which also included sewing the bookshelf under the books. The design was nearly completed!
Final details
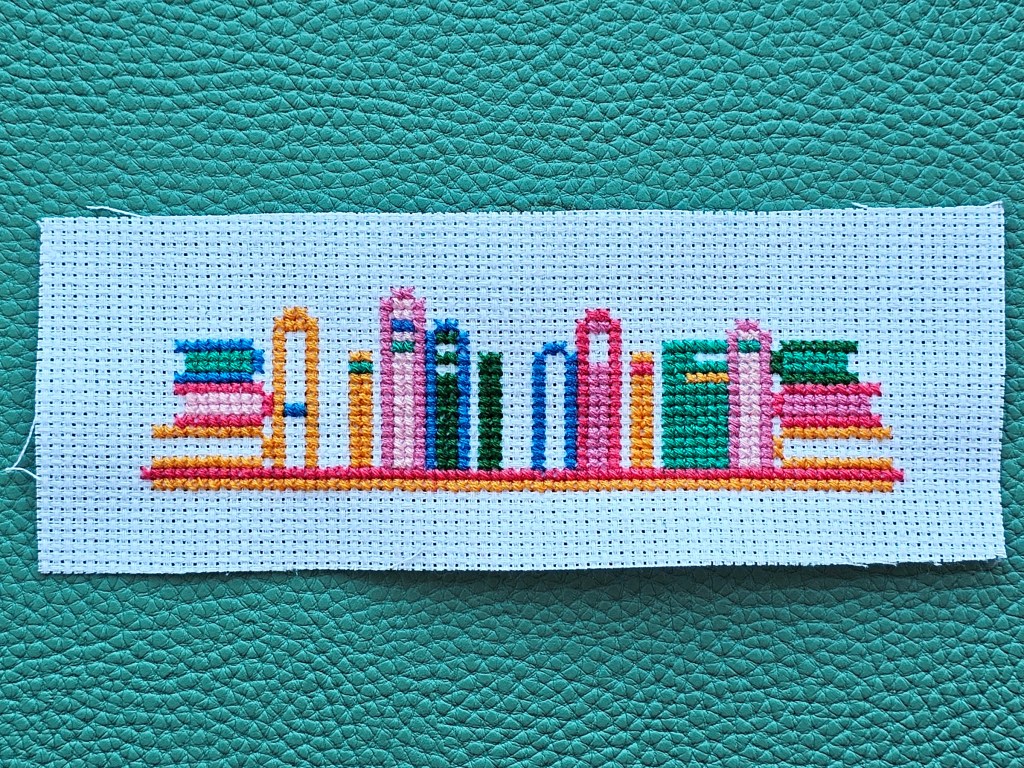
Finally, it was time to complete the missing colour, yellow.
I also added some extra details with backstitches. The leaflet with the instructions wasn’t precise when it came to those details. It only indicated the placement of the backstitches, but not the colour. After a bit of a confusion, I decided to sew those details in colours adjacent to those of the neighbouring blocks. For example, the orange books with yellow pages on both ends of the design received orange highlights. I also rounded the corners of the books with half-stitches. And just like that, a cross stitch design with a row of colourful books was done.
Assembling the bookmark
Next, it was time to assemble the bookmark. I instantly knew that simply glueing the fabric with the cross stitched design onto the bookmark blank won’t look good. The edges of the fabric were uneven, and it would be extremely noticeable. So, I had to improvise.
I reached for my block of thick coloured paper and chose a vibrant colour that matched the design – I went for red.
I measured the bookmark blank as well as the fabric with the design, and I cut a frame out of the coloured paper, in the size of the bookmark, but with a window in the middle to expose the cross stitching. I glued the fabric to the bookmark, and then glued the frame on top of it.
The bookmark base had a small pre-cut hole. I punched a bigger one in the same place, as the frame covered the original one. I then added a colourful tassel made out of scraps of leftover yarn. The DIY cross stitched bookmark was completed!


Final thoughts
Assorted DIY sets are a great way to complete a fun little project without the need to buy lots of individual supplies. I really enjoyed sewing this design – the colours were vibrant and I love the final result! It kept me busy for a couple of rainy evenings and now I have a cute bookmark which I can use.
Also see:


Great job! I don’t know if I could do it without the lines drawn underneath! Yay you, Linda xx
LikeLike