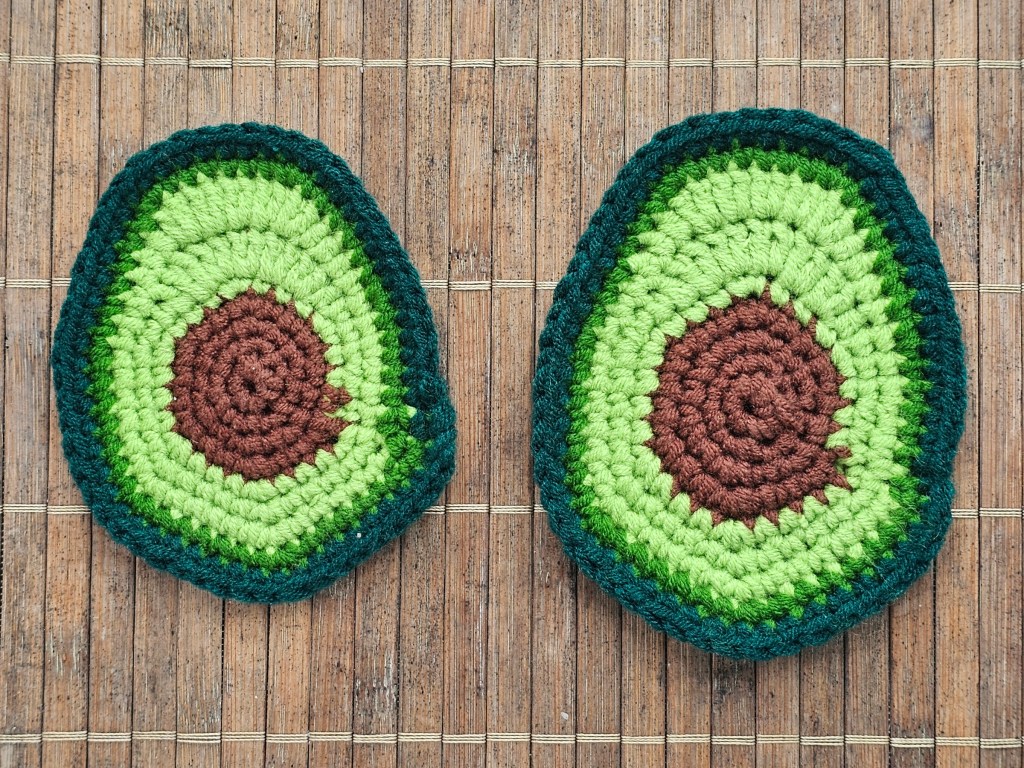
One of my goals for this year has been to learn to crochet. I originally tried to make the first steps last year, but gave up almost right away. This year, I’ve actually managed to learn the basics, starting my journey with crocheted Easter eggs. More recently, I made some cute avocado coasters. Today, I’d like to share with you my most recent project – a crocheted tiger plushie. I used an assorted DIY kit and managed to successfully complete the project without major issues. Here is how it went!
Contents of the kit
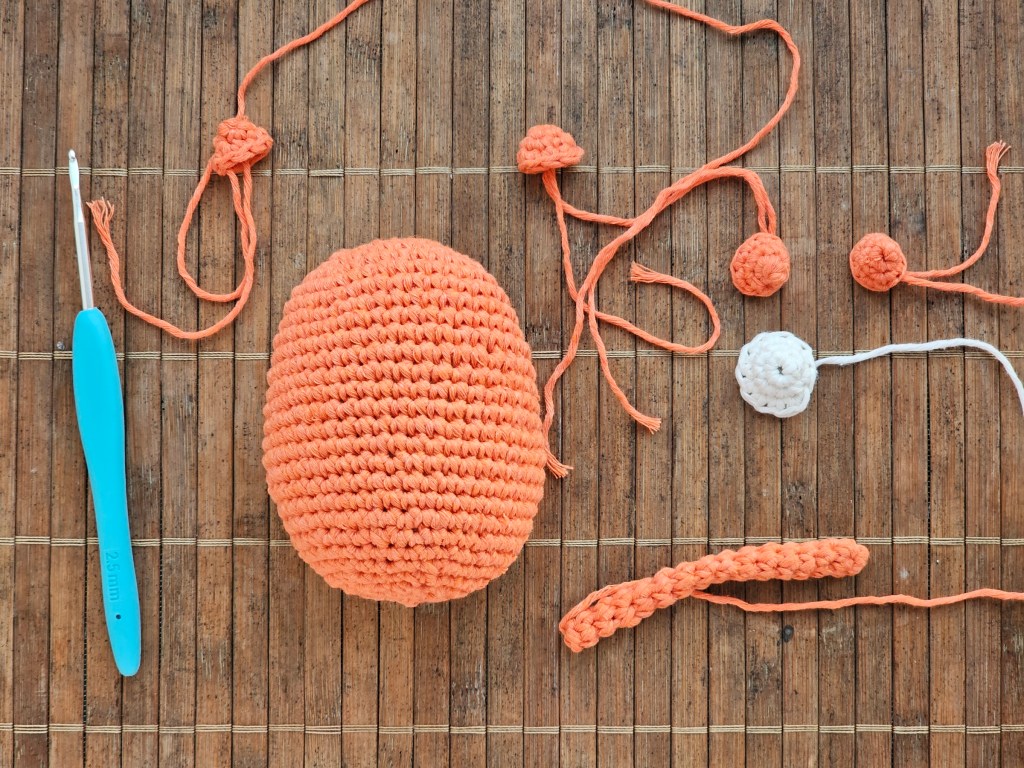
I bought this assorted crochet kit in TKMaxx for about £4. It included a ball of orange yarn and smaller amounts of white and black yarn. It also came with a crochet hook, a stitch marker, stuffing, and a tapestry needle. And, of course, most importantly, it came with a leaflet with the instructions.

Starting off
The first thing I had to do was to figure out whether the pattern followed American or British notation. It can be very confusing for a beginner when the same name of a stitch can be used for two different stitches, depending on the country. I managed to figure out that the pattern used American stitch names.
Then, I ran into the first challenge.
All of the previous crochet projects I’ve worked on started with a magic ring. It was the only way of starting a project that I was familiar with. In my opinion, the first row or round of a crochet project is the hardest. After that, you just repeat the same stitches multiple times, and the only difficulty lies in having to count them – which becomes easy once you learn to use stitch markers.
To my surprise, this project didn’t tell me to start with a magic ring. Instead, it instructed me to make a row of chain stitches and then work on both sides of it. Needless to say, I was confused.
I had to watch several YouTube tutorials and then carefully process that information in my head to finally figure out how to crochet on both sides of a starting chain. But eventually, it all clicked and I was able to complete the first round of the tiger’s body. After that, things got really simple.
Completed body of the tiger
The rest of the tiger’s body only required one type of stitch and some basic increases and decreases. I was able to apply the knowledge I had gained in my previous projects and managed to finish the body of my plushie relatively quickly, without any issues. I was diligent with counting my rounds and stitches, and overall, it was a relaxing process. I even took the project with me to the park to enjoy some fresh air whilst crocheting. After stuffing the tiger’s body and closing the last round of stitches, the main element of the plushie was completed.

Crocheting the arms, ears, tail, and muzzle
Next, I moved to crocheting the smaller elements: the white muzzle and the tiger’s arms, ears, and tail.
These elements started with a magic ring, which I was already familiar with. The arms and ears of the tiger used the same pattern, and I managed to complete them quickly. I also crocheted the white muzzle without any issues.
Crocheting the tail was a lot more challenging. The pattern itself was simple – it only used a basic stitch for several rounds. However, because each round was small and the tail was narrow, it was a bit tricky to manoeuvre the hook between the loops. But eventually, after a bit of frustration, the tail was completed too.
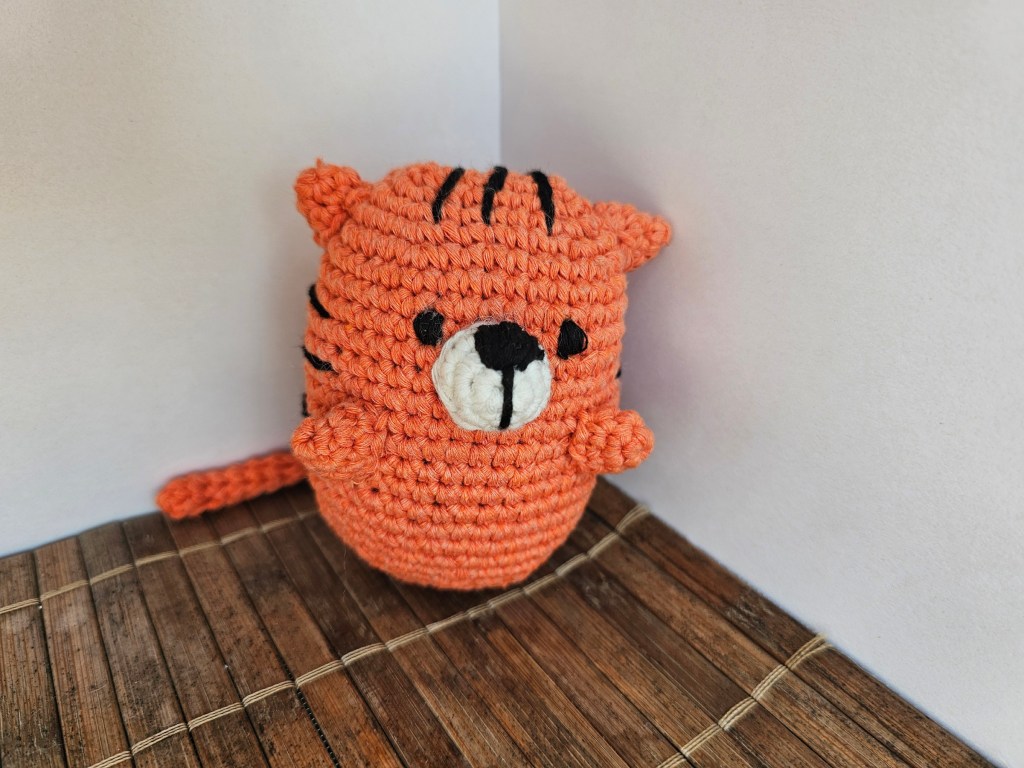
Assembling the tiger
It was time to assemble the tiger. While I feel quite comfortable with crocheting simple patterns now, assembling pieces together is my weak point. Very weak, in fact. I used the tapestry needle to sew the pieces onto the body of the tiger, but it wasn’t a neat job. It doesn’t look too bad in the end, but I’m sure that crocheting experts would have had goosebumps seeing my poorly placed stitches. I even tried to find some tutorials for it, but I haven’t been able to find anything useful. But finally, all the pieces were attached.

Embroidering the details
But then, it was time for an even more difficult part of the project – embroidering the details. This time, I don’t think I managed to hide my lack of skills – it definitely shows!
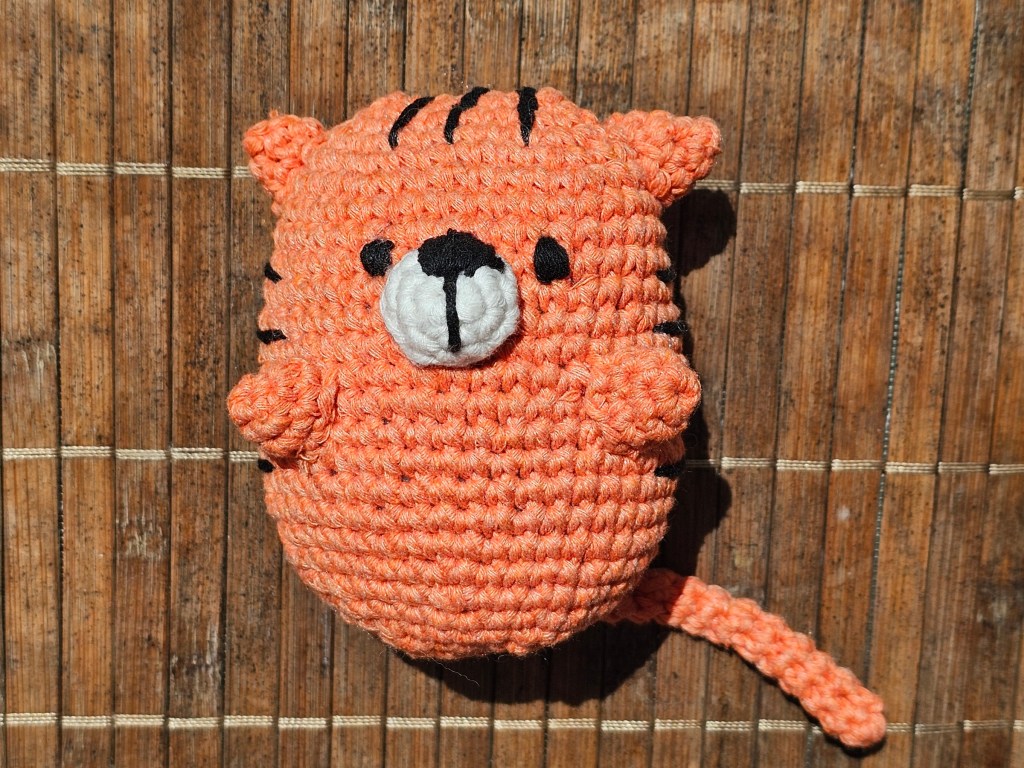
Final thoughts
Overall, I’m really happy with the final result. A few months ago, I struggled to make a basic crocheted egg. And now, I managed to make a whole plushie! Crocheting patterns finally make sense to me and don’t look like a bunch of random letters anymore. Of course, I still have lots to learn, but I can definitely see progress.
I still need to work on my skills of connecting all pieces together and embroidering additional details onto a finished piece. But overall, if you had told me last year that I would manage to learn to successfully crochet a plushie and make it look pretty decent, I wouldn’t have believed it. Learning to crochet was on my list of goals for 2025, and I’m glad I’m making progress.
One thing I want to flag is that assorted DIY kits, great for learning many new crafts, aren’t ideal for learning to crochet. Or at least, not alone. You need to learn to make the stitches in order to be able to follow the pattern. But if you’re willing to put in the work, the assorted kits can help you complete your first few projects from start to finish. And it’s a great satisfaction to complete one!
Also see: