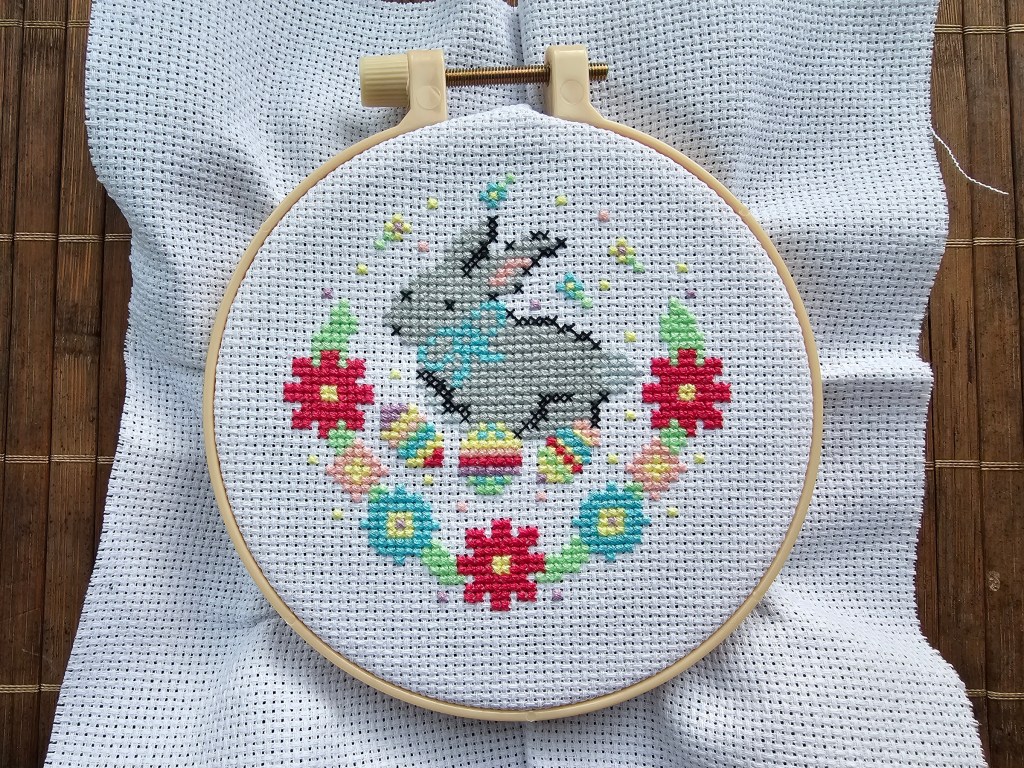
Happy Easter, everyone! In between indulging in chocolate eggs and traditional Easter cakes, I come to share my most recently completed cross stitch project – featuring a Bunny, so suitable for this holiday. I always enjoy working on seasonal arts and crafts, so picking up a project for Easter was something I looked forward to. This floral Easter Bunny design was just what I needed this time of year. Luckily, it was a smooth journey and a complete success!
Contents of the kit
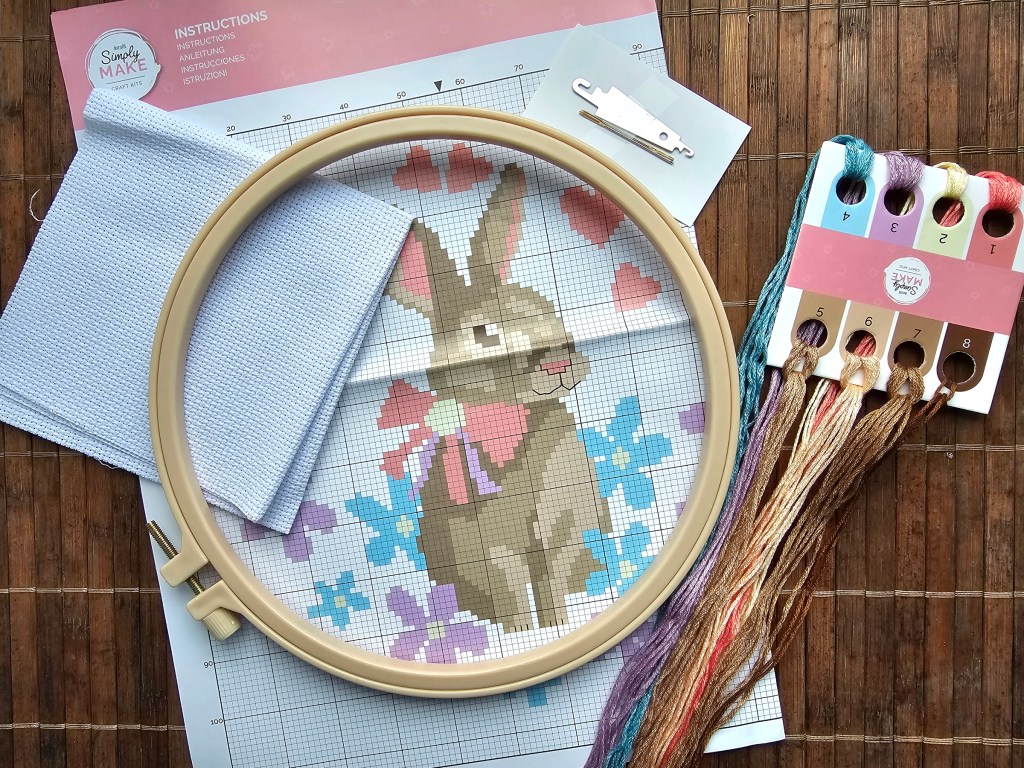
You may have seen this on my blog dozens of times, but let’s have a look at the contents of the kit, shall we? Just in case we have new visitors here.
The pre-assorted kit came with a plastic hoop, a blank, white aida, a threader, needles, printed diagram and yarn in assorted colours. This time, the threads were neatly wrapped around a cardboard holder, labelled with numbers. I noticed that they started doing it in the more recent sets by this brand that I bought. It certainly makes the set feel better quality than when the yarn is all jumbled together in one bunch.
Each cross stitch kit by this brand comes with the same tools, and I must have dozens of these threaders by now. They’re so convenient! I gave a few of them to my Mum who was intrigued when she first saw them and found them much better than ones she had used for decades.
Starting off
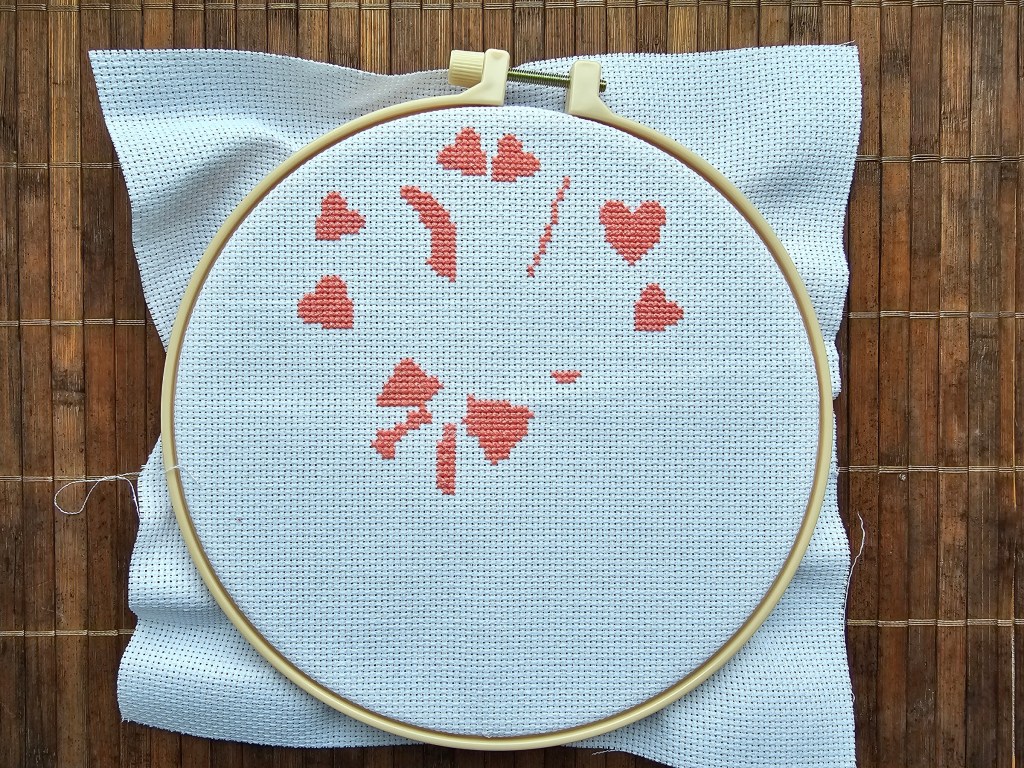
The different colours of the yarn were labelled with numbers, and I decided to follow the order. So, to begin the project, I picked the pink thread and started sewing the bow, the hearts, the nose and the inside parts of the Bunny’s ears. It didn’t take long to complete all of these blocks.
Time for flowers
Sticking to the colour order in the instructions (which, by the way, is completely random and doesn’t need to be followed), I moved on to sewing the flowers – first the yellow centres, then purple and blue petals. The design was coming to life, but was still missing the main character.

Bunny comes to life
Here’s where the design started coming together. I picked one of the medium shades of brown and started sewing the body of our cute Easter Bunny. Once all of the squares in that colour were completed, I could finally see the silhouette of the Bunny, and the design was now starting to materialise. I couldn’t wait to see the final result.

Eager to keep sewing, I quickly completed the light areas of the Bunny. They instantly added dimension to the design and I was only two shades of yarn away from completing the project.

Then, it was time to complete the Bunny’s body – almost. With the dark brown yarn, the Bunny got his ears and back. It was nearly finished, but there were some small but important details missing.

And finally, with the darkest shade of brown, I gave the Bunny his eye, facial details and toes. The cute Bunny was smiling at me from the canvas in full glory.

Closing thoughts
I really enjoyed cross stitching this Easter design! I like the depth of the picture, achieved with just three shades of brown yarn. The flowers and hearts are a cute addition, making the design feel more lightweight. It was just the perfect project to complete during during the spring holidays. There was a generous amount of yarn included in this kit, which isn’t always the case. I never worried about running out of any of the colours.
I hope you’ve all had a chance to enjoy some delicious chocolate eggs over Easter. I certainly feel fuelled for the upcoming weeks. And of course, I will be cross stitching again soon!
Also see: