Last week, we finally welcomed spring. The nature is waking up after winter, and keen gardeners can start working in their gardens. I was looking for a new cross stitch project to work on, and found one depicting a wheelbarrow with flowers and gardening tools. It seemed perfect for the start of spring! I immediately started stitching and despite some slight issues with the yarn provided in the kit, this small project was soon completed.
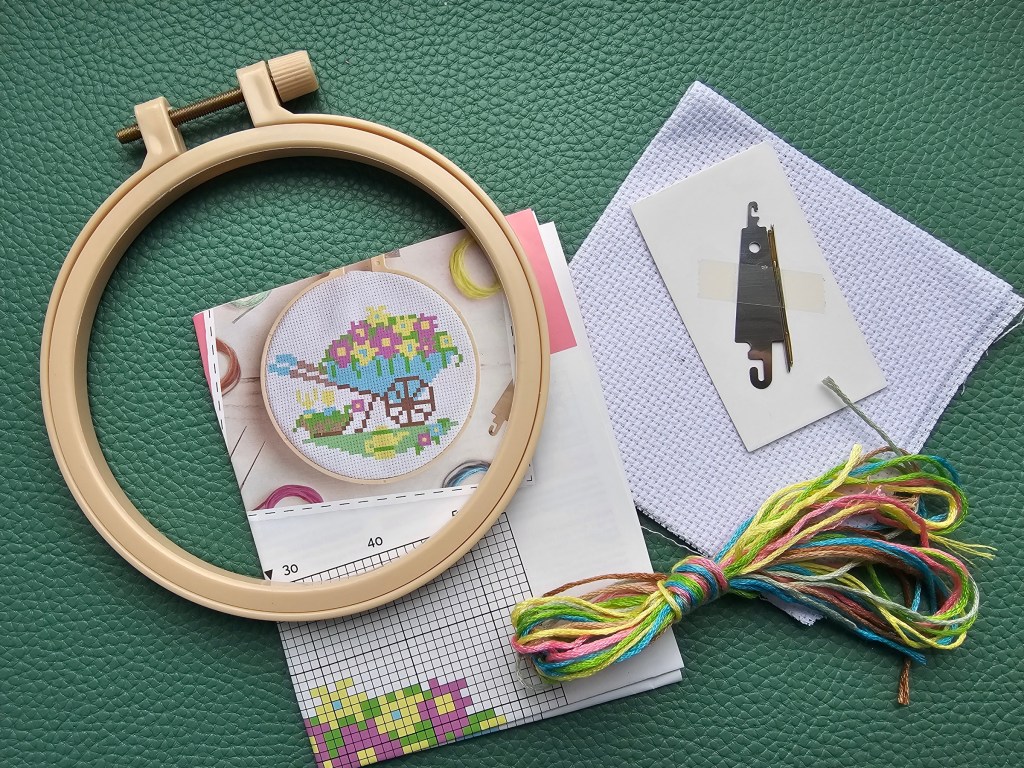
Contents of the mini cross stitch kit featuring a design with gardening tools
This pre-assorted cross stitch kit included all necessary supplies: a blank, white aida, a plastic hoop, a couple of needles, a threader, yarn in selected colours and a leaflet with the cross stitch diagram and instructions.
Yet another colours mismatch
I wasn’t surprised to notice that the colours of the provided yarn didn’t quite match the design. I had completed other cross stitch designs by the same brand in the past, and sometimes had to resort to my own stash of yarn to finish the project and make them look good.
There were a few issues with this gardening cross stitch set.
First of all, I immediately noticed that the diagram called for using two different shades of green yarn, but the kit only included one.
Secondly, the diagram also called for using two different shades of brown yarn, but the kit included just one. There was also grey yarn in the set, which didn’t occur in the diagram. I assumed that the grey was supposed to be used in place of one of the browns.
Finally, after studying the design for a while, I realised that there were gardening tools in it, in yellow colour – two digging tools in the basket on the left, and a watering can at the bottom.I didn’t think they stood out enough with that suggested colour scheme and decided to correct the colour choices.
First colour down
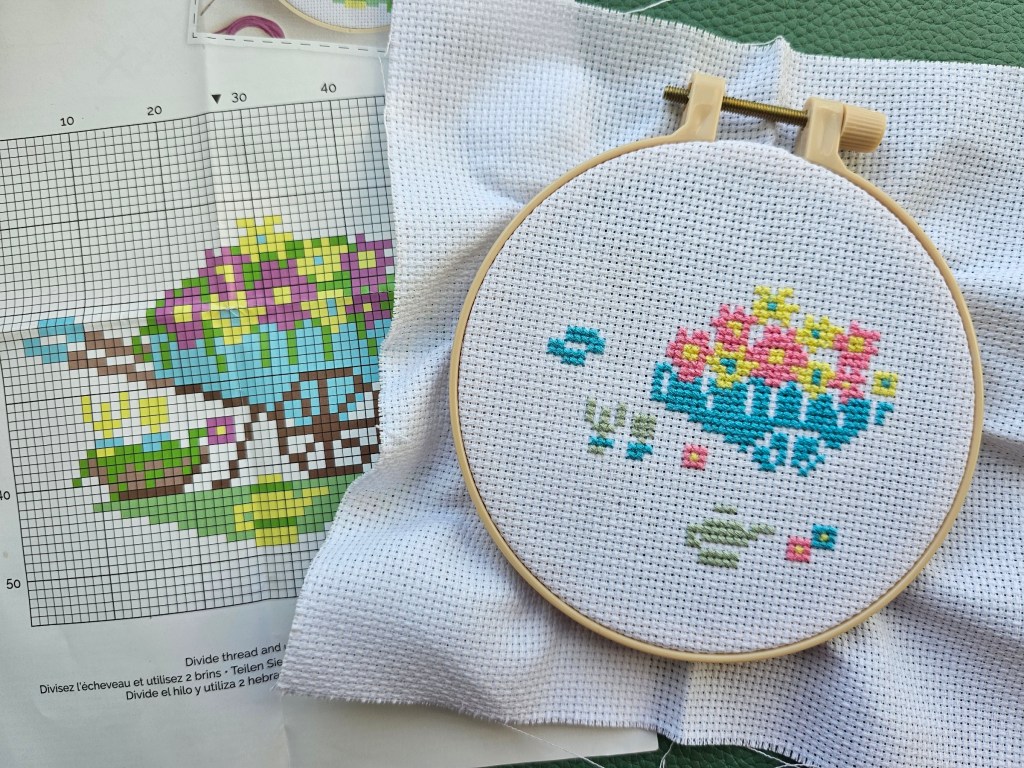
I started stitching this design with the blue wheelbarrow. The blue yarn provided in the kit was fit for purpose and the wheelbarrow was soon completed. I also added the flower details and handles on the tools.

Stitching the flowers
Then, I moved on to stitching the yellow flowers. As I mentioned before, I decided to change the colour of the gardening tools and didn’t use the yellow yarn for them.
After completing the yellow flowers, I added the pink ones. They looked more purple in the diagram, but given the other issues with the colours of the yarn in this kit, it’s just a subtle difference.
The design was slowly coming to life.

Adding the tools
I decided to use the grey yarn, included in the kit but not mentioned in the diagram, to sew the gardening tools. After all, it just made sense to make them look metal!
Nearly done
Next, I used brown thread to sew the small basket, as well as the wheel and handles of the wheelbarrow. The diagram included two different shades of brown, but the set only provided one – and it was a short piece! I didn’t think it would be enough to stitch all of the brown details. I found some leftover dark brown yarn in one of my previously completed cross stitch designs and used it to sew the dark brown details.
The project was nearly completed.

Yet another cross stitch project completed
And finally, the very last thing left to do was to sew the green areas – the grass and leaves. The diagram called for using two different shades of green, but the kit only included one. Once again, I looked through my stash of leftover yarn and found a suitable colour to use. I added the green details in both colours and the project was completed.
It’s always a bit disappointing when a pre-assorted DIY kit doesn’t actually include everything you supposedly need. After all, how difficult can it be to check that all of the 7 colours present in the design have a corresponding thread included? I was able to make it work thanks to my stash of leftover yarn from past projects, but not everyone has one.

Also see: