
This year, one of my greatest hobbies has been cross stitching. I’ve completed numerous projects and especially loved working on seasonal designs for Easter and Halloween. So now, in the run up to Christmas, I obviously had to find some time in between baking and gift shopping to do some Christmassy cross stitching! This time, I completed a cute mini design featuring Santa Claus with his large gift bag.
Contents of the kit
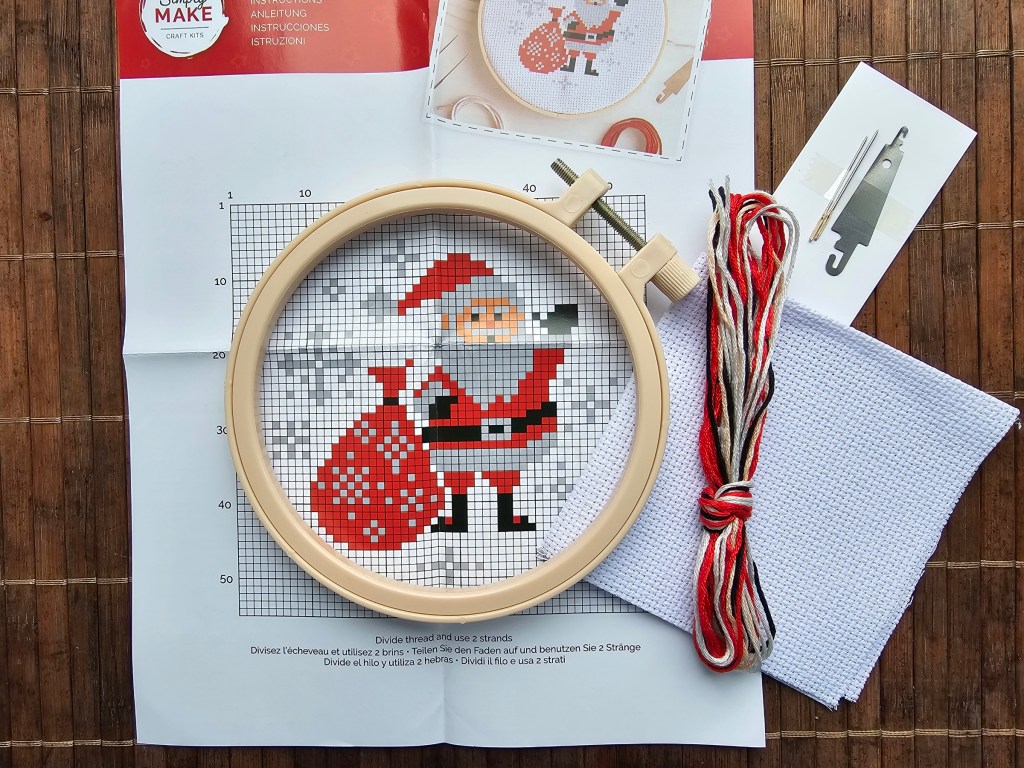
This DIY kit contained everything I needed to complete the Santa cross stitch. It came with a blank aida, a plastic hoop, a couple of needles, a threader, yarn in assorted colours and a leaflet with instructions and the design diagram.
First colour down
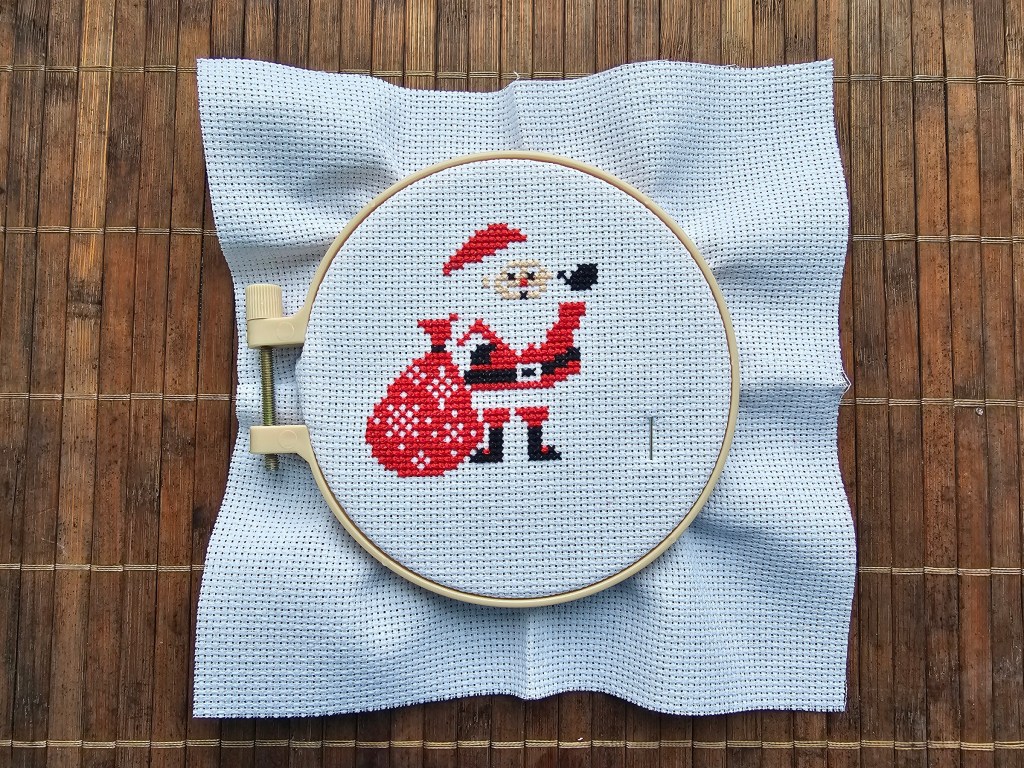
As always, I picked the first colour and worked on in start to finish. When all of the red crosses were done, I could already see the silhouette of the Santa come to life.

Next two colours done
I then moved to the beige and black yarn and completed Santa’s face, gloves, belt and boots. At that point, I could tell exactly what the final result was going to look like.
Final details – beard and snowflakes
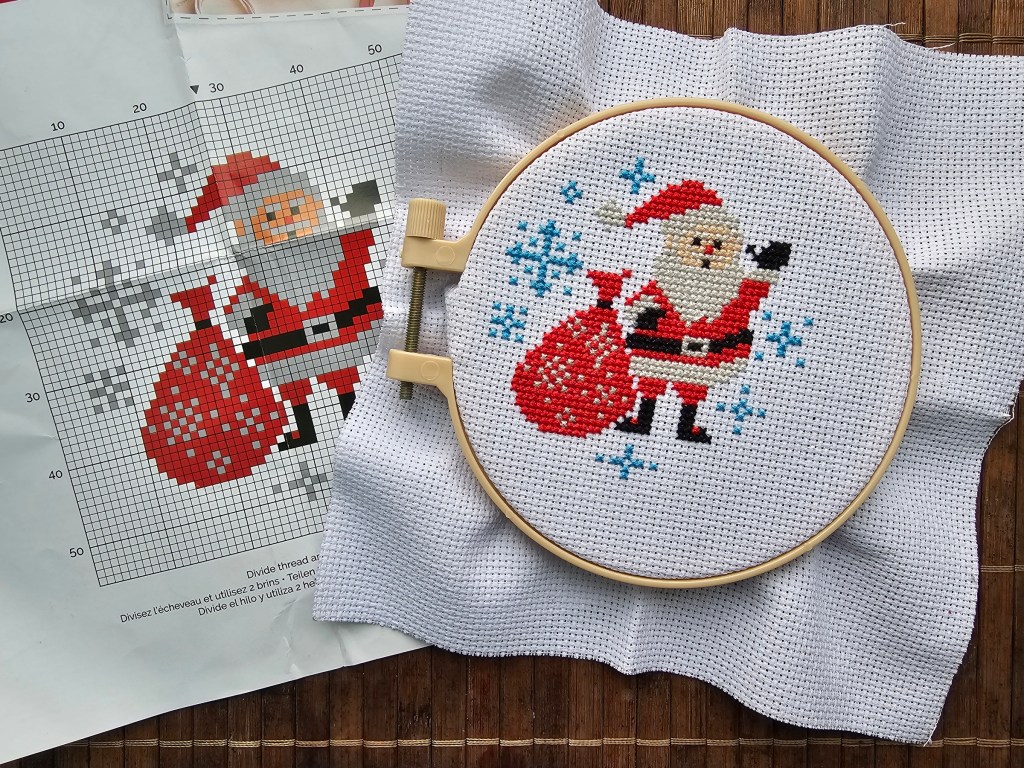
Then, I used the grey yarn to stitch Santa’s beard and the fluffy parts of his attire.
At that point, I decided to deviate from the original design and used some of the leftover blue yarn from a different project to sew the snowflakes. I didn’t like how light the grey threads were and wanted to bring a bit more vibrancy to the design in the snowflakes. I think it was a good choice!
Final thoughts
As always, I had a nice and relaxing time cross stitching. It only took me an evening and a half to complete this tiny project, but it was a great way to spend some time in this busy, festive period.
If you’re currently gift shopping and need to find a present for a crafty person, consider getting them a DIY cross stitch kit with a design that relates to their other interests! Those kits are affordable, beginner friendly, and a great way to ease into a new hobby. They make a perfect gift!
Also see:


