Although seemingly simple, working with chocolate can be an unforgiving task. One mistake, one drop of water, and you’re left with a bowl of dry, lumpy, somewhat chocolatey blob. Not the worst in taste, perhaps, but visually unattractive and useless for any form of cookie decor. That’s why it’s crucial to follow a few rules while working with chocolate. In this article, I will show you how to properly melt chocolate. I will also show you how you can colour it with powdered food colouring. I will also share some ideas for chocolate cookie decor and how to prepare your chocolate decorations in advance. So, without further ado, let’s get started!
Melting chocolate
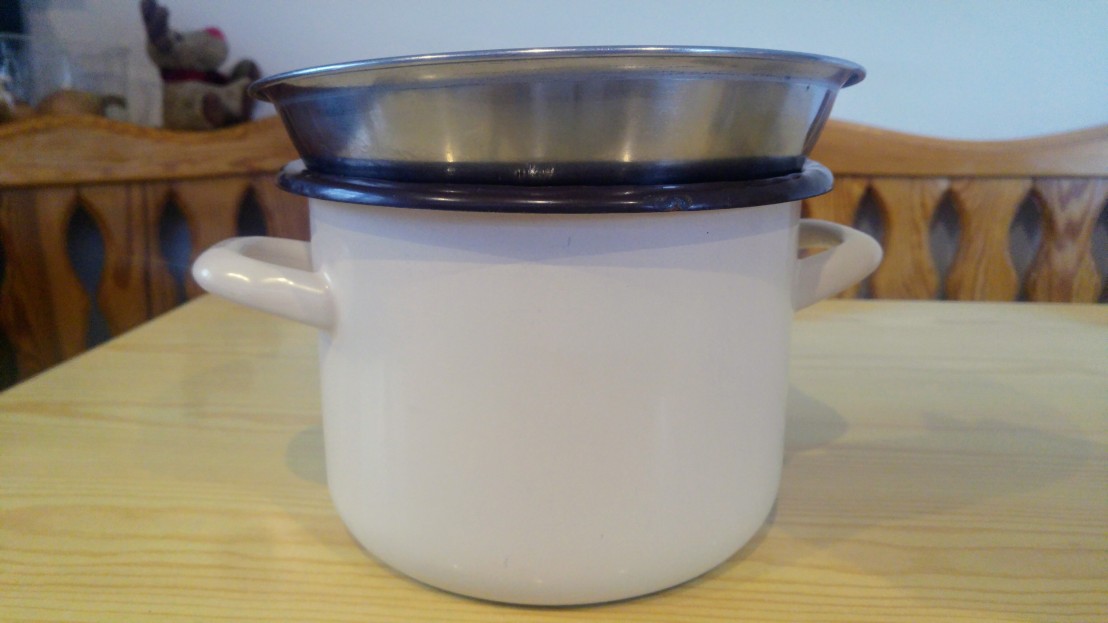
The best way to melt chocolate is doing it with double boiler method. For this, you will need a stove, a pot and a glass or metal bowl large enough to fit in the pot without falling completely inside. Most people recommend using a glass bowl for this method, but I don’t own one and always use metal ones. They work perfectly fine!
Place your pot on the stove and pour a few inches of water in it. Put the bowl on top of it. Turn on the heat, on low settings (you don’t want the temperature to be too high – it’s easy to burn chocolate). Place your chocolate in the bowl. Note: chocolate should be finely chopped (see the photos below).
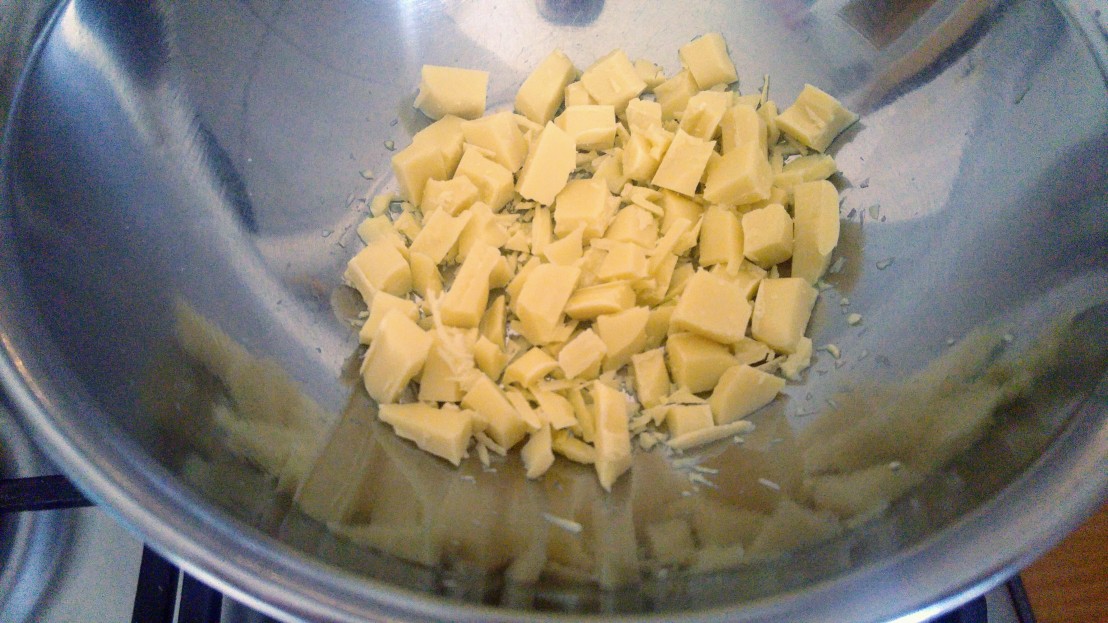
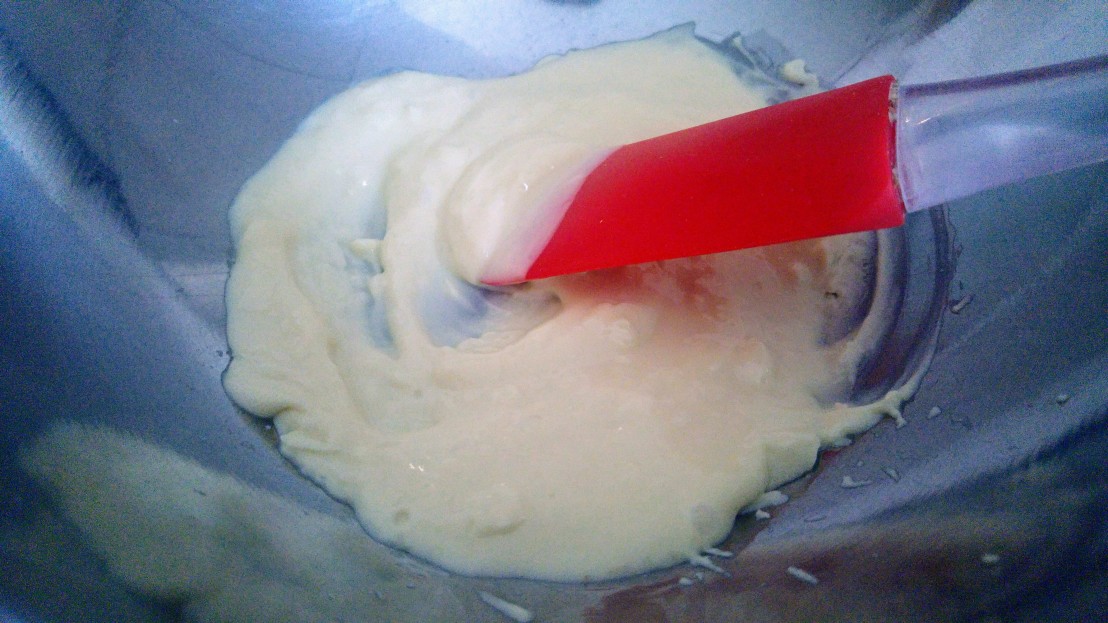
You should see the chocolate melt in just a minute. Stir it with a spatula. When it’s almost – but not just yet – fully melted, turn the heat off. There should still be some last chunks left – that’s okay, they will melt in a second. Chocolate doesn’t like high temperatures – it will burn and become useless if you overheat it. If you don’t plan to use all the chocolate immediately and it thickens up, you can heat it up again – just make sure to never let it overheat.
At this stage, you can use the chocolate to decorate cookies or cakes or coat home-made pralines. If you’d like to make standalone chocolate decorations, however, you might have to read on tempering chocolate – chocolate that has been melted loses some of its features. It’s not as glossy and hardy as it was before. Therefore, if you want to achieve the look of chocolate from chocolate bars, you need to melt it following instructions for tempering chocolate. It takes a bit more work and requires using a thermometer.
Note: chocolate and water are archenemies. One drop of water in the chocolate mixture and everything goes lumpy. Make sure that the bowl and the spatula are perfectly dry before using them to melt chocolate.
Warning: remember that water in the pot will boil – and as a result, there will be steam trapped under the bowl. Be careful while lifting the bowl from the pot! Also remember that steam is water, and you don’t want any water to get in your chocolate. When lifting the bowl from the pot, instantly move the bowl away from the steam coming off the pot.
Microwave alternative
Chocolate can also be melted in a microwave. For that, finely chop the chocolate (just like for the double boiler method) and place it in a microwave-safe bowl. Heat it up in the microwave in a series of short, 10-second-long, blasts, checking the consistency after each of them. Once the majority has melted and only a few chunks are left, you’re done – just keep stirring with a spatula, the warmth of the mixture will melt the remaining bits in a matter of seconds. The number of blasts needed to melt the chocolate depends on the wattage of your microwave oven, the type of chocolate and the amount of it.
Don’t be tempted to do it in one, long go. It only takes seconds for chocolate to burn. Be patient and do it in a series of really short blasts.
Melting chocolate in the microwave works perfectly fine, but it requires a lot more care and attention than doing it on the stove. The whole process will be much faster and it’s easier to overheat – and burn – the chocolate, as you don’t have full control over its consistency while it’s in the microwave. Use the double boiler method whenever possible instead.
Colouring chocolate
Colouring chocolate can be tricky. If you think you can simply throw a sprinkle of liquid or powdered food colouring into melted chocolate and achieve a vibrant colour, you’re going to get disappointed. Unfortunately, the only way to dye chocolate without having an impact on its texture is to use food colouring specifically designed for chocolate, which is usually made with an oily base. However, if all you own are powdered colourings – don’t worry, not all is lost. Depending on what you’d like to use the chocolate for, there might be a way to succeed – keep on reading to learn how to colour white chocolate with powdered food colouring. Liquid, water-based food colourings, are an absolute no-go when it comes to colouring chocolate though.
How to colour chocolate with dry food dye
To make a chocolate paste in a desired colour using powdered food colouring, you’ll need:
- 50g of white chocolate, melted following the instructions above (no need to temper it)
- 1/2 teaspoon of double cream
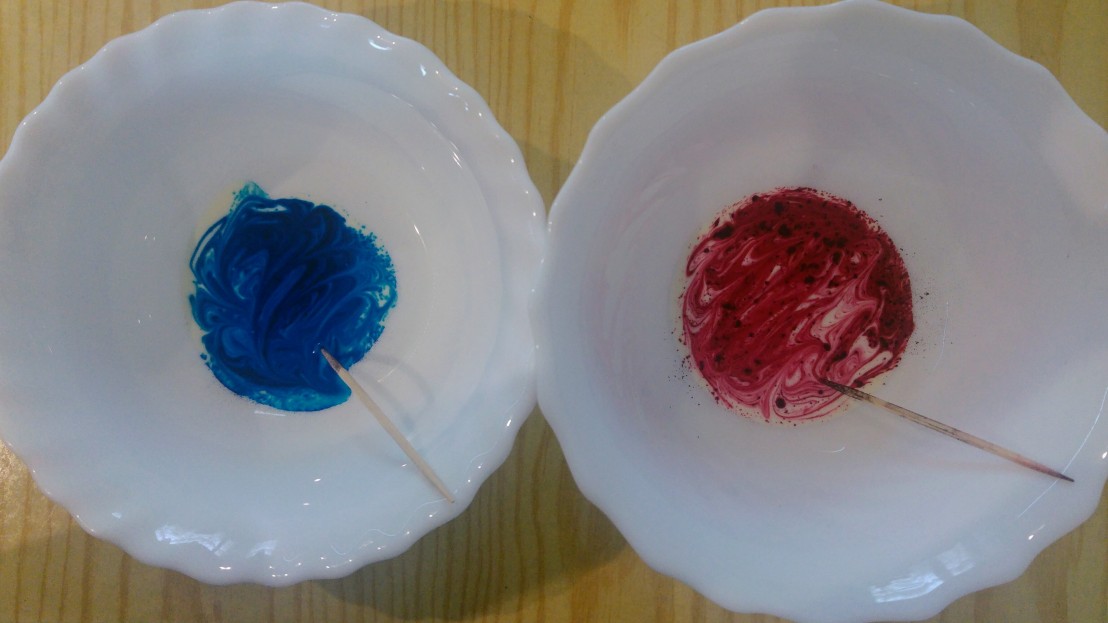
- powdered food colouring – a little sprinkle on the tip of a toothpick
Dissolve food colouring in double cream (keep in mind that the colour will become less vibrant once you add chocolate). Pour it into the melted chocolate, stir well with a spatula until the colour is evenly distributed. The mixture will thicken up, forming a paste.
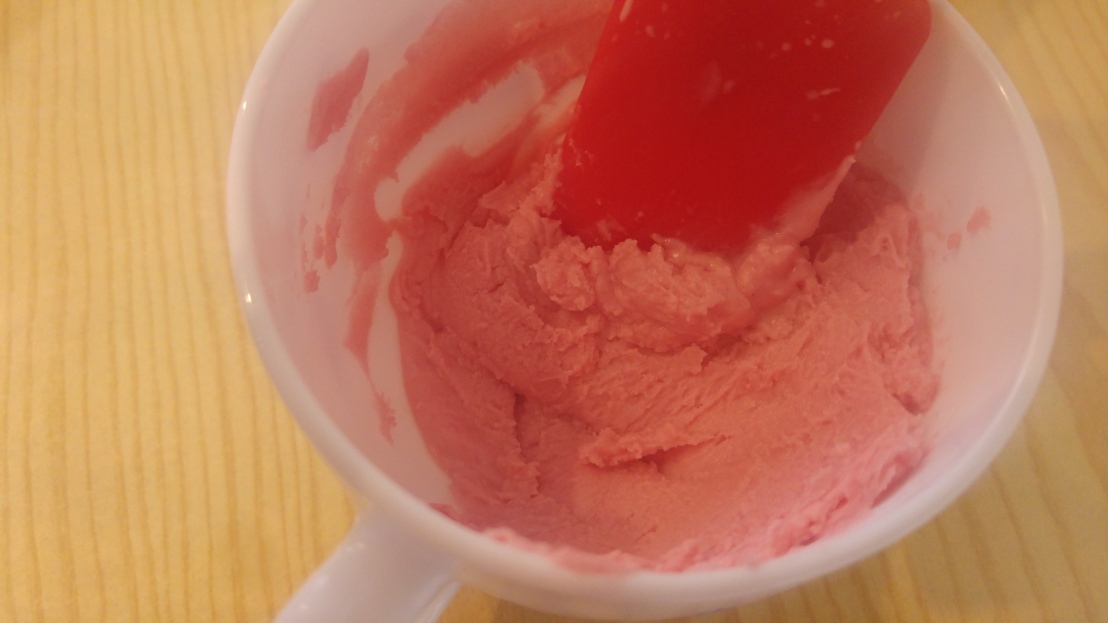
The paste will be too thick to use it for piping, but you can mould it into desired shapes. Once it sets, it will hold its shape. You can use it in moulds or form decorations with it on baking paper – see the next point.
Preparing chocolate decorations in advance
Chocolate – both pure melted and coloured and turned into paste – can be used to make transferable decorations. For that, you need a sheet of baking paper. Pipe or mould your decorations on the paper and leave them to set. Once they’ve firmed up (you can speed this process up by putting your chocolate shapes in the fridge), you can gently move them to a container and use as decorations in the future.
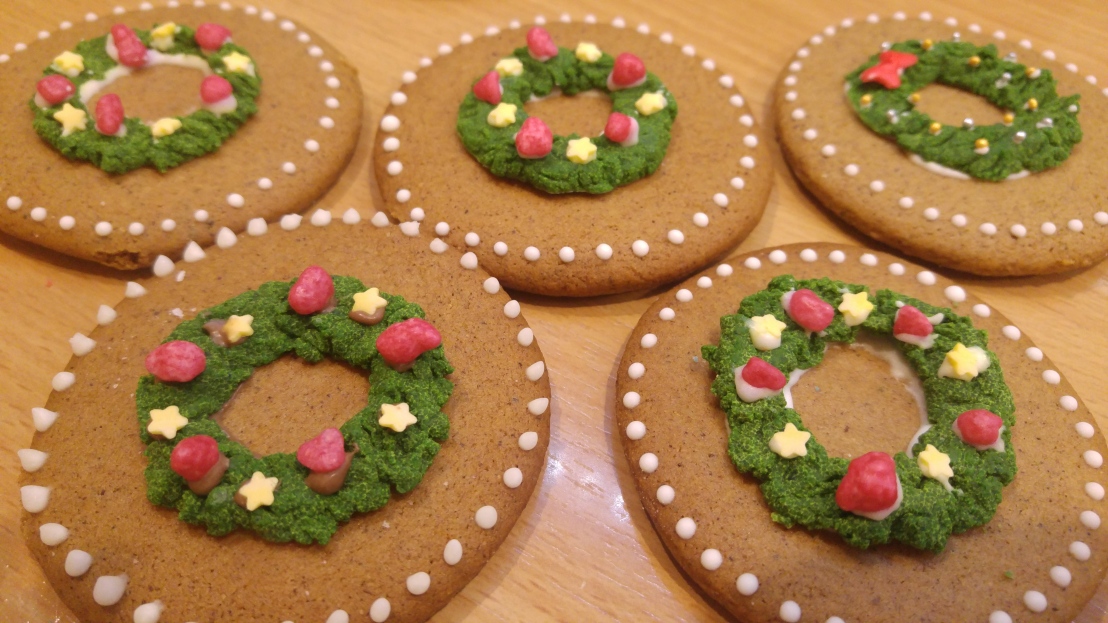
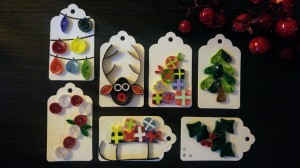
The wreaths below were made out of coloured white chocolate paste. Once I formed them on baking paper, they were a rather unruly, half-liquid-half-paste mess. They firmed up perfectly and I was able to remove them from the paper, glue to my cookies with royal icing or chocolate and decorate them with sprinkles.
This method only works for decorations that you intend to lay flat on a cake or cookie – they will be fragile. If you’d like to make standing decorations, you will need to use tempered chocolate, as mentioned before.
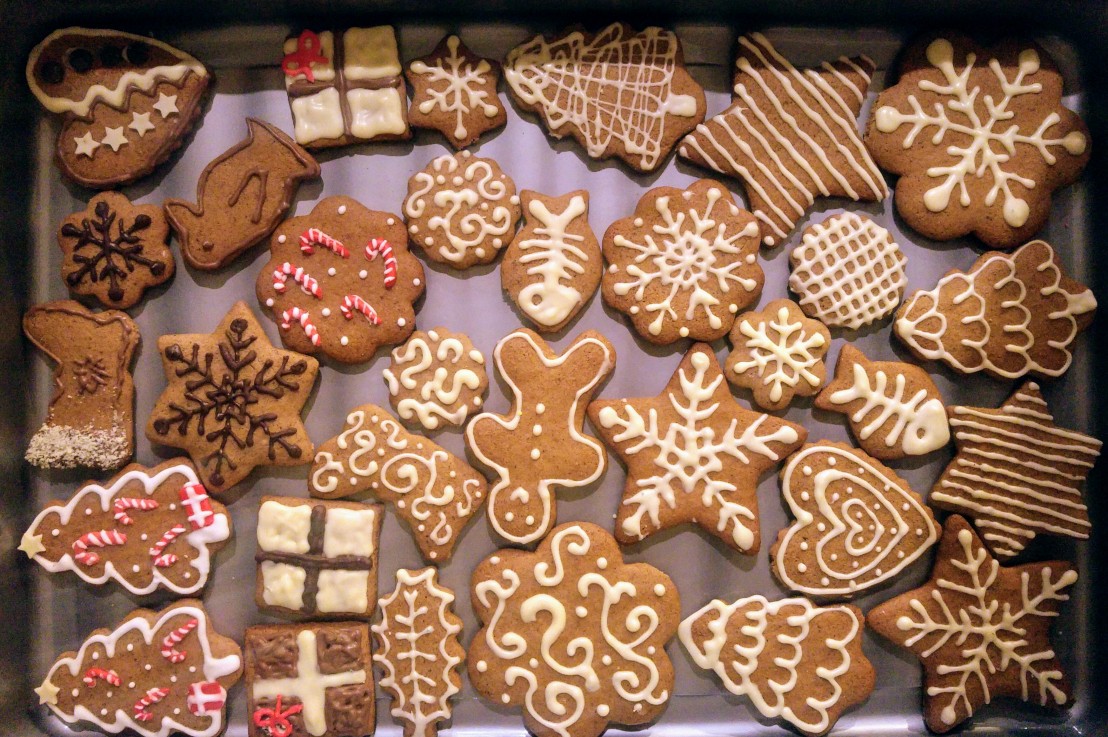
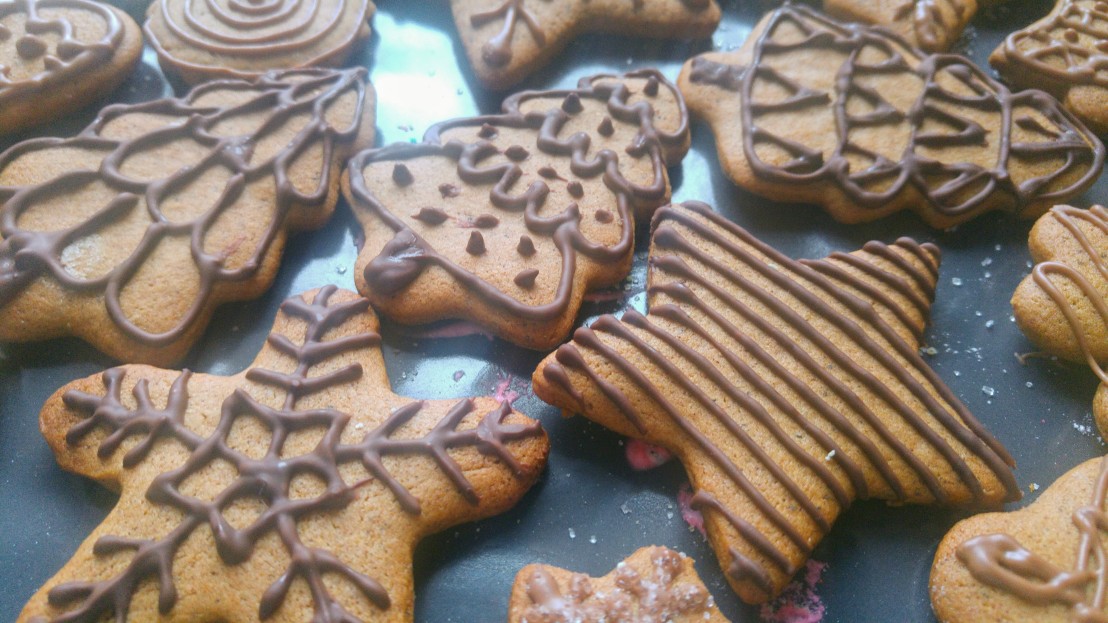
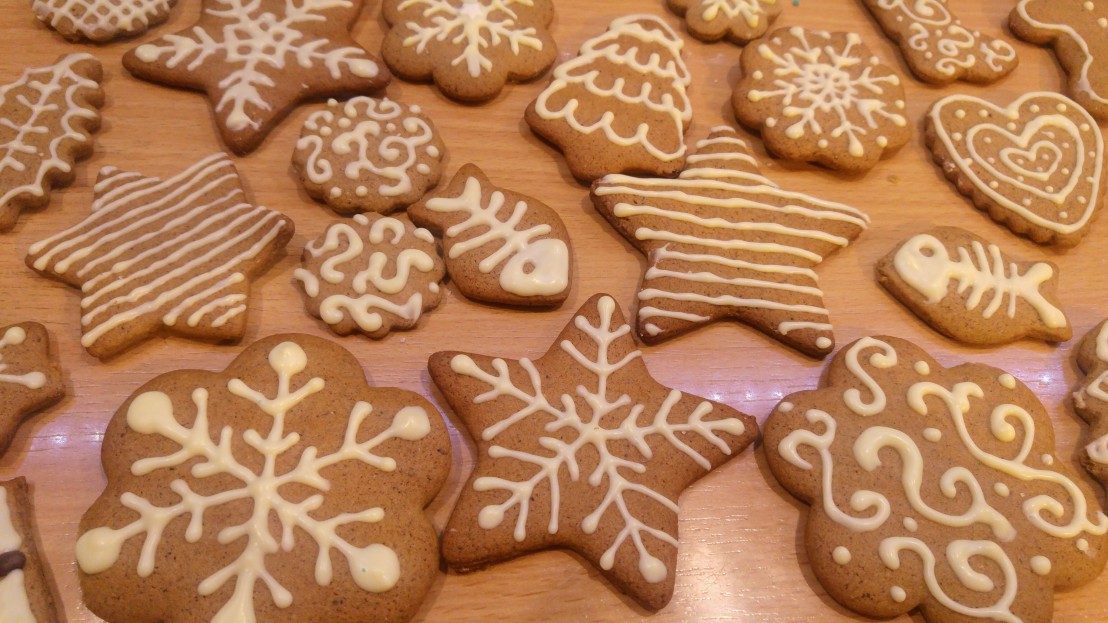
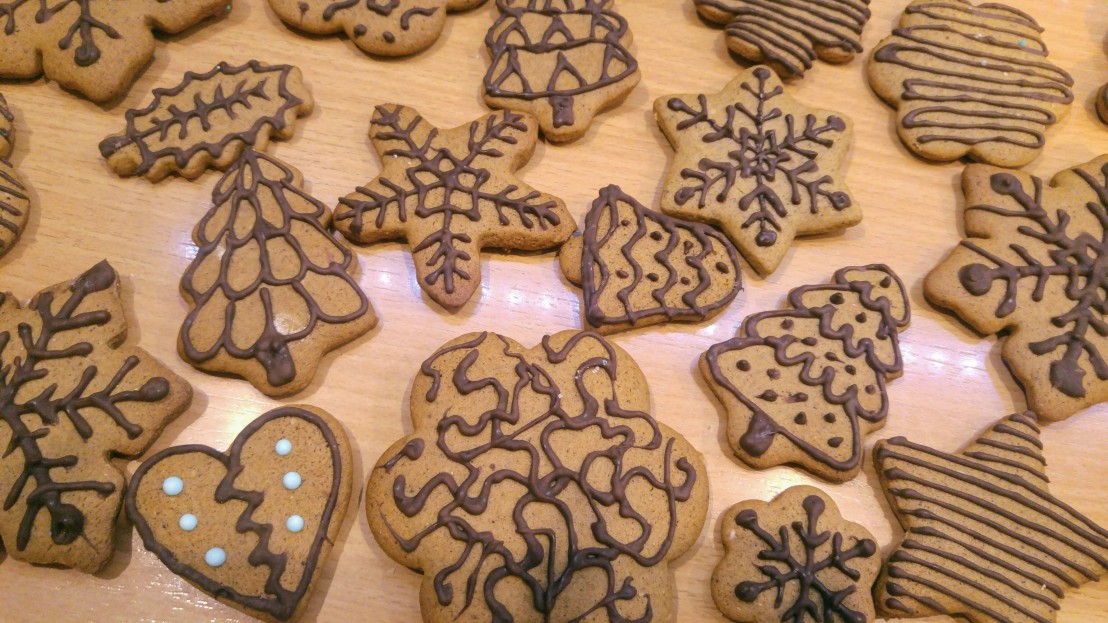
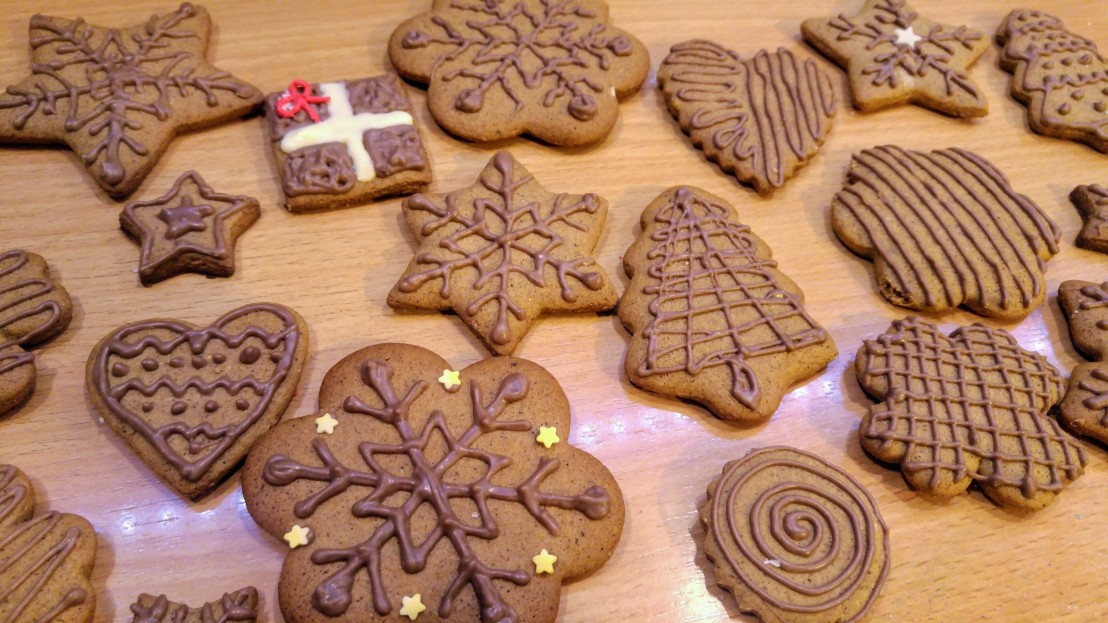
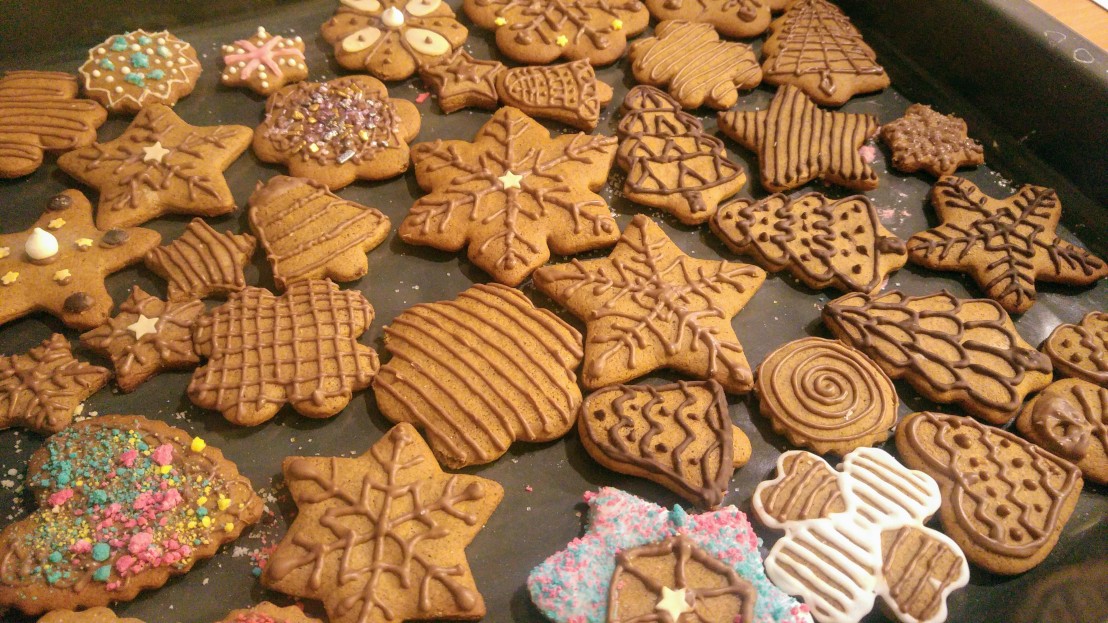
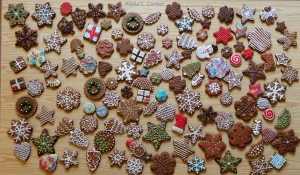
Chocolate cookie decor
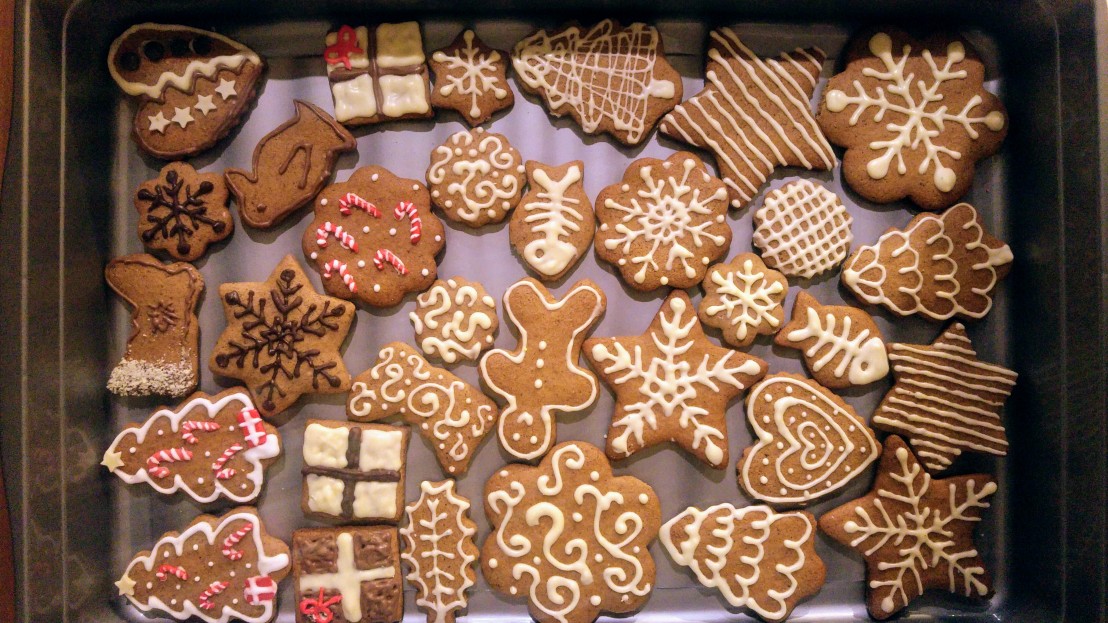
Here are some cookies decorated with melted chocolate – white, milk and dark. Each of the chocolates was melted following the double boiler method and poured into a piping cone. Note that it takes a long time for chocolate to set – the mixture in my piping bag always stayed completely liquid for at least an hour. Chocolate on top of cookies needed a few hours to set. That time will vary depending on your climate – you can speed the process up by putting decorated cookies in the fridge.
Check out how to make coloured chocolate dust too!


Thanks a lot for your follow dear😍
LikeLiked by 1 person
Honestly, I had never thought about how this was done. Very cool!
LikeLiked by 1 person
I seems trivial but in reality it can actually be a difficult task. I learnt my lessons the hard way, so I thought I’d make a guide to maybe prevent someone from wasting a batch of that heavenly ingredient ^^
LikeLiked by 1 person
They look as good as they’d taste
LikeLiked by 1 person
Beautifully shown and explained well👍
LikeLiked by 1 person
Thank you! I hope it helps at least one person 🙂
LikeLike
Absolutely beautiful!
LikeLiked by 1 person